第五步:連接攝像頭的遙操作(macOS)
連接攝像頭和電腦
Shell
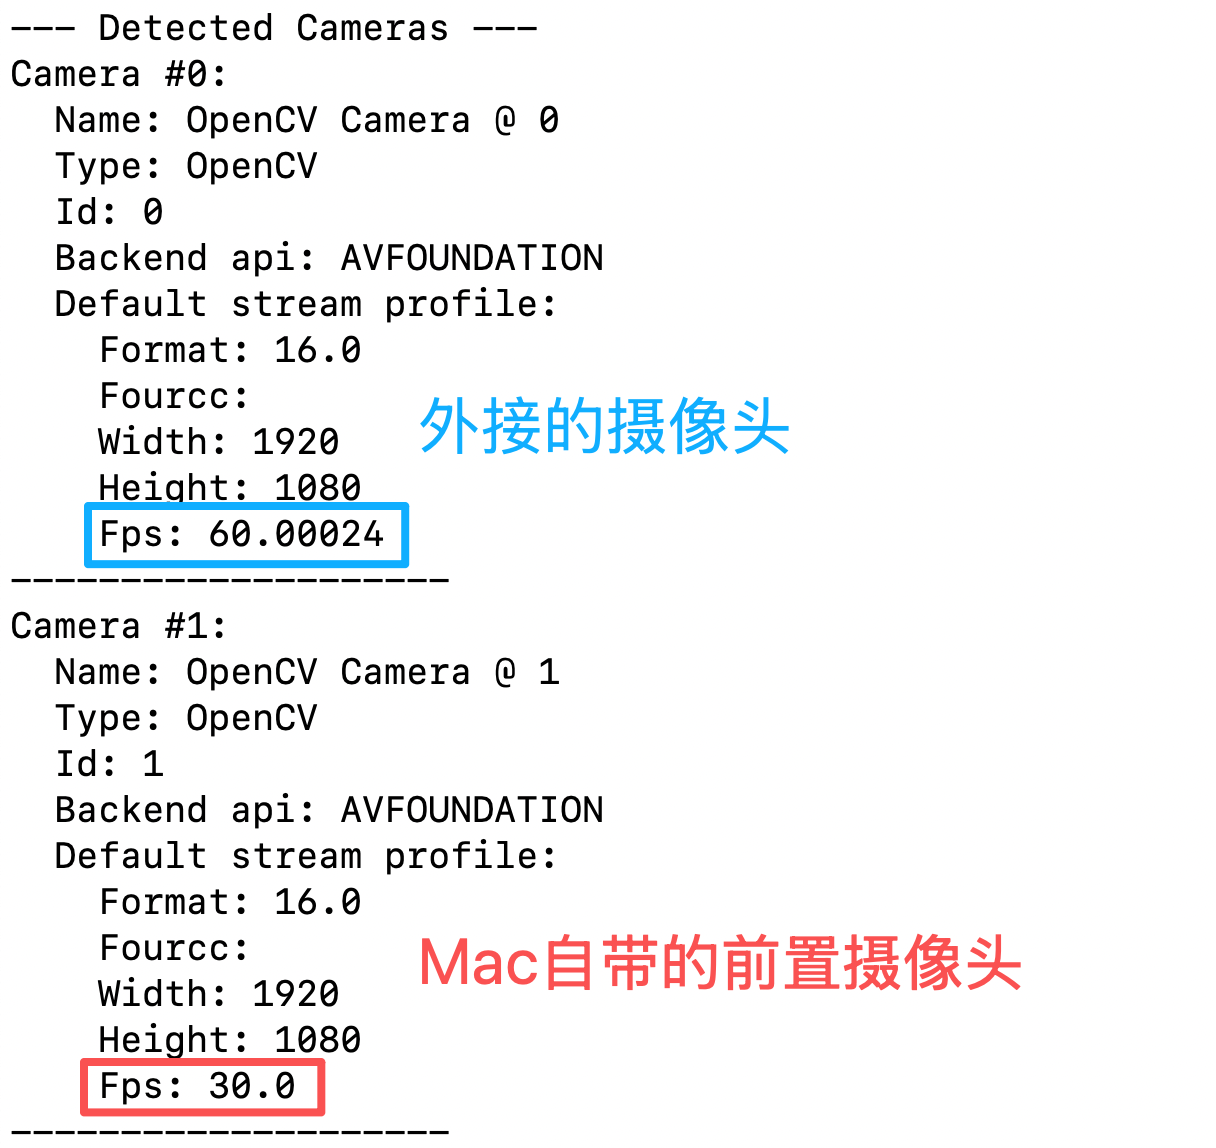
lerobot-find-cameras opencv運行後會列出每個攝像頭的編號,記下來填到下面命令的 index_or_path 裡。
相機參數(解像度、fps、寬高比)在採集數據集和部署模型時必須保持一致,原因見示教採集數據集裡的說明。本教程統一使用
1280×720@30。
一個攝像頭,遙操作並顯示攝像頭畫面
Shell
lerobot-teleoperate \
    --robot.type=so101_follower \
    --robot.port=/dev/tty.usbmodem5AAF2193061 \
    --robot.id=my_follower_arm \
    --robot.cameras="{ front: {type: opencv, index_or_path: 0, width: 1280, height: 720, fps: 30, fourcc: "MJPG"}}" \
    --teleop.type=so101_leader \
    --teleop.port=/dev/tty.usbmodem5AAF2194741 \
    --teleop.id=my_leader_arm \
    --display_data=true
運行後啟動遙操作
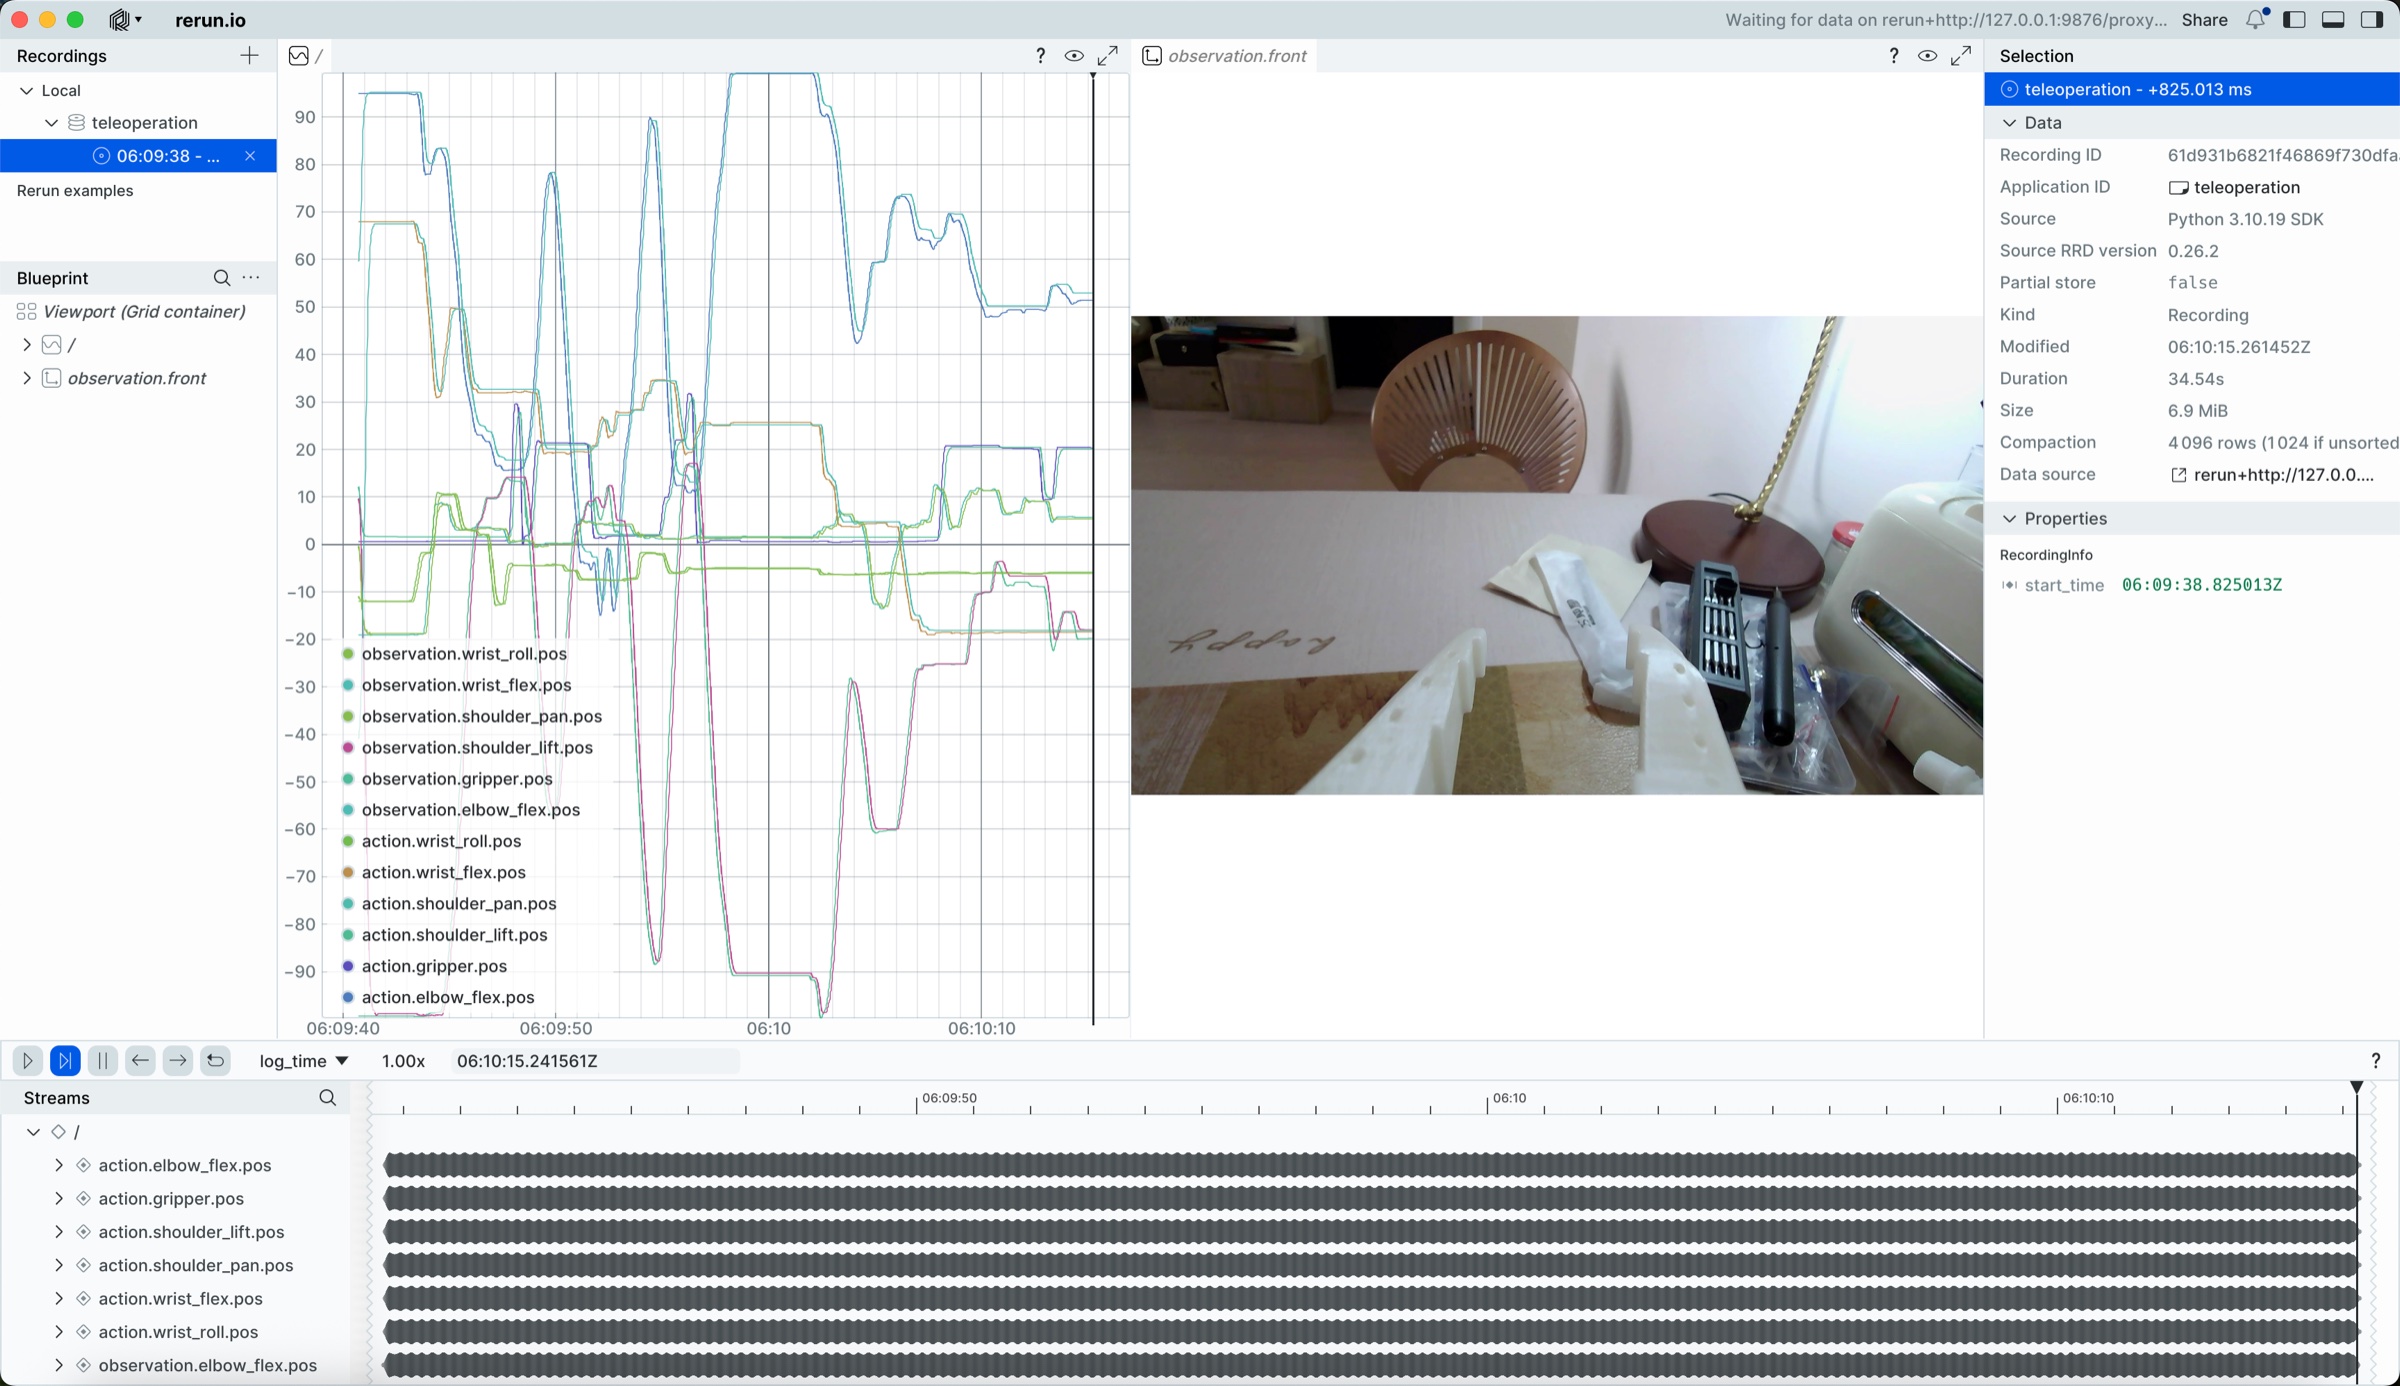
會打開rerun.io畫面,實時顯示各個舵機關節的軌跡,以及攝像頭實時畫面
並儲存圖像至~/<你的使用者名稱>/outputs/captured_images目錄
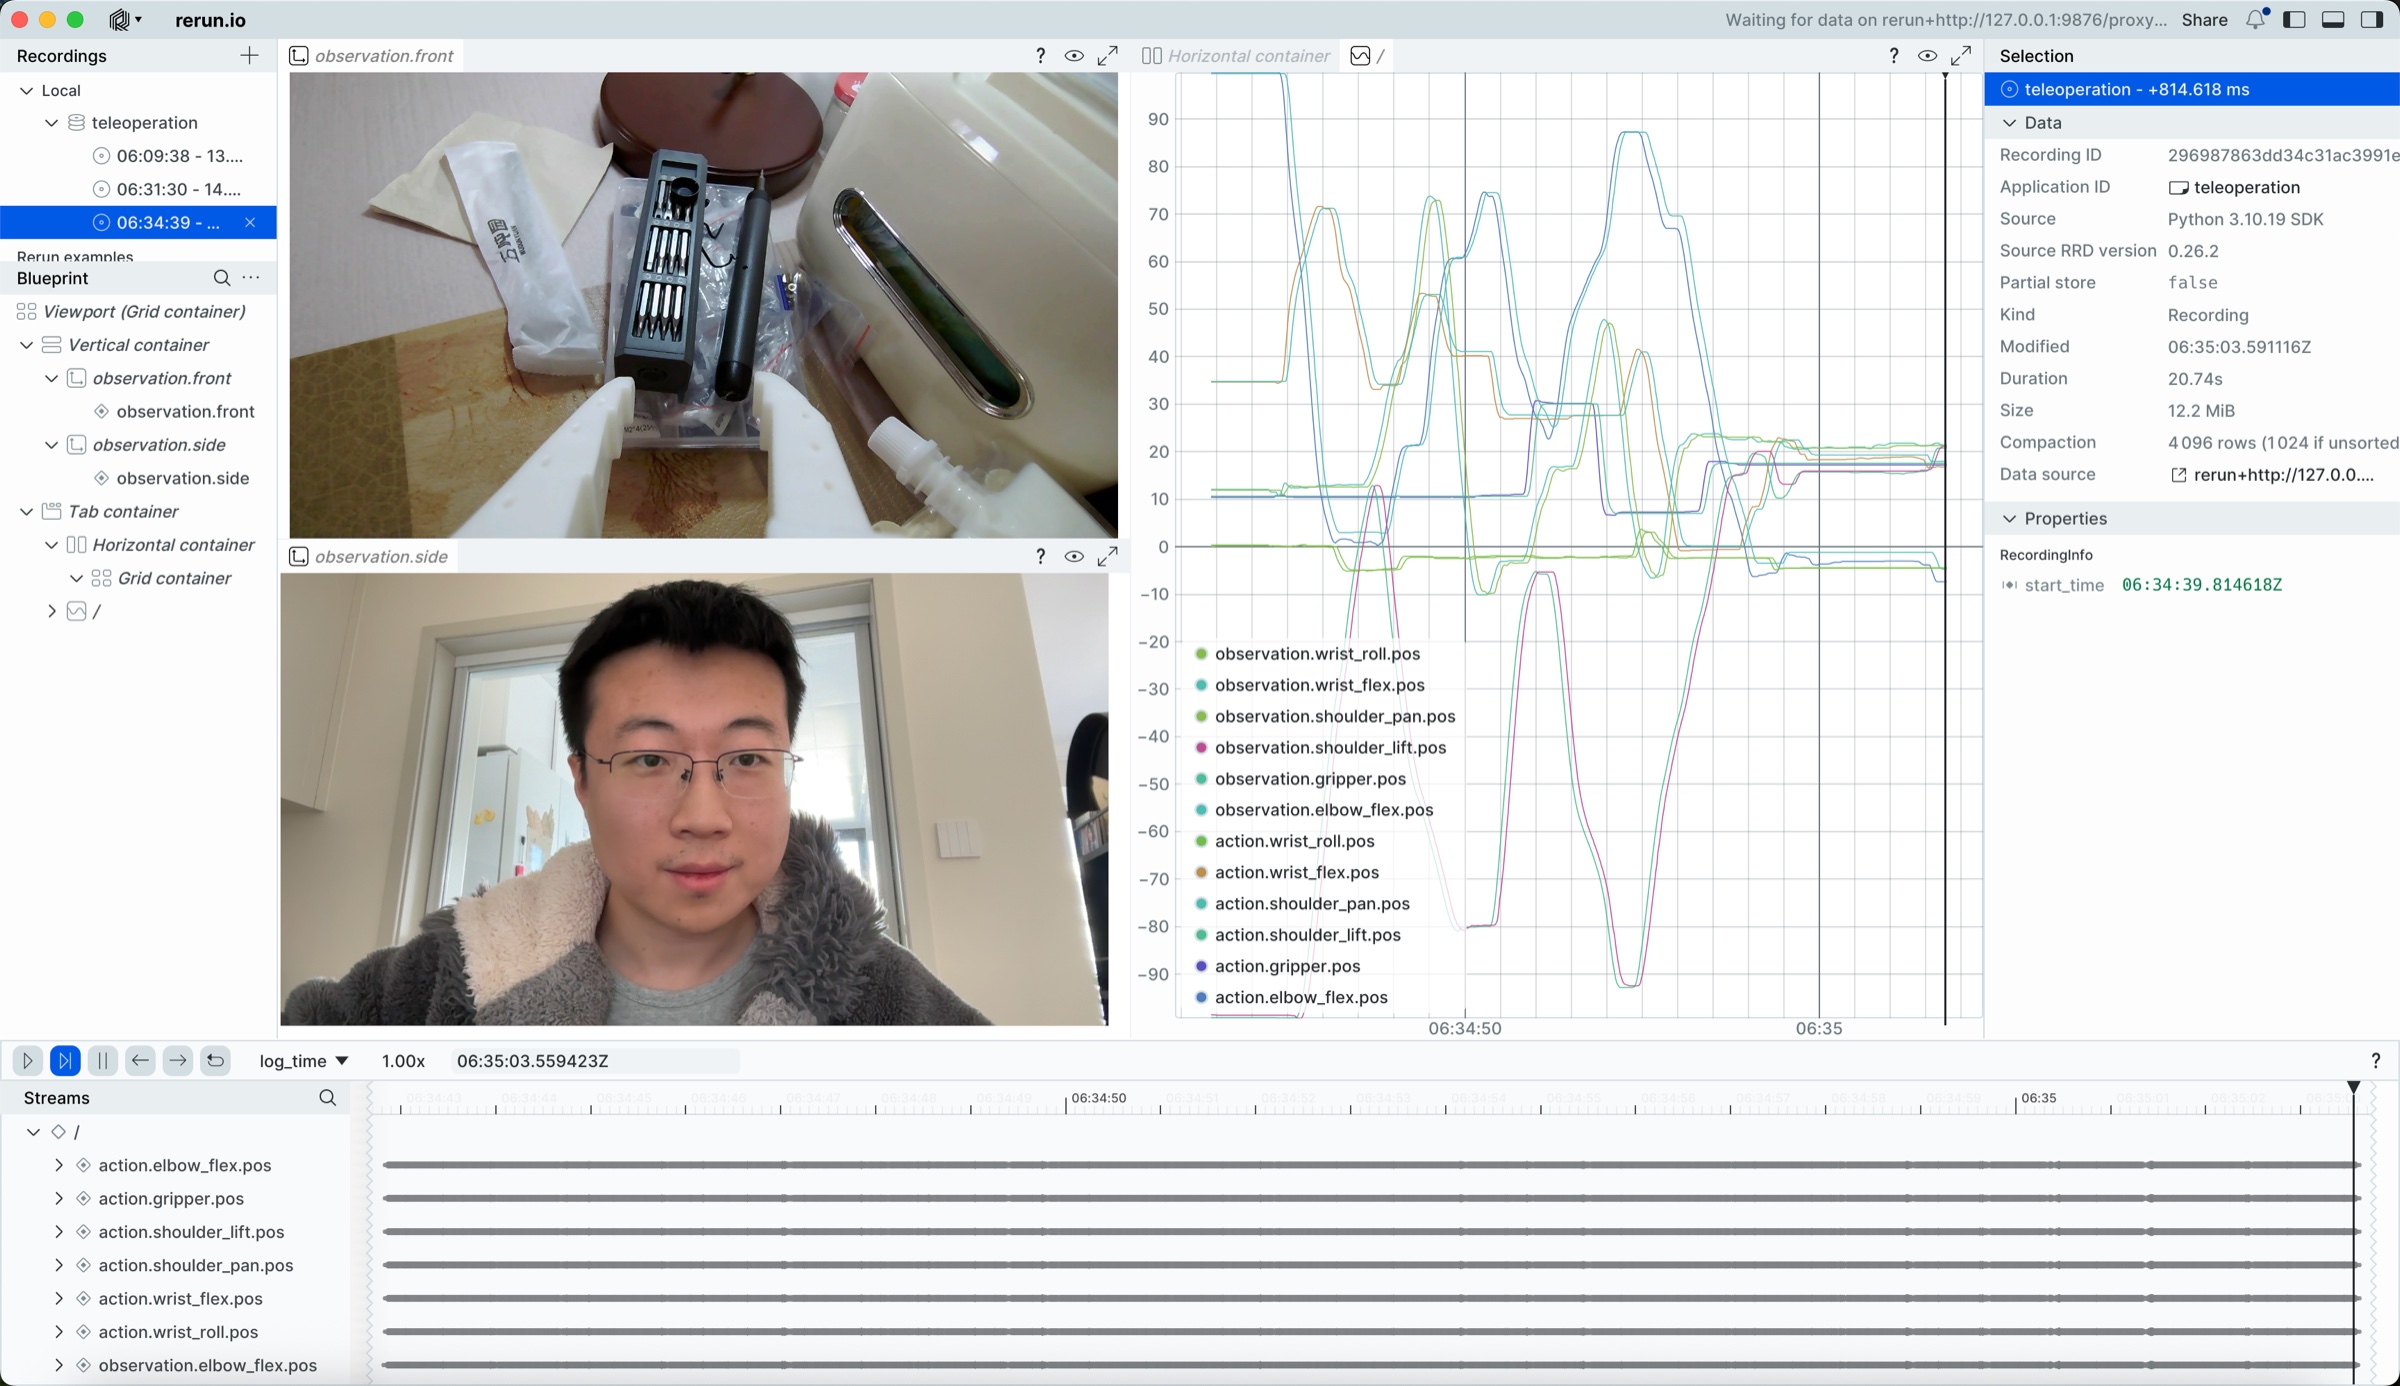
多個攝像頭,遙操作並顯示攝像頭畫面
Shell
lerobot-teleoperate \
    --robot.type=so101_follower \
    --robot.port=/dev/tty.usbmodem5AAF2193061 \
    --robot.id=my_follower_arm \
    --robot.cameras="{ front: {type: opencv, index_or_path: 0, width: 1280, height: 720, fps: 30, fourcc: "MJPG"}, side: {type: opencv, index_or_path: 1, width: 1280, height: 720, fps: 30, fourcc: "MJPG"}}" \
    --teleop.type=so101_leader \
    --teleop.port=/dev/tty.usbmodem5AAF2194741 \
    --teleop.id=my_leader_arm \
    --display_data=true