Step 5: Camera Teleoperation (macOS)
Connect the camera and the computer
Shell
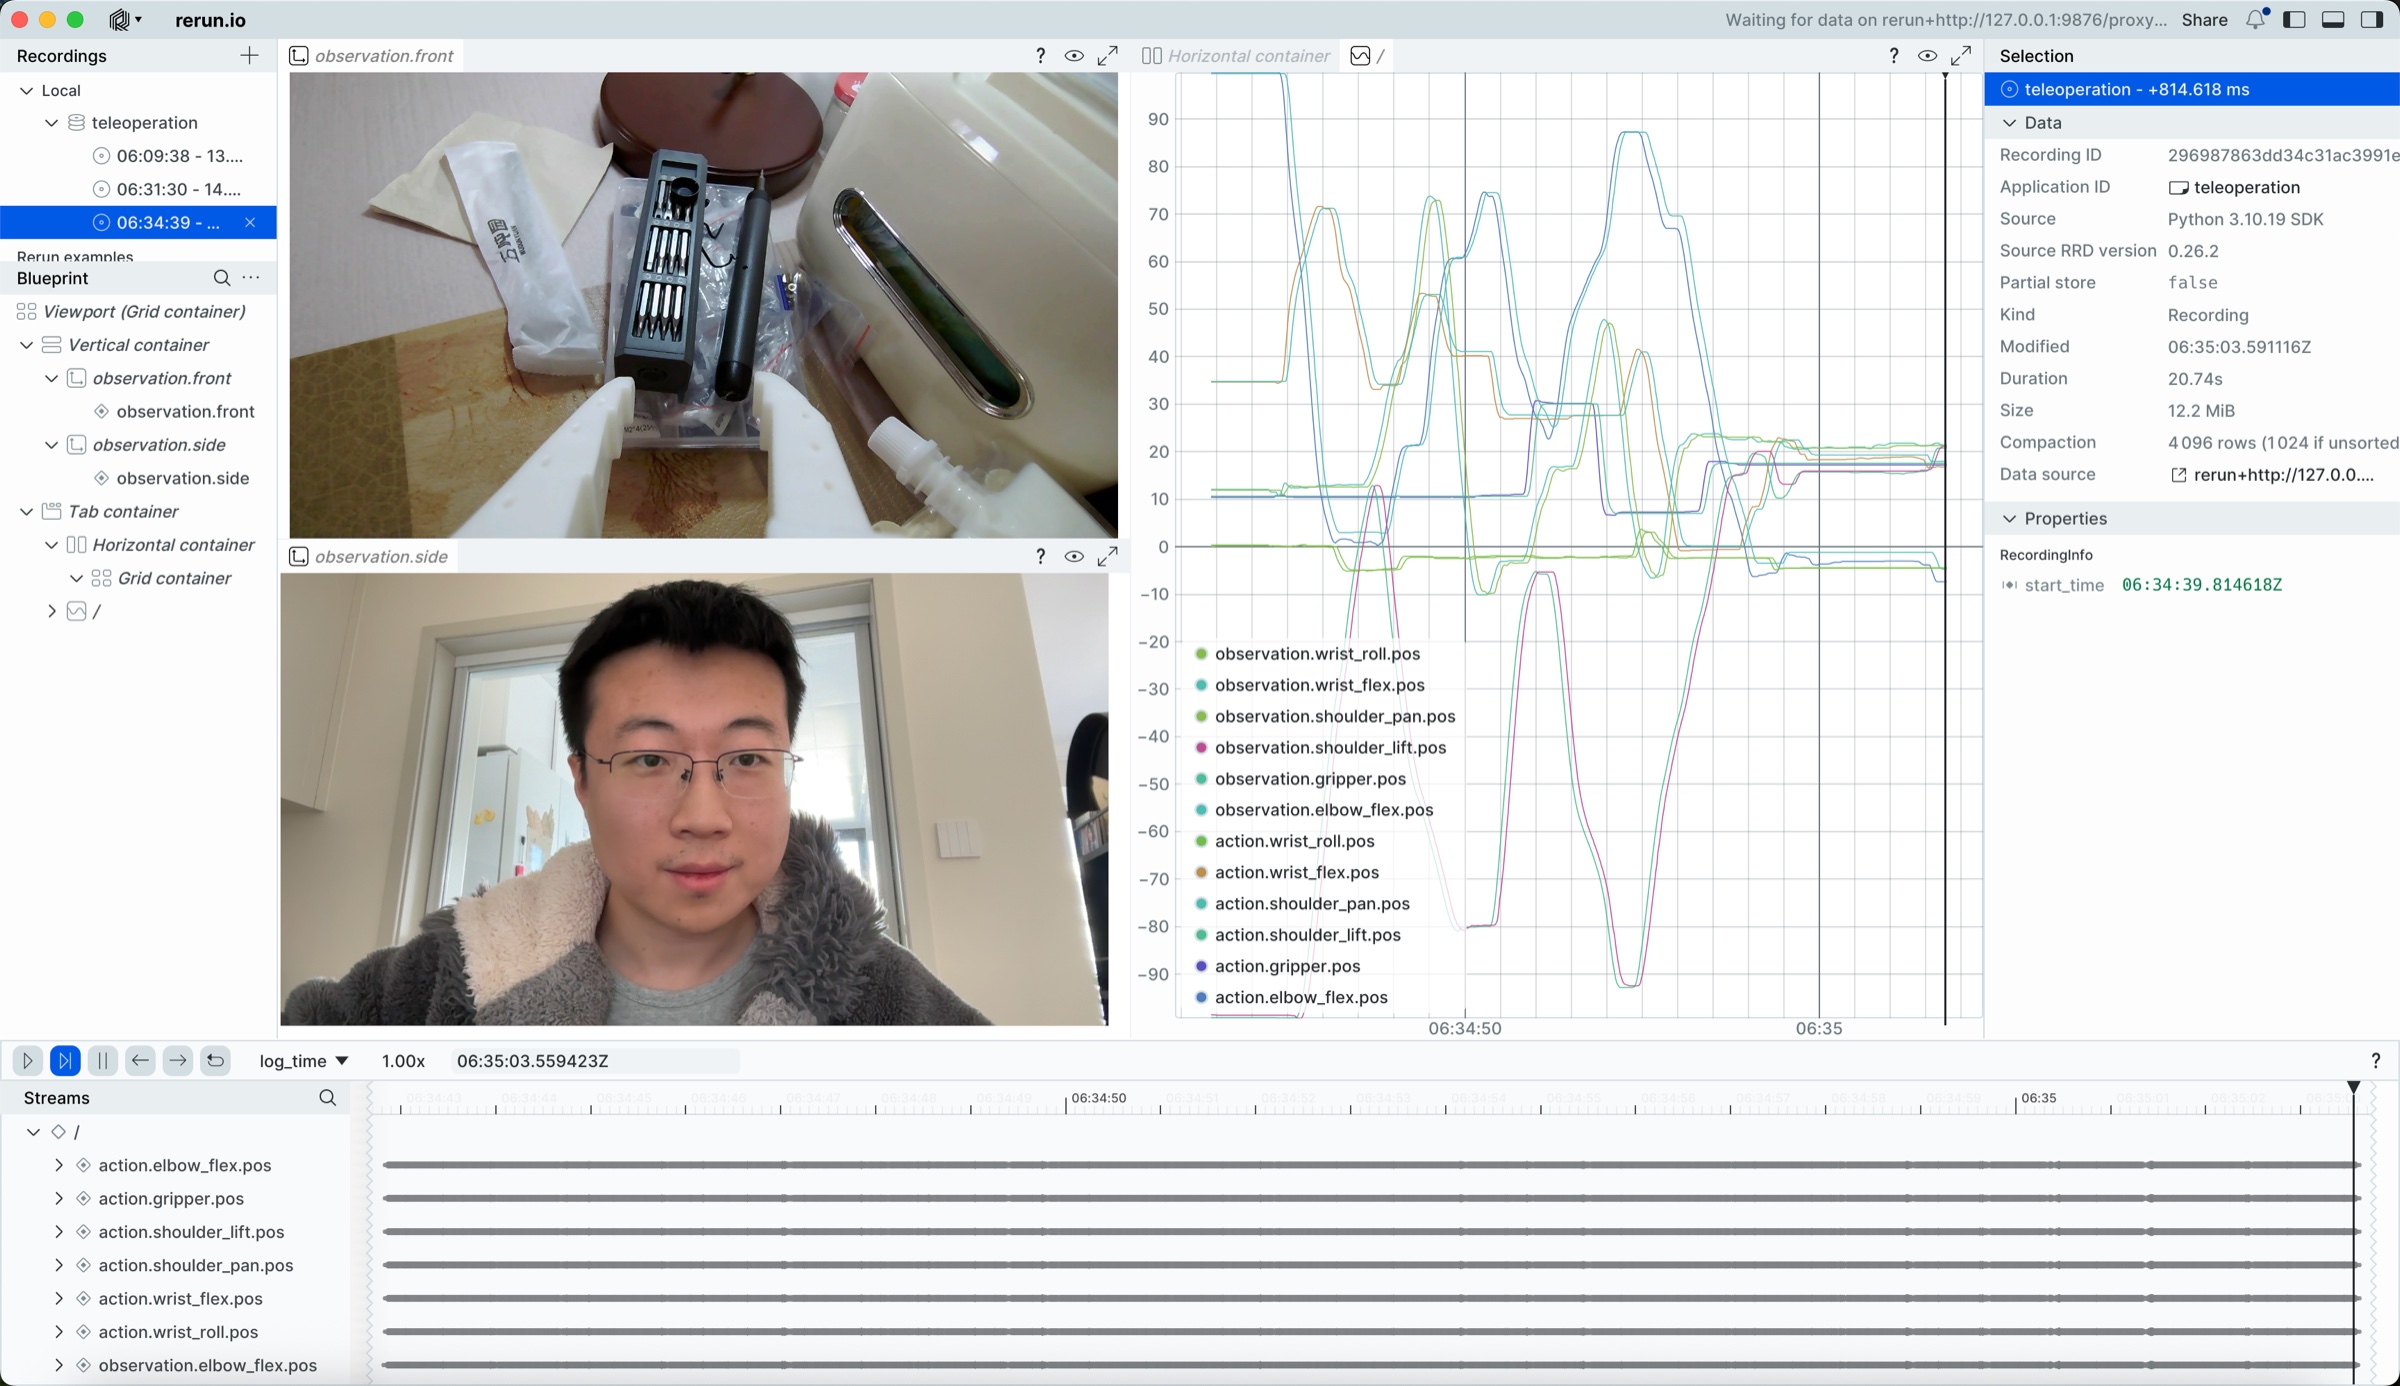
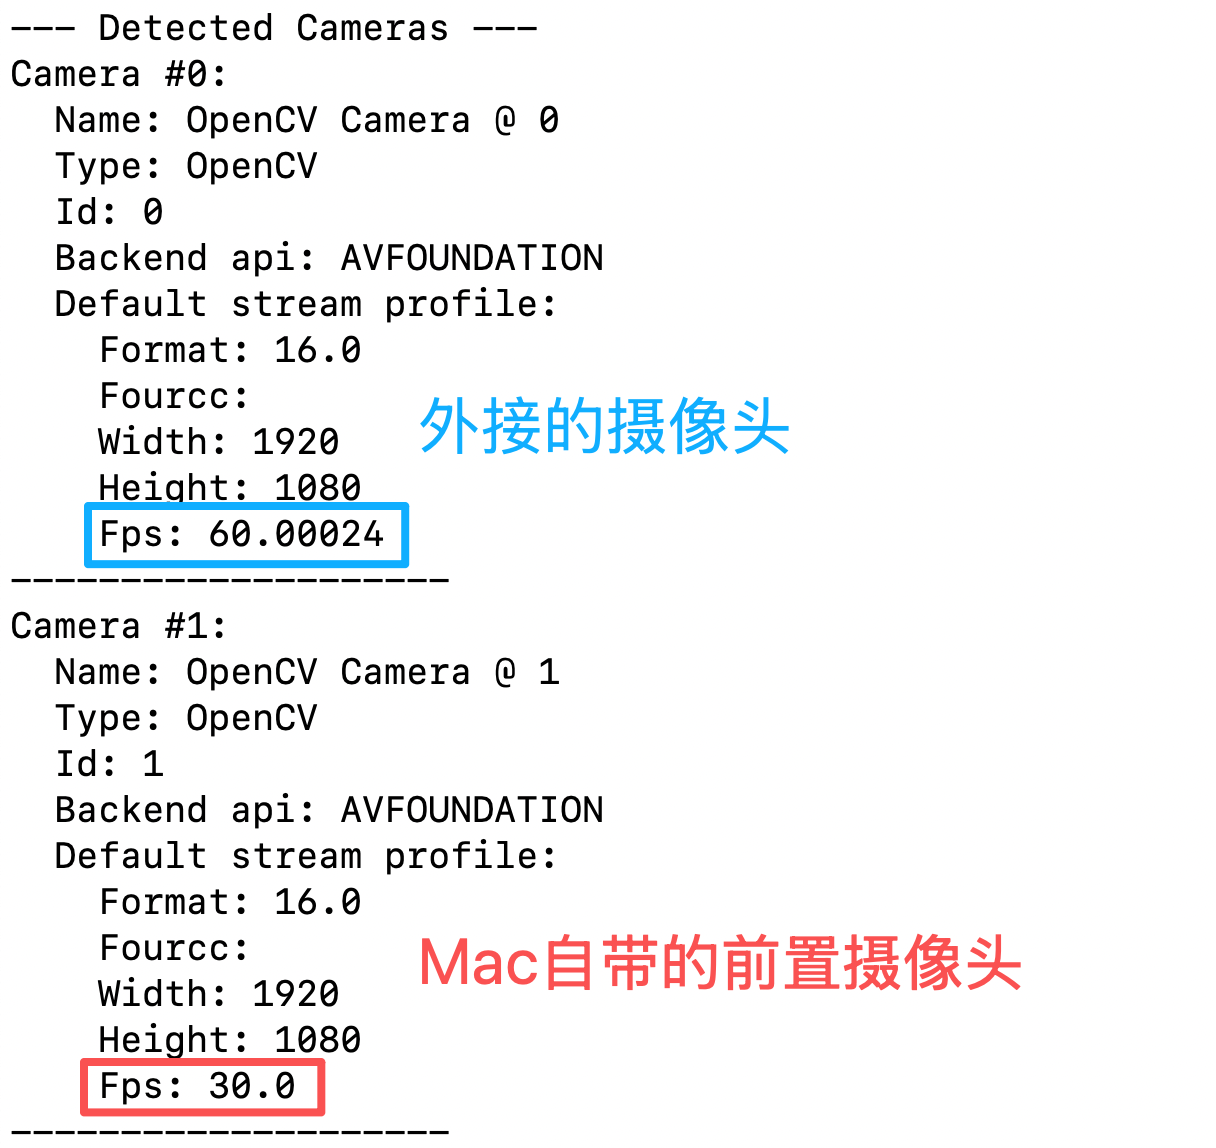
lerobot-find-cameras opencvAfter running, it lists the number of each camera. Note it down and fill it into index_or_path in the commands below.
The camera parameters (resolution, fps, aspect ratio) must remain consistent when collecting the dataset and deploying the model; for the reason, see the explanation in Teaching and Collecting a Dataset. This tutorial uses
1280×720@30throughout.
One camera: teleoperate and display the camera feed
Shell
lerobot-teleoperate \
    --robot.type=so101_follower \
    --robot.port=/dev/tty.usbmodem5AAF2193061 \
    --robot.id=my_follower_arm \
    --robot.cameras="{ front: {type: opencv, index_or_path: 0, width: 1280, height: 720, fps: 30, fourcc: "MJPG"}}" \
    --teleop.type=so101_leader \
    --teleop.port=/dev/tty.usbmodem5AAF2194741 \
    --teleop.id=my_leader_arm \
    --display_data=true
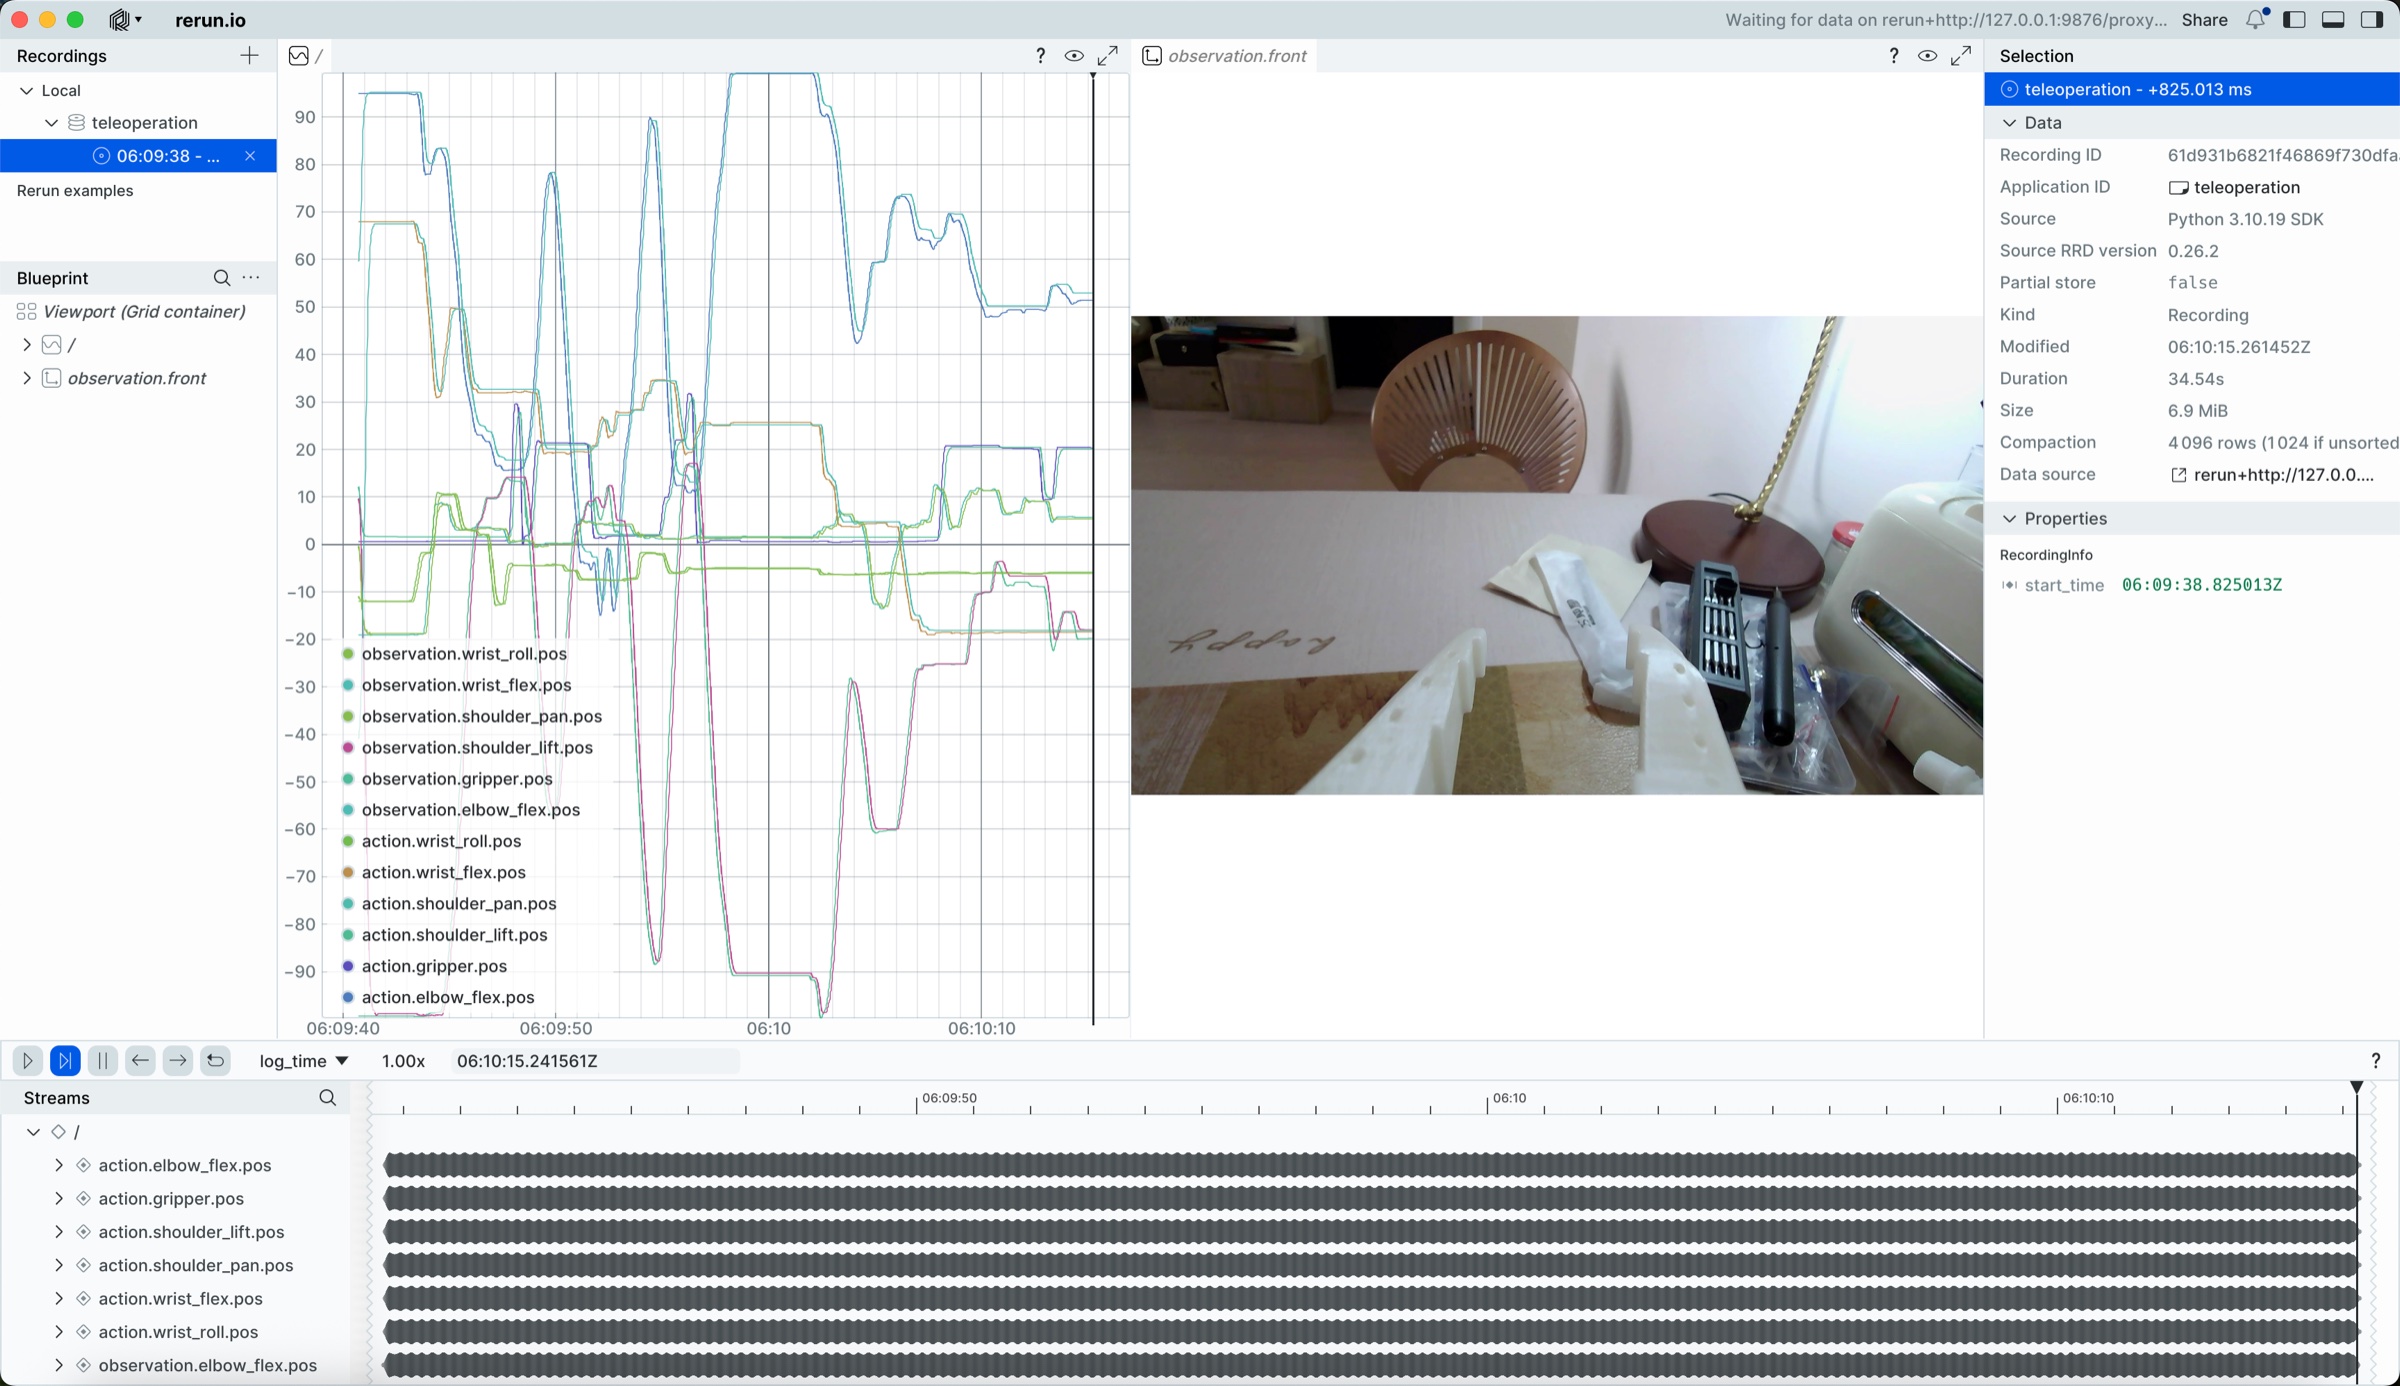
After running, teleoperation starts
A rerun.io window opens, displaying the trajectory of each servo joint and the live camera feed in real time
The images are also saved to the ~/<username>/outputs/captured_images directory
Multiple cameras: teleoperate and display the camera feed
Shell
lerobot-teleoperate \
    --robot.type=so101_follower \
    --robot.port=/dev/tty.usbmodem5AAF2193061 \
    --robot.id=my_follower_arm \
    --robot.cameras="{ front: {type: opencv, index_or_path: 0, width: 1280, height: 720, fps: 30, fourcc: "MJPG"}, side: {type: opencv, index_or_path: 1, width: 1280, height: 720, fps: 30, fourcc: "MJPG"}}" \
    --teleop.type=so101_leader \
    --teleop.port=/dev/tty.usbmodem5AAF2194741 \
    --teleop.id=my_leader_arm \
    --display_data=true