Jetson CSI Camera Setup
1. Configure CSI Camera Pins
sudo /opt/nvidia/jetson-io/jetson-io.py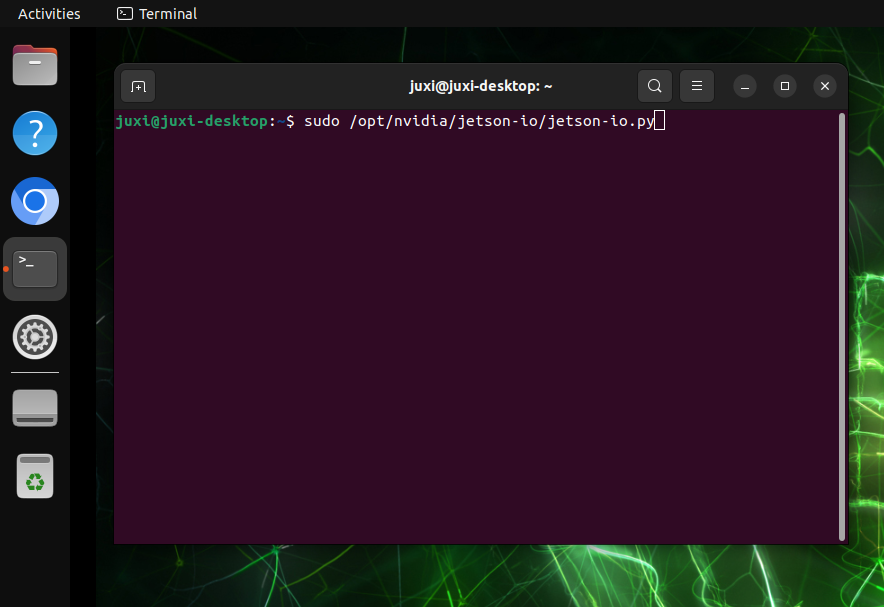
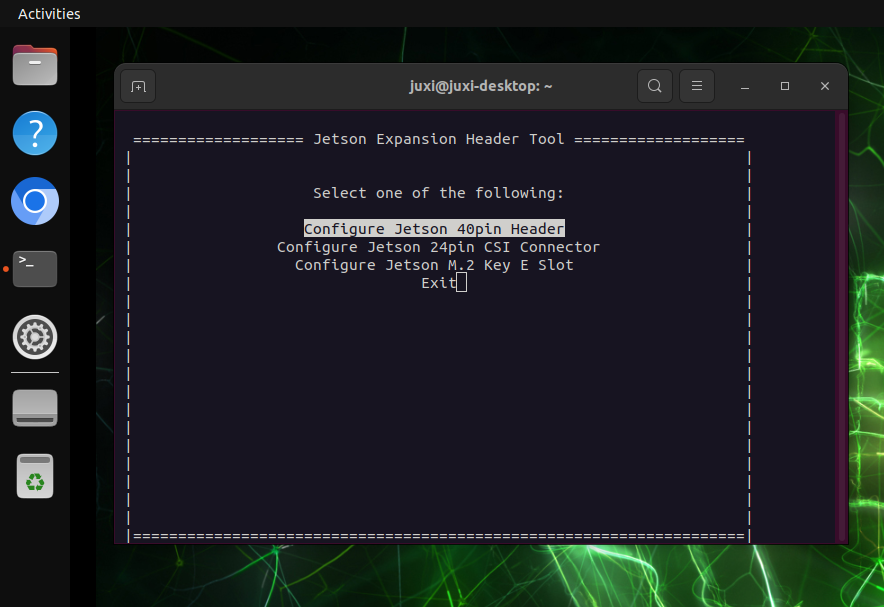
Press the Down arrow key to select Configure Jetson 24pin CSI Connector. Then press Enter to proceed to the next option
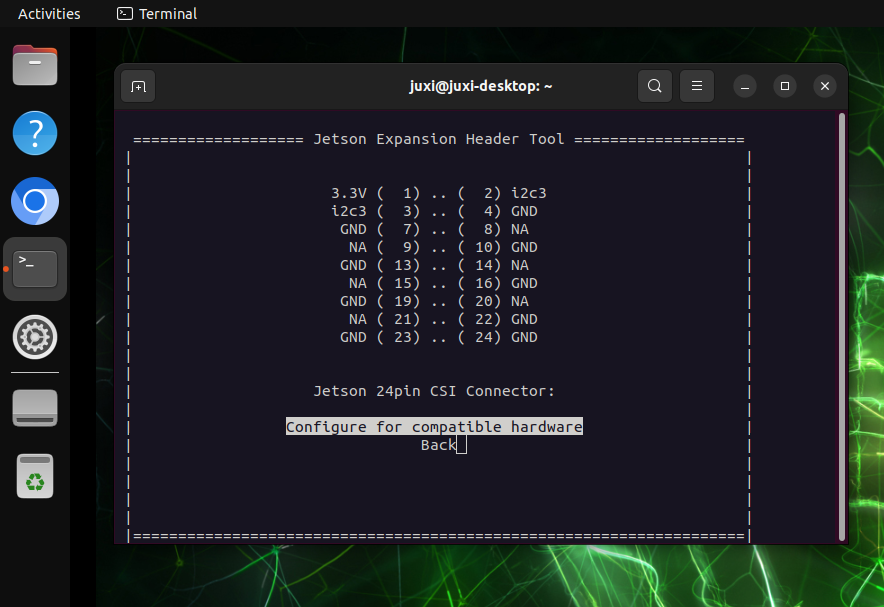
Select Configure for compatible hardware , then press Enter.
Press the Down arrow key to select Camera IMX219 Dual, then press Enter.
If running the camera preview after the subsequent restart reports an error or shows a black screen, change this to Camera IMX219-C
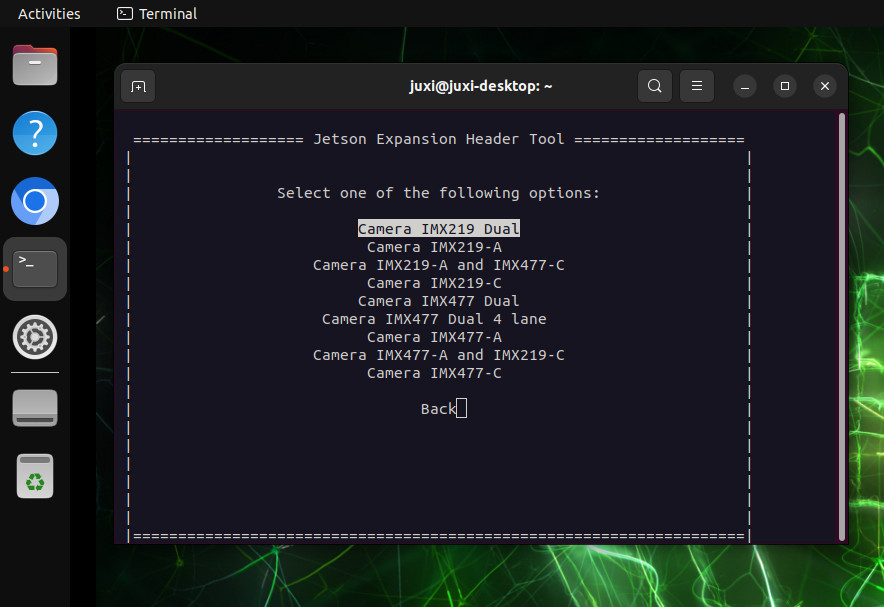
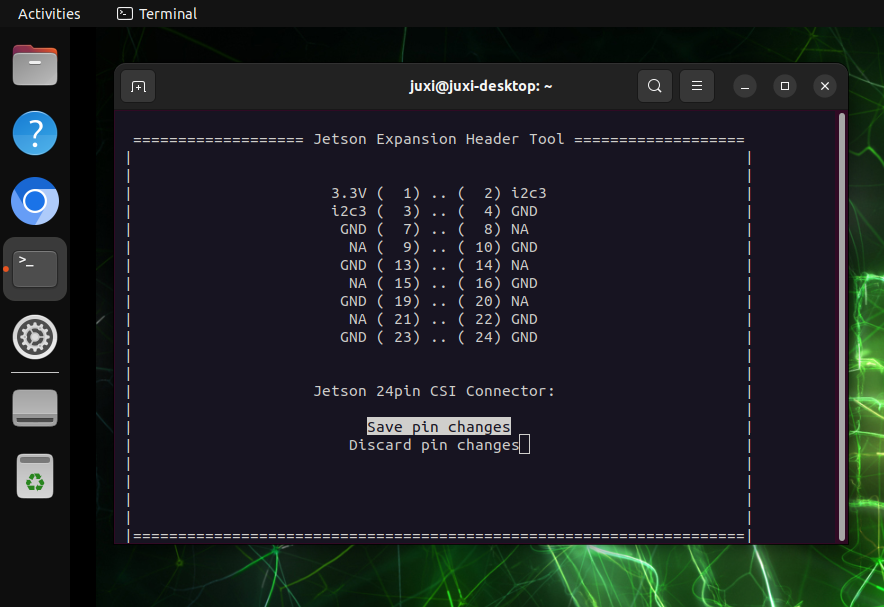
Select Save pin changes , then press Enter.
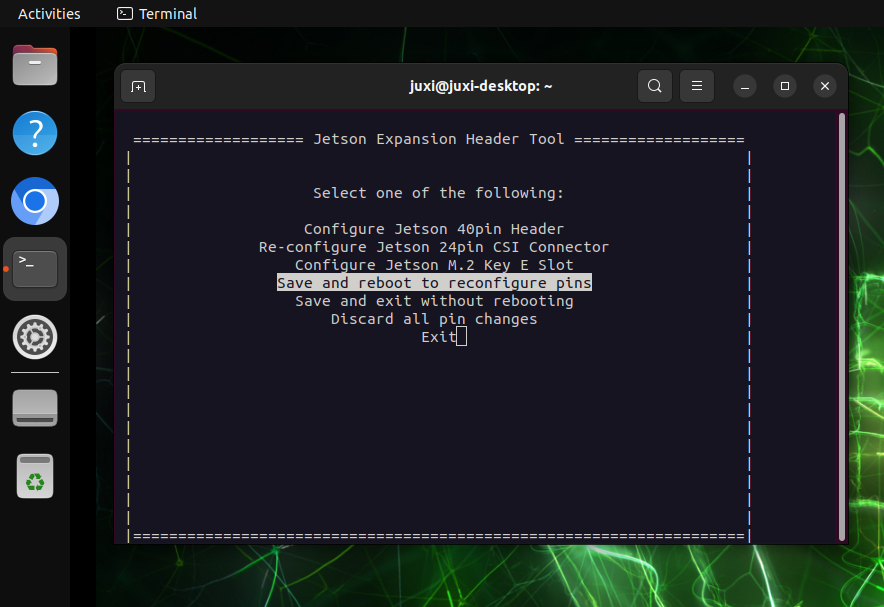
Press the Down arrow key to select Save and reboot to reconfigure pins, then press Enter.
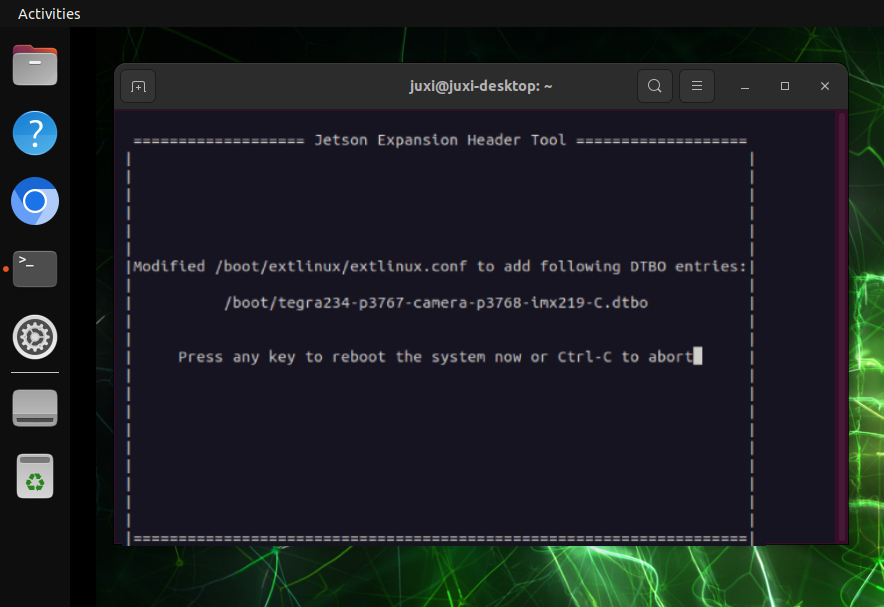
When the following screen appears, press Enter directly, and the board will restart.
2. View Video Devices
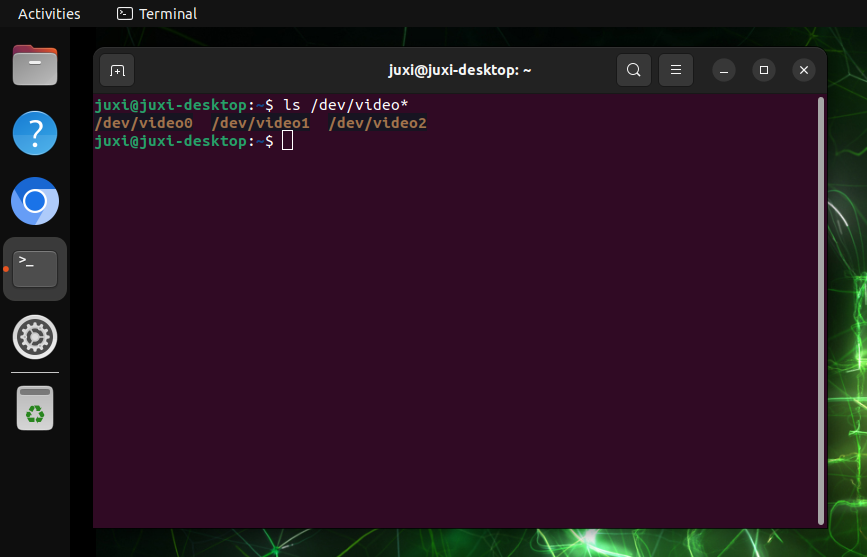
ls /dev/video*The result in the image is the result of connecting two CSI cameras: generally, one CSI camera shows one video device
3. Preview the Camera Image
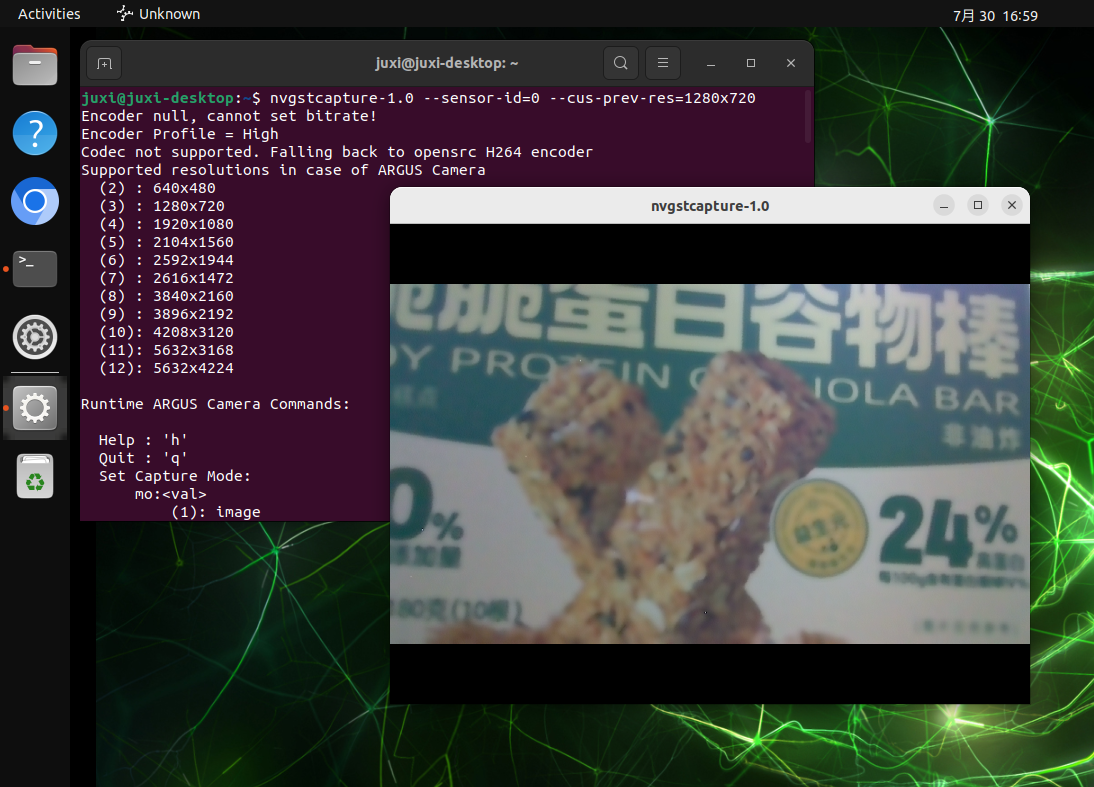
Enter the following command in the terminal, and the system will automatically pop up a camera image window: it opens the /dev/video0 device by default
nvgstcapture-1.0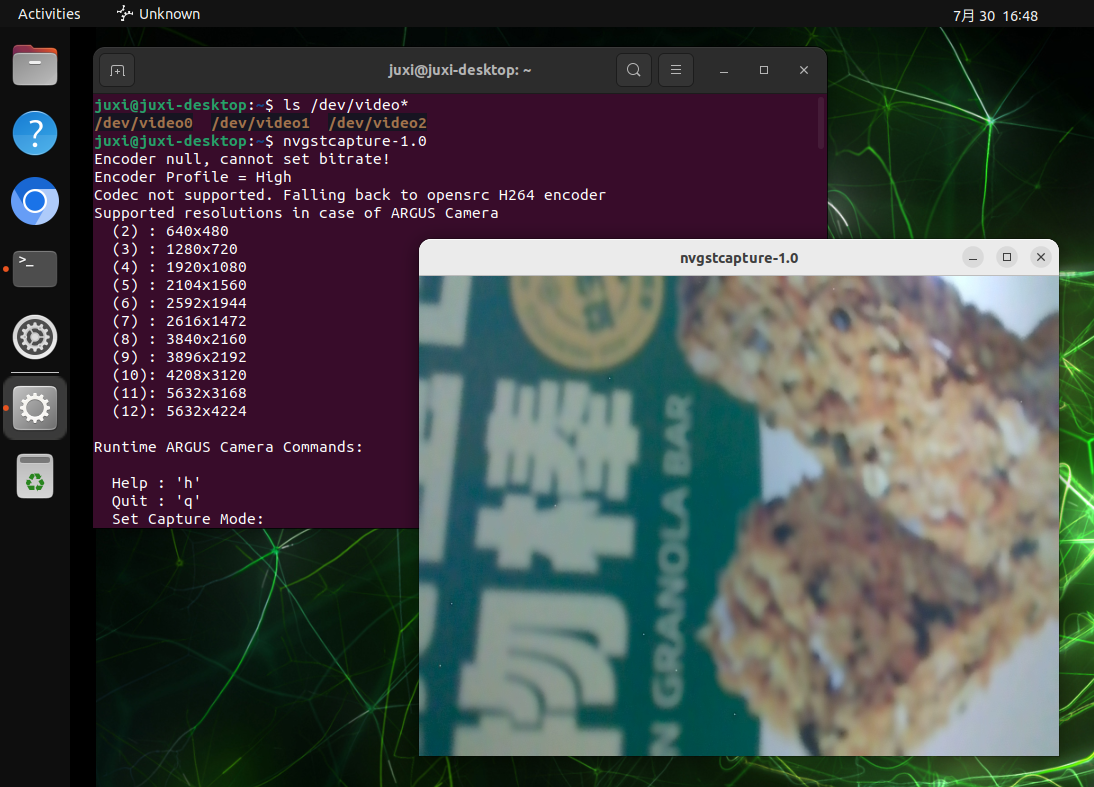
3.1. Specify the Camera
If there are multiple cameras, you can specify the camera ID:
nvgstcapture-1.0 --sensor-id=1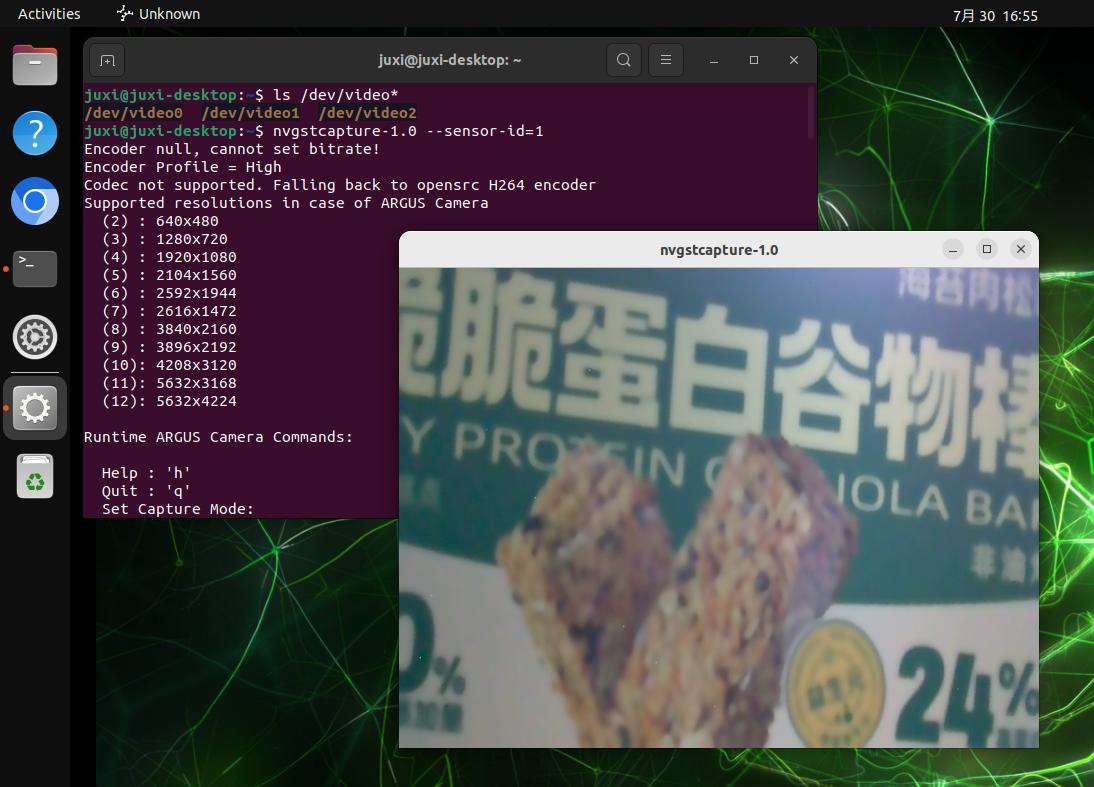
3.2. Specify the Preview Resolution
If there is only one CSI camera, you can change --sensor-id=1 to --sensor-id=0:
nvgstcapture-1.0 --sensor-id=1 --cus-prev-res=1280x720