

Step 7: Training — pi0 Command
Before running
- Environment: first open an instance and upload the dataset as described in Cloud GPU training environment setup, then come back to this page and carry out the two sections "Install the environment" and "Command line"
- Dataset:
--dataset.root=~/lerobot_my_dataset_shake_handsin the command points to the handshake dataset collected in step 6. If you are training your own task, replace it with your own dataset name - Output directory: if
--output_diralready exists, first delete it with thesudo rm -rfline above, or use a new name - You can check the curves on wandb at any time during training, see View real-time training curves on wandb
Reference documentation
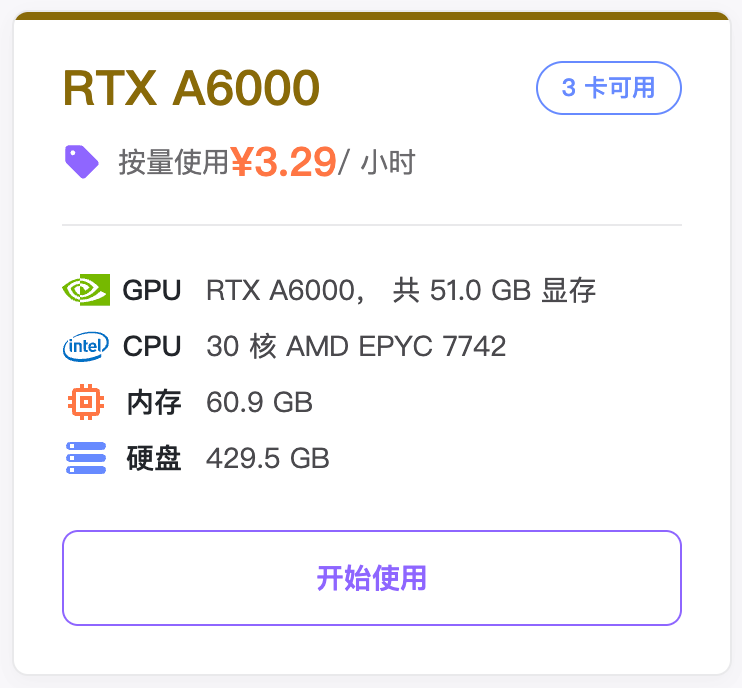
Recommended cloud GPU instance
Install the environment
Shell
conda create -y -n lerobot-pi python=3.10 -y
conda activate lerobot-pi
conda install ffmpeg=7.1.1 -c conda-forge -y

cd lerobot
pip install -e ".[pi]"
Command line
Shell
sudo rm -rf output_lerobot_train/shake/pi0_A

lerobot-train \
  --dataset.repo_id=<username>/lerobot_my_dataset_shake_hands \
  --dataset.root=~/lerobot_my_dataset_shake_hands \
  --dataset.revision=v0.1.0 \
  --dataset.streaming=false \
  --policy.type=pi0 \
  --output_dir=~/output_lerobot_train/shake/pi0_A \
  --job_name=shake_pi0_A \
  --policy.pretrained_path=lerobot/pi0_base \
  --policy.compile_model=true \
  --policy.gradient_checkpointing=true \
  --policy.dtype=bfloat16 \
  --policy.freeze_vision_encoder=false \
  --policy.train_expert_only=false \
  --steps=50000 \
  --policy.device=cuda \
  --policy.push_to_hub=false \
  --wandb.enable=true \
  --wandb.project=Lerobot_my_Project \
  --batch_size=8
Training does not formally begin until about 20 minutes after the command line is started
The model archive is about 5 GB, and 7 GB after extraction