

Step 6: Teaching & Recording a Dataset
Placeholders in the commands: replace them with your own information first
This tutorial describes general operation steps, so starting from this step, the commands use two placeholders that represent information only you have. Please replace them according to the instructions below, and remove the angle brackets along with them:
| Placeholder | What it represents | How to replace |
|---|---|---|
<username> | Your computer's system username, i.e. the name of your home directory | Type whoami in the terminal to see it |
<username> | Your HuggingFace account name | After logging in to HuggingFace, look at the account name next to the avatar in the top-right corner |
For example. Suppose the terminal's whoami output is zhangsan, and your HuggingFace account name is also zhangsan, then
/Users/<username>/.cache/huggingface/lerobot/<username>/should be written as/Users/zhangsan/.cache/huggingface/lerobot/zhangsan/<username>/lerobot_my_dataset_ashould be written aszhangsan/lerobot_my_dataset_a
Replace these two placeholders in all subsequent commands in the same way.
Note: The first command below is
sudo rm -rf, which deletes a directory. Be sure to confirm that the path has been replaced with your own before pressing Enter.
Delete any existing dataset with the same name (if any)
sudo rm -rf /Users/<username>/.cache/huggingface/lerobot/<username>/lerobot_my_dataset_aOne camera, collect the dataset - Mac
lerobot-record \
    --robot.type=so101_follower \
    --robot.port=/dev/tty.usbmodem5AAF2193061 \
    --robot.id=my_follower_arm \
    --robot.cameras="{ front: {type: opencv, index_or_path: 0, width: 1280, height: 720, fps: 30, fourcc: "MJPG"}}" \
    --teleop.type=so101_leader \
    --teleop.port=/dev/tty.usbmodem5AAF2194741 \
    --teleop.id=my_leader_arm \
    --display_data=true \
    --dataset.repo_id=<username>/lerobot_my_dataset_a \
    --dataset.num_episodes=40 \
    --dataset.single_task="Grab Oranges" \
    --dataset.push_to_hub=false \
    --dataset.episode_time_s=10 \
    --dataset.reset_time_s=2
Two cameras, collect the dataset - Mac
lerobot-record \
    --robot.type=so101_follower \
    --robot.port=/dev/tty.usbmodem5AAF2193061 \
    --robot.id=my_follower_arm \
    --robot.cameras="{ front: {type: opencv, index_or_path: 0, width: 1280, height: 720, fps: 30, fourcc: "MJPG"}, side: {type: opencv, index_or_path: 1, width: 1280, height: 720, fps: 30, fourcc: "MJPG"}}" \
    --teleop.type=so101_leader \
    --teleop.port=/dev/tty.usbmodem5AAF2194741 \
    --teleop.id=my_leader_arm \
    --display_data=true \
    --dataset.repo_id=<username>/lerobot_my_dataset_a \
    --dataset.num_episodes=40 \
    --dataset.single_task="Grab Oranges" \
    --dataset.push_to_hub=true \
    --dataset.episode_time_s=10 \
    --dataset.reset_time_s=2
Collecting
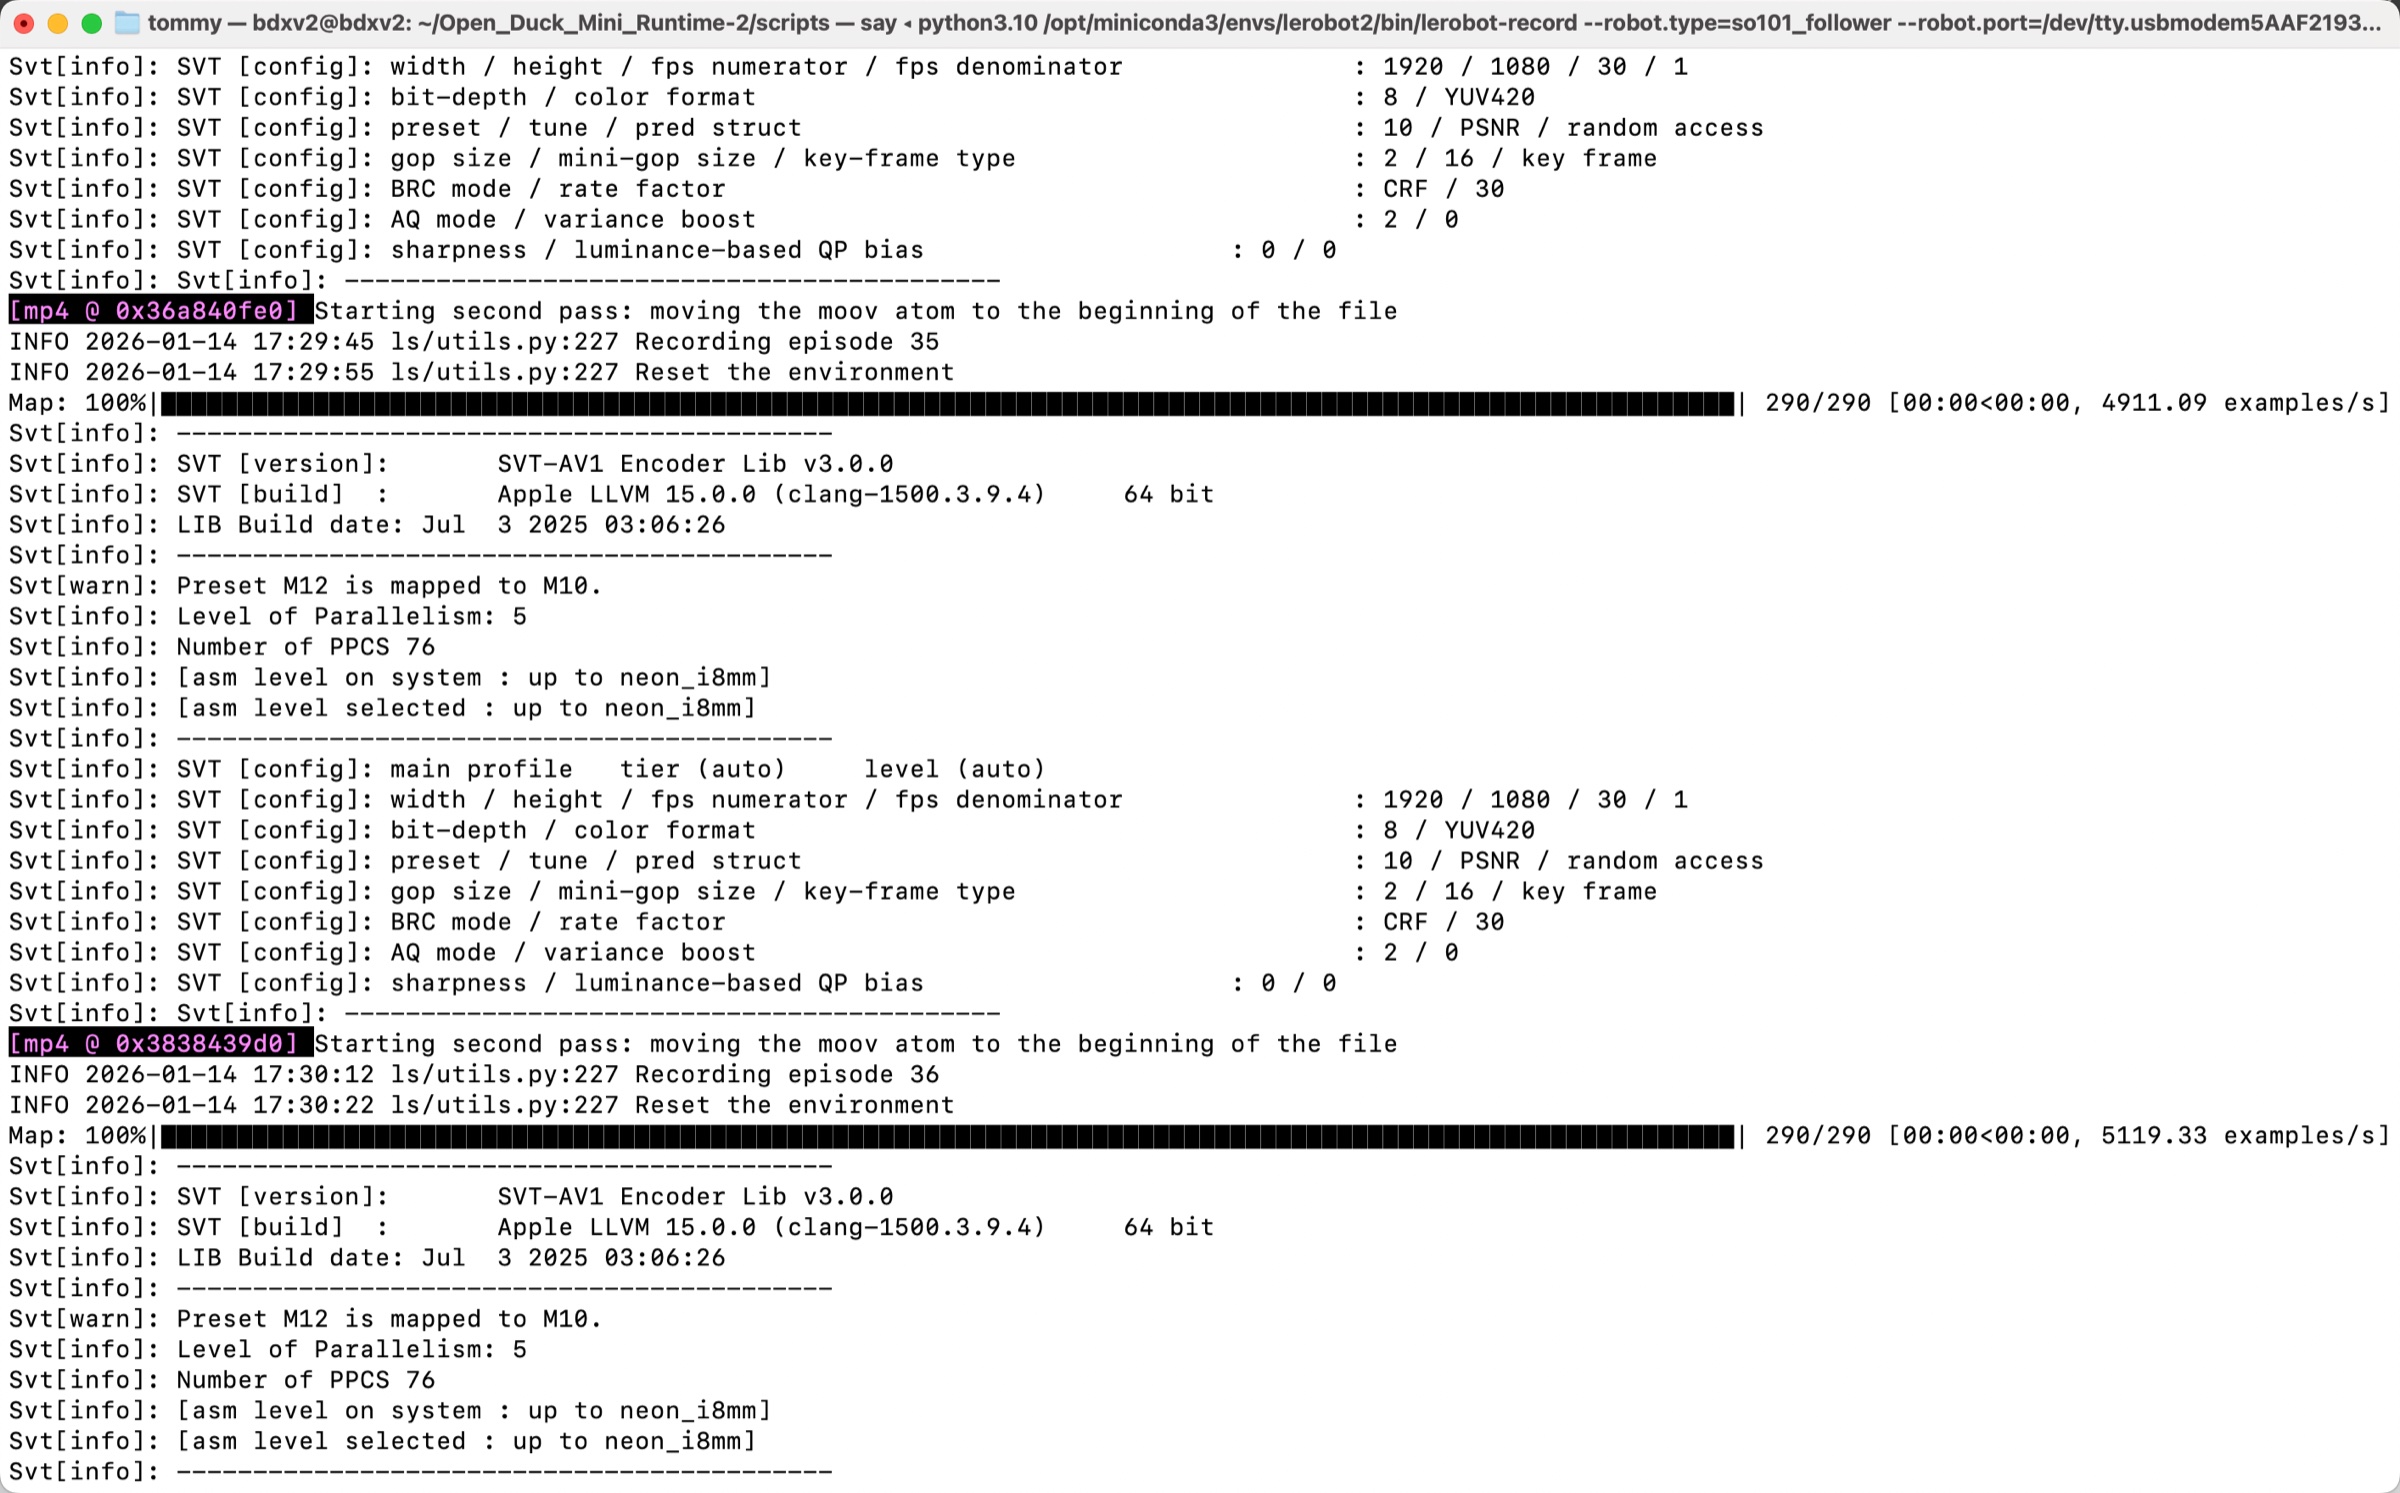
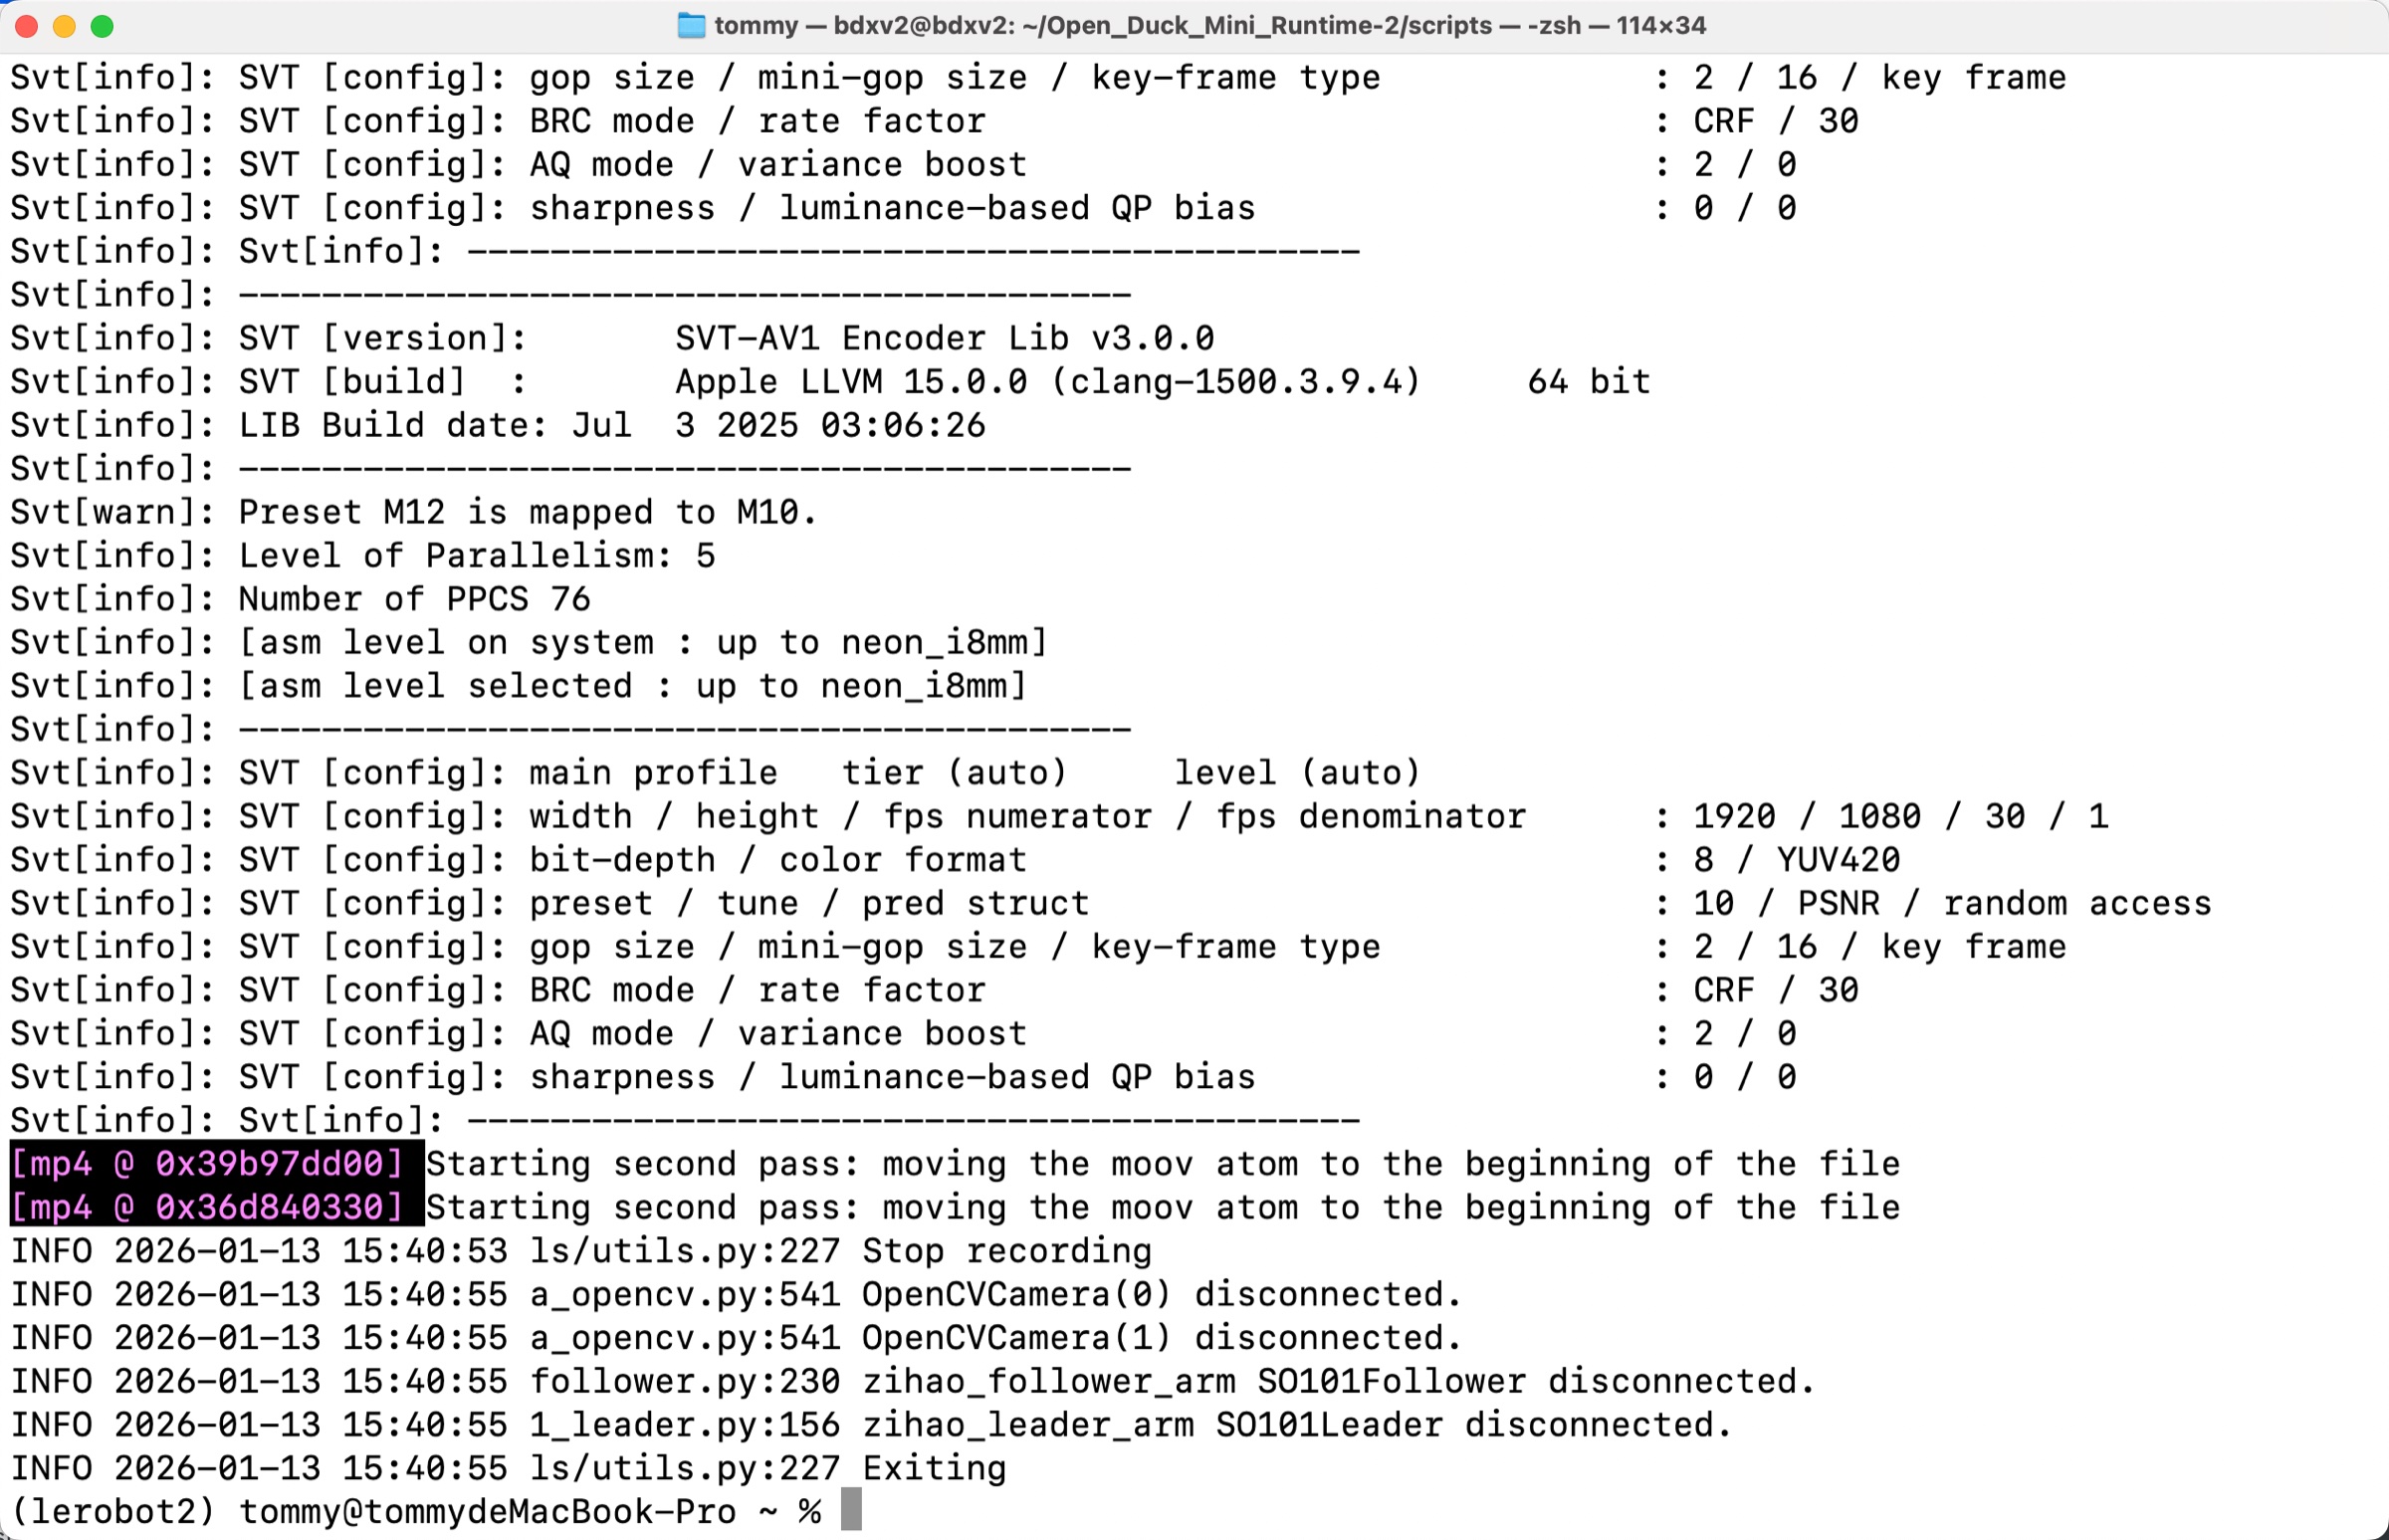
Keyboard arrow key operations: → (right arrow) Terminate the current episode early; move on to the next episode. ← (left arrow) Cancel the current episode; record it again. ESC, stop immediately, encode the video, and upload the dataset.
After collection is complete, the dataset save directory
/Users/<username>/.cache/huggingface/lerobot/<username>/lerobot_my_dataset_aHandshake
lerobot-record \
    --robot.type=so101_follower \
    --robot.port=/dev/tty.usbmodem5AAF2193061 \
    --robot.id=my_follower_arm \
    --robot.cameras="{ front: {type: opencv, index_or_path: 0, width: 1280, height: 720, fps: 30, fourcc: "MJPG"}}" \
    --teleop.type=so101_leader \
    --teleop.port=/dev/tty.usbmodem5AAF2194741 \
    --teleop.id=my_leader_arm \
    --display_data=true \
    --dataset.repo_id=<username>/lerobot_my_dataset_shake_hands \
    --dataset.num_episodes=30 \
    --dataset.single_task="Shanke Hands" \
    --dataset.push_to_hub=false \
    --dataset.episode_time_s=12 \
    --dataset.reset_time_s=1
After collection is complete, the handshake dataset will be saved in:
/Users/<username>/.cache/huggingface/lerobot/<username>/lerobot_my_dataset_shake_handsAbout the two datasets used in the tutorial
This article demonstrates two tasks, each with a different purpose:
- Grab oranges
lerobot_my_dataset_a: corresponds to the two collection commands "one camera" and "two cameras" above, and is also the example used in Local Ubuntu training - Handshake
lerobot_my_dataset_shake_hands: corresponds to the "Handshake" command above. From the training in step 7 to the deployment in step 8, the tutorial uses it as the example throughout, so you will see that both--dataset.repo_idand--dataset.rootin the training commands point to it
In other words, the handshake dataset is the main example for the second half of the tutorial, so please collect it accordingly. As for parameters such as --dataset.num_episodes=30 and --dataset.episode_time_s=12 in the command, just adjust them according to your own task.
A few things to note during collection
- Keep the leader arm out of the frame; otherwise the model will learn the leader arm as a feature too. For details, see Notes on collecting datasets
- After each collection round, put the object back to the starting point and keep the motions as consistent as possible; the consistency of the dataset is more important than the quantity
- The camera parameters (resolution, fps, aspect ratio) during collection and inference must be exactly the same. The resolution is written into the dataset metadata and is checked during training and inference; any mismatch will cause an error directly. Even if it does not error, a different resolution means a different field of view, and the world the model sees will not match what you demonstrated. This tutorial uses
1280×720@30throughout; if you want to change it to another value, you must change it in all three places: collection, teleoperation, and deployment - If you exit midway, do not stop during the reset phase; otherwise this round will fail to save because it has no frames (this does not affect already-collected data)
- If you exit midway and want to continue collecting, use
--resume=true, and--dataset.rootand--dataset.repo_idmust be exactly the same as the first time
After collection is complete
The data is saved by default under ~/.cache/huggingface/lerobot/<username>/. Next:
- To back up the dataset to the cloud, see Upload the dataset to HuggingFace (optional)
- To start training, continue with Step 7: Train the model, which will first guide you through uploading the data to the cloud GPU platform and setting up the environment