

08 WiFi status page and provisioning
This step is optional and not required for self-righting itself. The MuJoCo simulation window and the live twin have their own page: page 09.
8.1 Hotspot and status page
Hotspot: SSID SR-Support, password srsupport, address 192.168.4.1 (w toggles it; on by default at boot). w is sent over serial: type w in the send box of the serial monitor/assistant and press Enter; serial tools / the Windows UartAssist download are on page 03, section 3.3.
Join the hotspot and open http://192.168.4.1 (phones usually pop the portal automatically). The page refreshes every 300 ms: state, up vector and uprightness bar, joint commands, get-up pose/phase, Home WiFi state and the twin-stream switch (live mirror on page 09). If the browser uses a proxy, add an exception for this address.
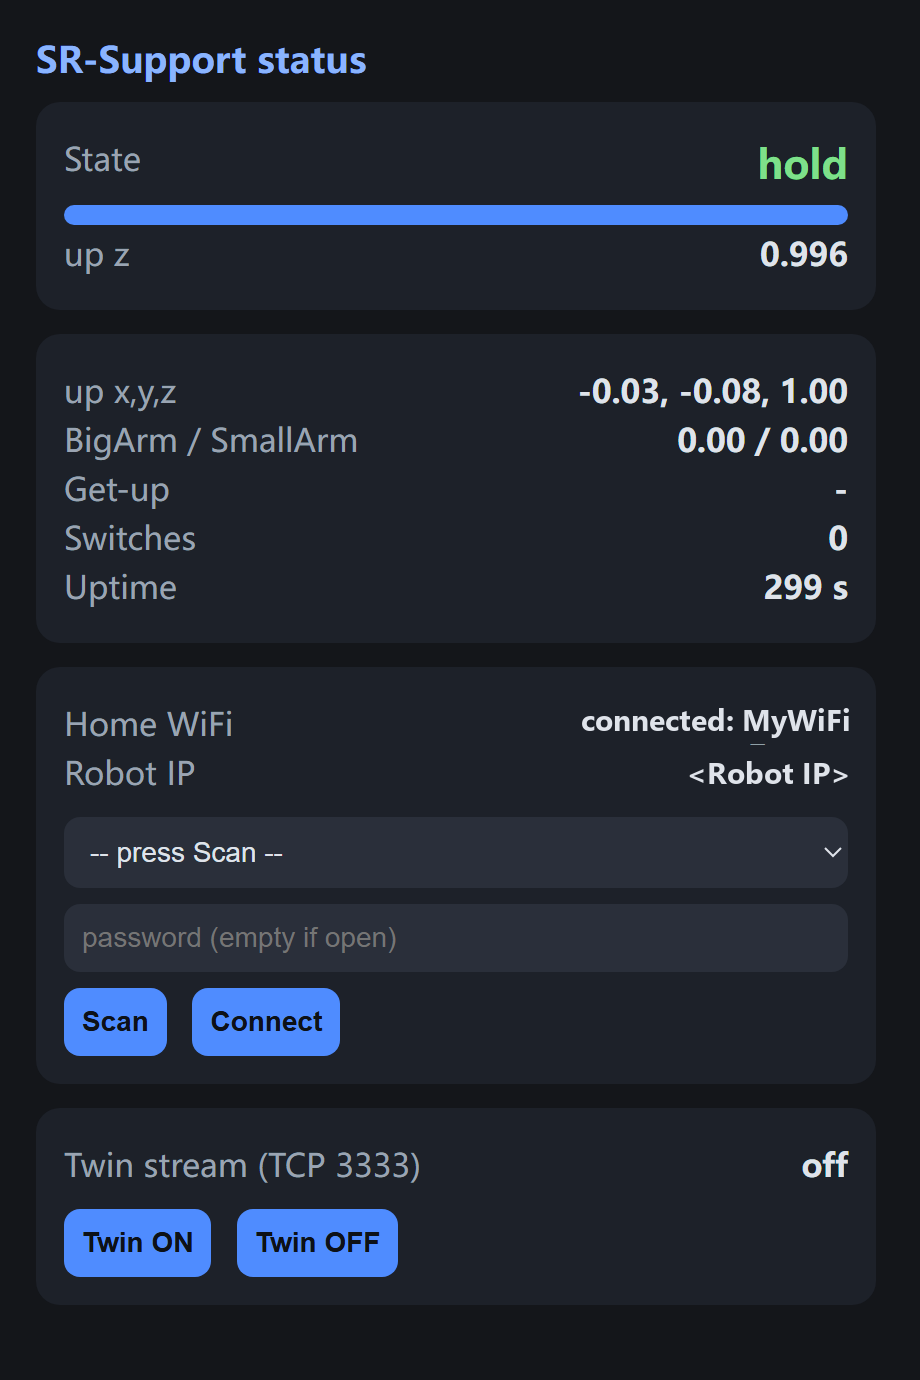
Figure 8-1: the robot status page (opened in a browser at the robot's address). In this capture the robot has joined the home WiFi: the Home WiFi card shows the connection state and the Robot IP, with the twin-stream switch below (usage on 9.2).
8.2 Provisioning (join the home WiFi)
On the status page use the Home WiFi card: Scan → pick a network → enter the password → Connect. On success the ESP32 runs AP+STA:
- the hotspot stays up (bench work is unaffected);
- the robot is reachable on the home LAN (the page shows its
Robot IP- use it in the twin command on page 09); - credentials are stored in NVS and rejoined automatically on boot.
2.4 GHz only; scans/connects are refused while a get-up is running.