

Arduino: Serial Port Communication
📁 File Structure
UART_Voice/
├── UART_Voice.ino    # Main program
├── bsp_uart.hpp         # Header file (protocol frames and function declarations)
├── bsp_uart.cpp         # Implementation file
└── README.md              # This tutorial
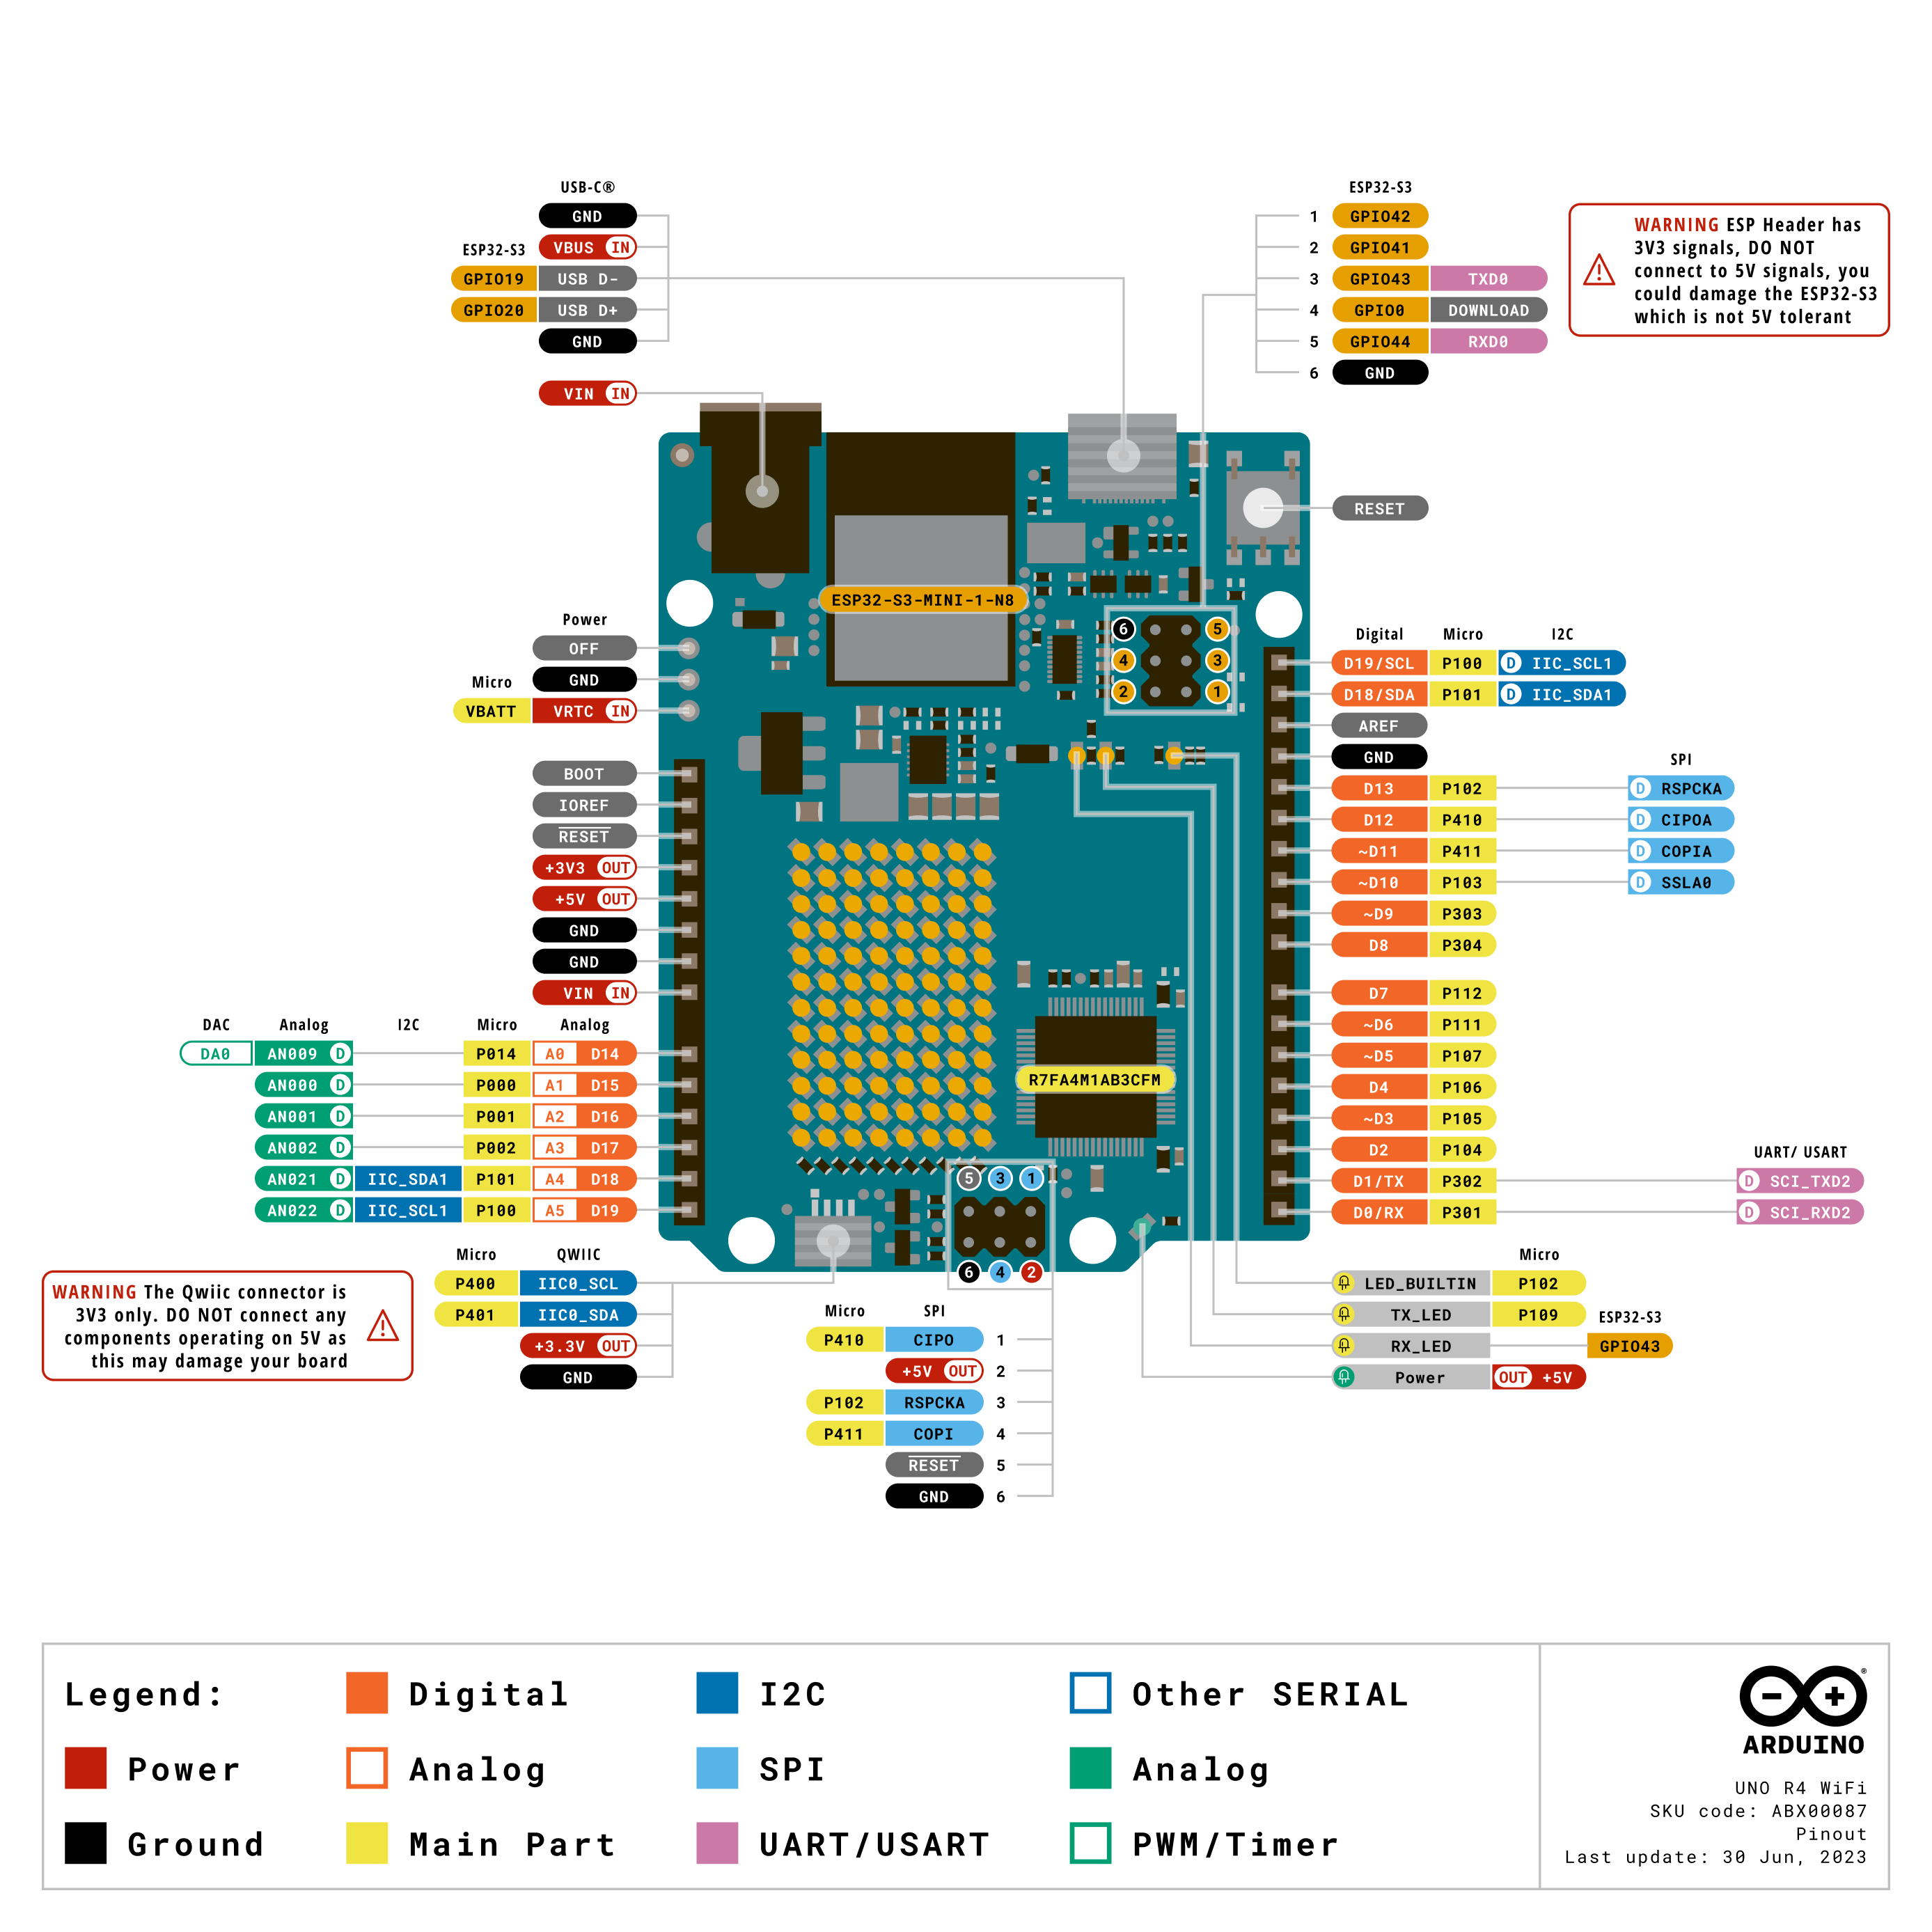
🔌 Hardware Connection
Connecting to the Voice Module
💡 Note: RX and TX need to be cross-connected!
🔧 Build and Upload
Step 1: Open the Arduino IDE
Open the
UART_Voice.inofileSelect your development board model (e.g. Arduino Uno)
Select the corresponding serial port
Step 2: Build and Upload
Click the ✔️ button to build
Click the ➡️ button to upload to the development board
📡 Serial Port Test
Open the serial monitor in the Arduino IDE
Baud rate: 115200
Line ending: None
Expected Output
After power-on you should see:
UART Voice Module InitializedSay the wake word and command words to the module, and the corresponding IDs will be output:
ID: 1
ID: 2
ID: 10
📚 Protocol Frame Format
Example: reading the command ID = 10
FE EF 00 0A EEExample: sending a command word playback
FE EF D3 00 EE📚 BSP Interface Description
UART_Init()
void UART_Init(void);Function: Initialize the serial port (baud rate 115200)
Example:
void setup() {
  UART_Init();
}
UART_ReadCommand()
int UART_ReadCommand(void);
Function: Read the command ID recognized by the voice module
Return value:
0- no command recognized1~254- command ID-1- no new data
Example:
int id = UART_ReadCommand();
if (id > 0) {
  Serial.print("识别到命令: ");
  Serial.println(id);
}
UART_SetPassiveVoice()
void UART_SetPassiveVoice(uint8_t voiceID);Function: Set the passive playback voice
Parameter:
0x00- passive response phrase type
Example:
UART_SetPassiveVoice(0x00);
delay(200);
UART_SetFunctionVoice()
void UART_SetFunctionVoice(uint8_t voiceID);Function: Set the function word playback voice
Parameter:
0x00- function word playback phrase type
Example:
UART_SetFunctionVoice(0x00);
delay(200);
UART_SetCommandVoice()
void UART_SetCommandVoice(uint8_t voiceID);Function: Set the command word playback voice
Parameter:
0x00- command word playback phrase type
Example:
UART_SetCommandVoice(0x00);
delay(200);
🎯 Main Program Logic Description
void setup() {
  Serial.begin(115200);
  UART_Init();

  Serial.println("UART Voice Module Initialized");

  UART_SetCommandVoice(0x00);  // Play the command word voice on power-up
  delay(200);
}

void loop() {
  int commandId = UART_ReadCommand();

  if (commandId >= 0) {
    // Filter out invalid values to prevent duplicate output
    if (commandId != 0 && commandId != 255 && commandId != lastCommandId) {
      Serial.print("ID: ");
      Serial.println(commandId);
      lastCommandId = commandId;

      // Example: control the playback based on the recognized command
      if (commandId == 1) {
        UART_SetCommandVoice(0x00);  // Command 1 recognized, play command word voice
      } else if (commandId == 2) {
        UART_SetCommandVoice(0x00);  // Command 2 recognized, play command word voice
      }
    } else if (commandId == 0 || commandId == 255) {
      if (lastCommandId != 0) {
        lastCommandId = 0;  // Reset state
      }
    }
  }

  delay(50);
}
🔍 Troubleshooting
Q1: No output at all
Possible causes:
RX/TX are reversed
GND is not common
The module is not powered
Wrong baud rate
Solutions:
Confirm that D10 connects to the module TX and D11 to the module RX (cross connection)
Confirm the GND connection
Confirm the 5V supply is normal
Confirm that the serial port baud rate is 115200
Q2: The serial port only shows garbled characters
Possible causes:
Baud rate mismatch
The module is not powering up properly
Solutions:
Confirm that the serial monitor baud rate is 115200
Press the module reset button once
Q3: It outputs "ID: 255" or "ID: 0"
Note: this is normal
0= no command recognized255= no new data
These values are already filtered out in the code and normally will not be output. If you see them output, the code is not taking effect.
💡 Advantages of the BSP Architecture
Clear Code Layering
bsp_uart.hpp - view the declarations only, not the implementation
bsp_uart.cpp - the concrete implementation details
UART_Voice.ino - concerned only with business logic
Easy to Port
If you switch to another platform (such as STM32 or ESP32), you only need to modify the implementation of bsp_uart.cpp; the main program does not need to change.
Easy to Maintain
Changes to UART-related code are made only in bsp_uart.cpp; change once, effective everywhere.
🚀 Extended Function Examples
Example 1: Trigger Different Playback Based on Different Commands
if (commandId == 1) {
  UART_SetCommandVoice(0x00);      // Play command word
} else if (commandId == 2) {
  UART_SetFunctionVoice(0x00);     // Play function word
} else if (commandId == 3) {
  UART_SetPassiveVoice(0x00);      // Play passive phrase
}
Example 2: Control an LED
if (commandId == 10) {
  digitalWrite(LED_PIN, LOW);    // Turn off the light
  UART_SetCommandVoice(0x00);     // Play confirmation voice
}
Example 3: Control a Motor
if (commandId == 11) {
  motor_stop();
  UART_SetCommandVoice(0x00);     // Play confirmation voice
}