

Arduino: 串口通讯
📁 文件结构
Plain
UART_Voice/
├── UART_Voice.ino    # 主程序
├── bsp_uart.hpp         # 头文件(协议帧和函数声明)
├── bsp_uart.cpp         # 实现文件
└── README.md              # 本教程
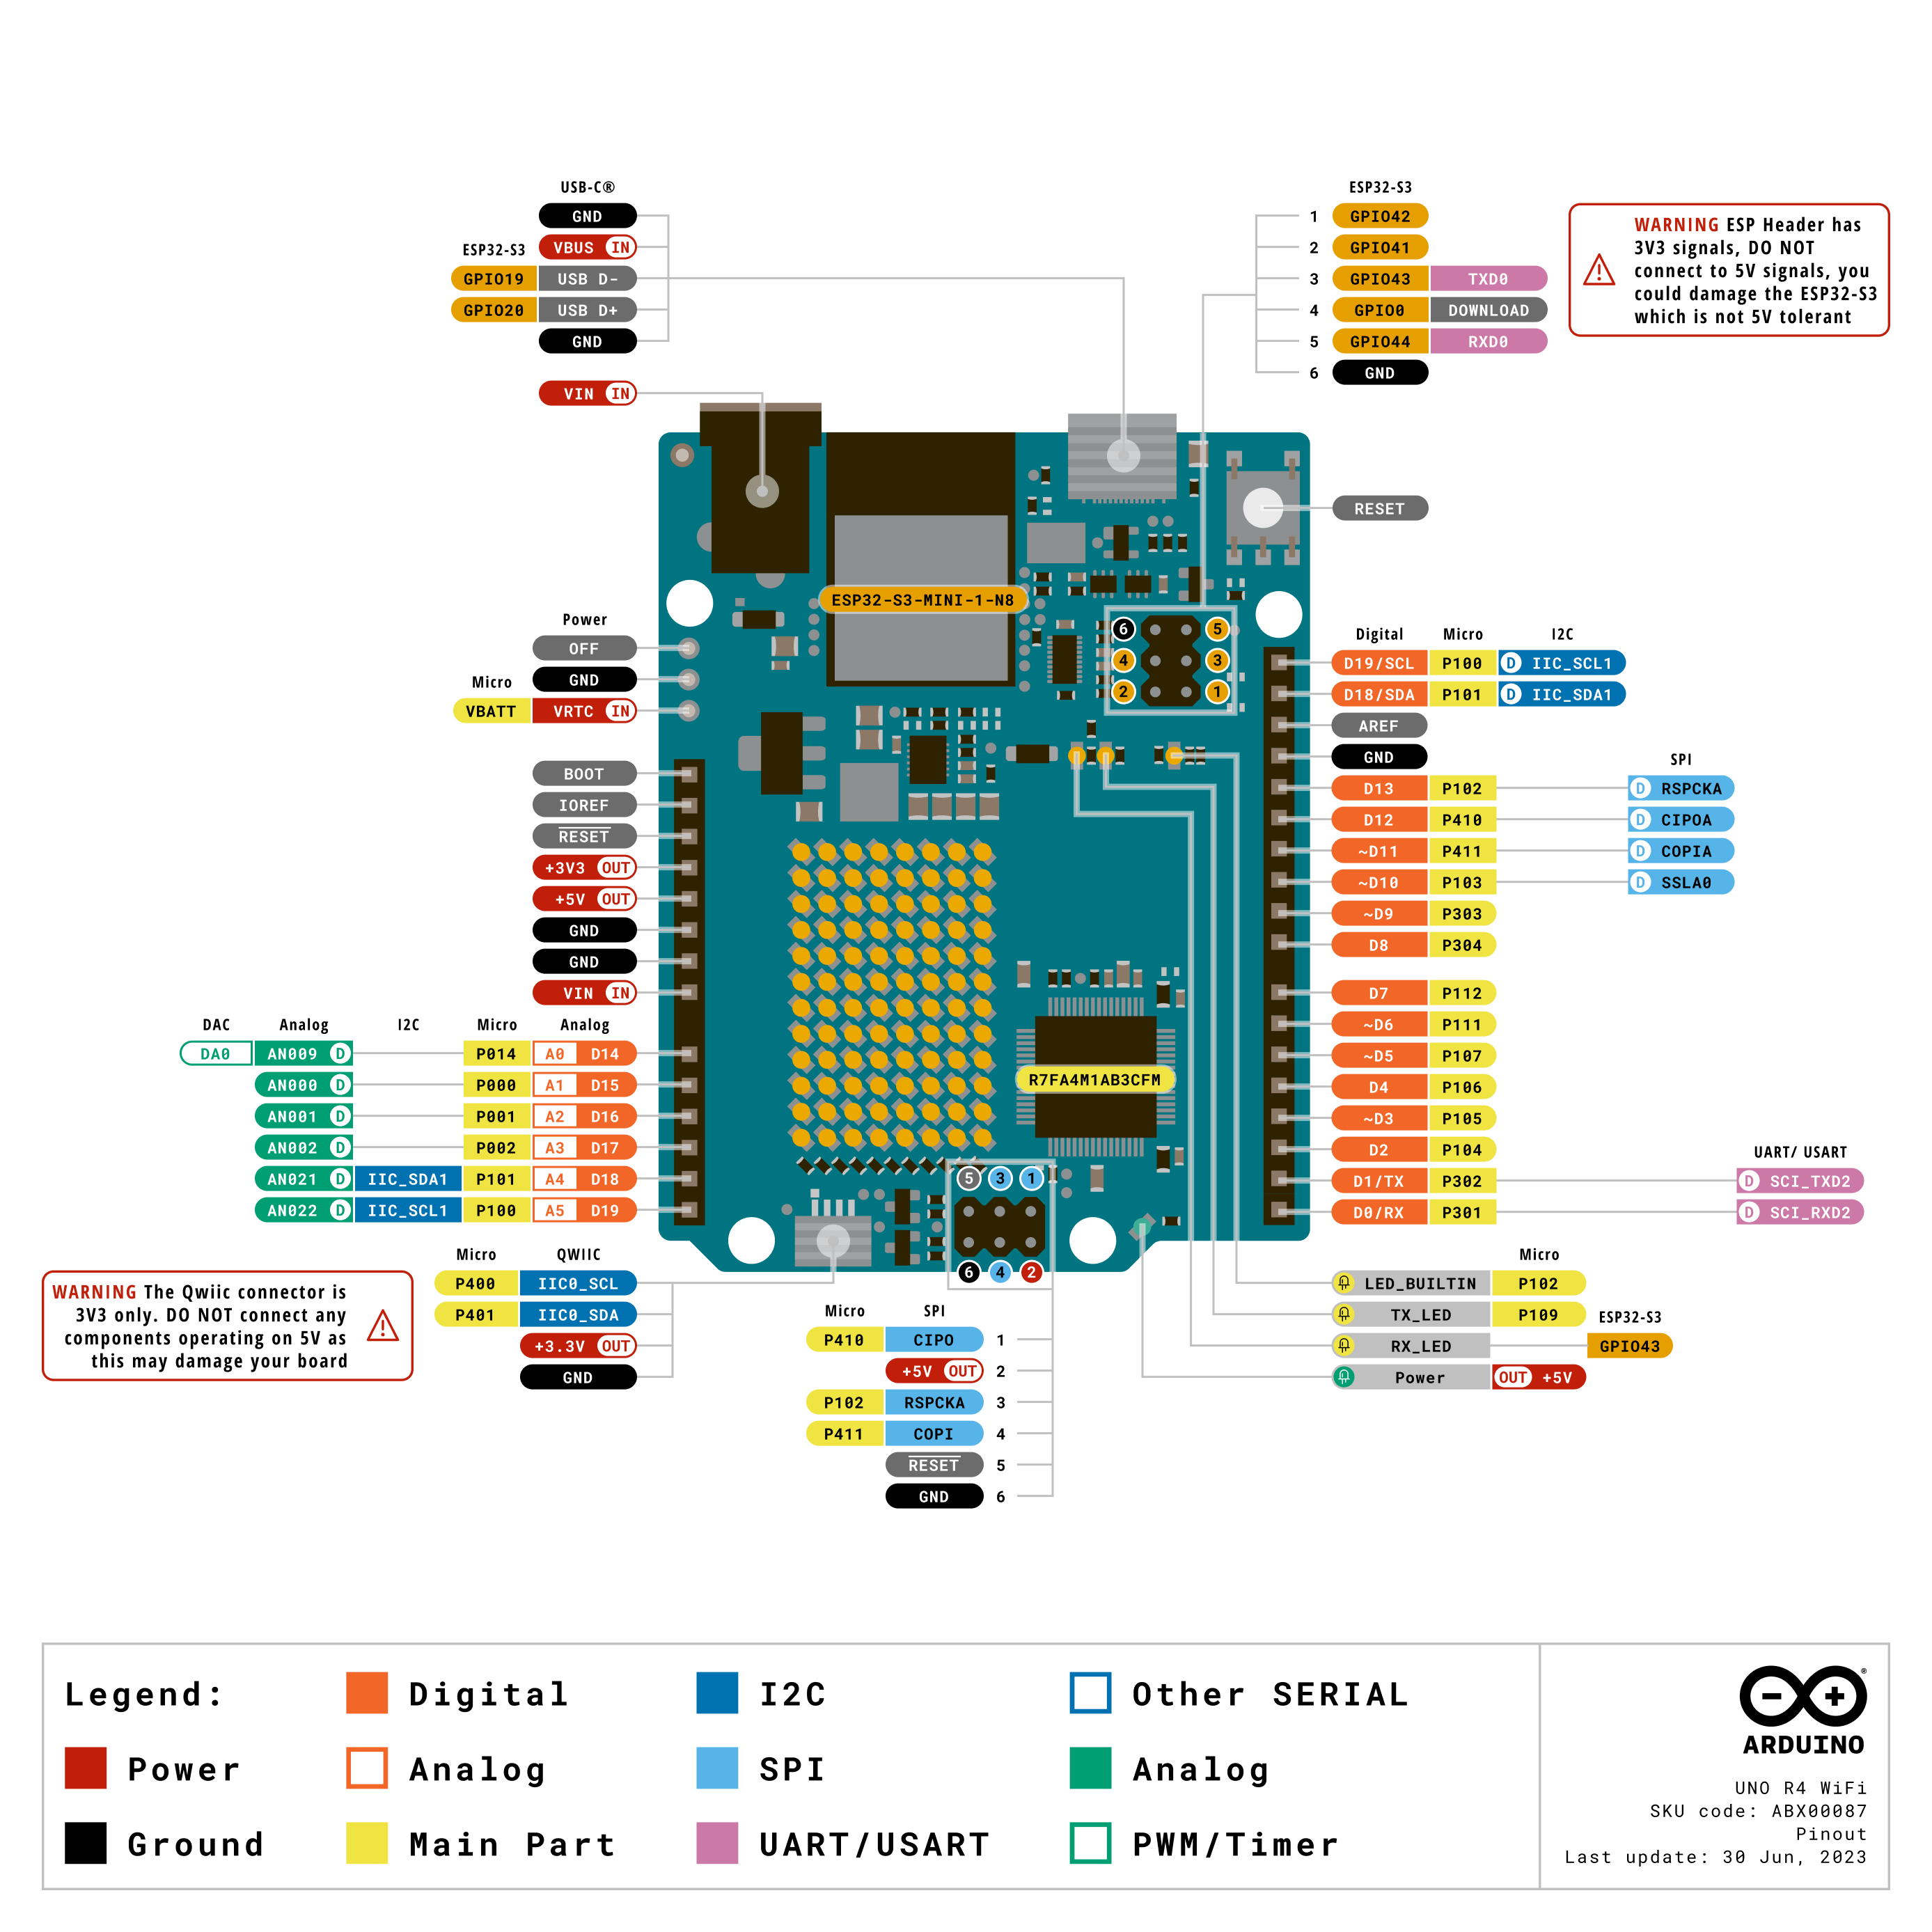
🔌 硬件连接
连接到语音模块
💡 注意: RX 和 TX 需要交叉连接!
🔧 编译上传
第一步:打开 Arduino IDE
打开
UART_Voice.ino文件选择你的开发板型号(如 Arduino Uno)
选择对应的串口
第二步:编译上传
点击 ✔️ 按钮编译
点击 ➡️ 按钮上传到开发板
📡 串口测试
打开Arduino IDE里的串口监视器
波特率:115200
结束符:无
预期输出
上电后应该看到:
Plain
UART Voice Module Initialized对模块说出唤醒词和命令词,会输出对应的ID:
Plain
ID: 1
ID: 2
ID: 10
📚 协议帧格式
示例: 读取到命令ID=10
Plain
FE EF 00 0A EE示例: 发送命令词播报
Plain
FE EF D3 00 EE📚 BSP 接口说明
UART_Init()
Plain
void UART_Init(void);功能:初始化串口(波特率 115200)
示例:
Plain
void setup() {
  UART_Init();
}
UART_ReadCommand()
int UART_ReadCommand(void);
功能:读取语音模块识别到的命令ID
返回值:
0- 未识别到命令1~254- 命令ID-1- 无新数据
示例:
Plain
int id = UART_ReadCommand();
if (id > 0) {
  Serial.print("识别到命令: ");
  Serial.println(id);
}
UART_SetPassiveVoice()
Plain
void UART_SetPassiveVoice(uint8_t voiceID);功能:设置被动播报语音
参数:
0x00- 被动播报语类型
示例:
Plain
UART_SetPassiveVoice(0x00);
delay(200);
UART_SetFunctionVoice()
Plain
void UART_SetFunctionVoice(uint8_t voiceID);功能:设置功能词播报语音
参数:
0x00- 功能词播报语类型
示例:
Plain
UART_SetFunctionVoice(0x00);
delay(200);
UART_SetCommandVoice()
Plain
void UART_SetCommandVoice(uint8_t voiceID);功能:设置命令词播报语音
参数:
0x00- 命令词播报语类型
示例:
Plain
UART_SetCommandVoice(0x00);
delay(200);
🎯 主程序逻辑说明
JavaScript
void setup() {
  Serial.begin(115200);
  UART_Init();

  Serial.println("UART Voice Module Initialized");

  UART_SetCommandVoice(0x00);  // 上电播报命令词语音
  delay(200);
}

void loop() {
  int commandId = UART_ReadCommand();

  if (commandId >= 0) {
    // 过滤无效值,防止重复输出
    if (commandId != 0 && commandId != 255 && commandId != lastCommandId) {
      Serial.print("ID: ");
      Serial.println(commandId);
      lastCommandId = commandId;

      // 示例:根据识别到的命令控制播报
      if (commandId == 1) {
        UART_SetCommandVoice(0x00);  // 识别到命令1,播报命令词语音
      } else if (commandId == 2) {
        UART_SetCommandVoice(0x00);  // 识别到命令2,播报命令词语音
      }
    } else if (commandId == 0 || commandId == 255) {
      if (lastCommandId != 0) {
        lastCommandId = 0;  // 重置状态
      }
    }
  }

  delay(50);
}
🔍 常见问题
Q1: 没有任何输出
可能原因:
RX/TX 接反了
GND 没共地
模块没上电
波特率不对
解决方法:
确认 D10 接 模块 TX,D11 接 模块 RX(交叉连接)
确认 GND 连接
确认 5V 供电正常
确认串口波特率是 115200
Q2: 串口只显示乱码
可能原因:
波特率不匹配
模块上电不正常
解决方法:
确认串口监视器波特率是 115200
按一下模块复位键
Q3: 输出 "ID: 255" 或 "ID: 0"
说明: 这是正常现象
0= 未识别到命令255= 无新数据
代码里已经过滤掉这些值了,正常不会输出。如果看到输出,说明代码没生效。
💡 BSP 架构的优点
代码分层清晰
bsp_uart.hpp - 只看声明,不看实现
bsp_uart.cpp - 具体实现细节
UART_Voice.ino - 只关心业务逻辑
易于移植
如果换其他平台(如 STM32、ESP32),只需要修改 bsp_uart.cpp 的实现,主程序不用改。
易于维护
修改 UART 相关代码只在 bsp_uart.cpp 里,一处修改,处处生效。
🚀 扩展功能示例
示例1:根据不同命令触发不同播报
Plain
if (commandId == 1) {
  UART_SetCommandVoice(0x00);      // 播报命令词
} else if (commandId == 2) {
  UART_SetFunctionVoice(0x00);     // 播报功能词
} else if (commandId == 3) {
  UART_SetPassiveVoice(0x00);      // 播报被动语
}
示例2:控制 LED
Plain
if (commandId == 10) {
  digitalWrite(LED_PIN, LOW);    // 关灯
  UART_SetCommandVoice(0x00);     // 播报确认
}
示例3:控制电机
Plain
if (commandId == 11) {
  motor_stop();
  UART_SetCommandVoice(0x00);     // 播报确认
}