第五步:连接摄像头的遥操作(Windows)
连接摄像头和电脑
Shell
lerobot-find-cameras opencv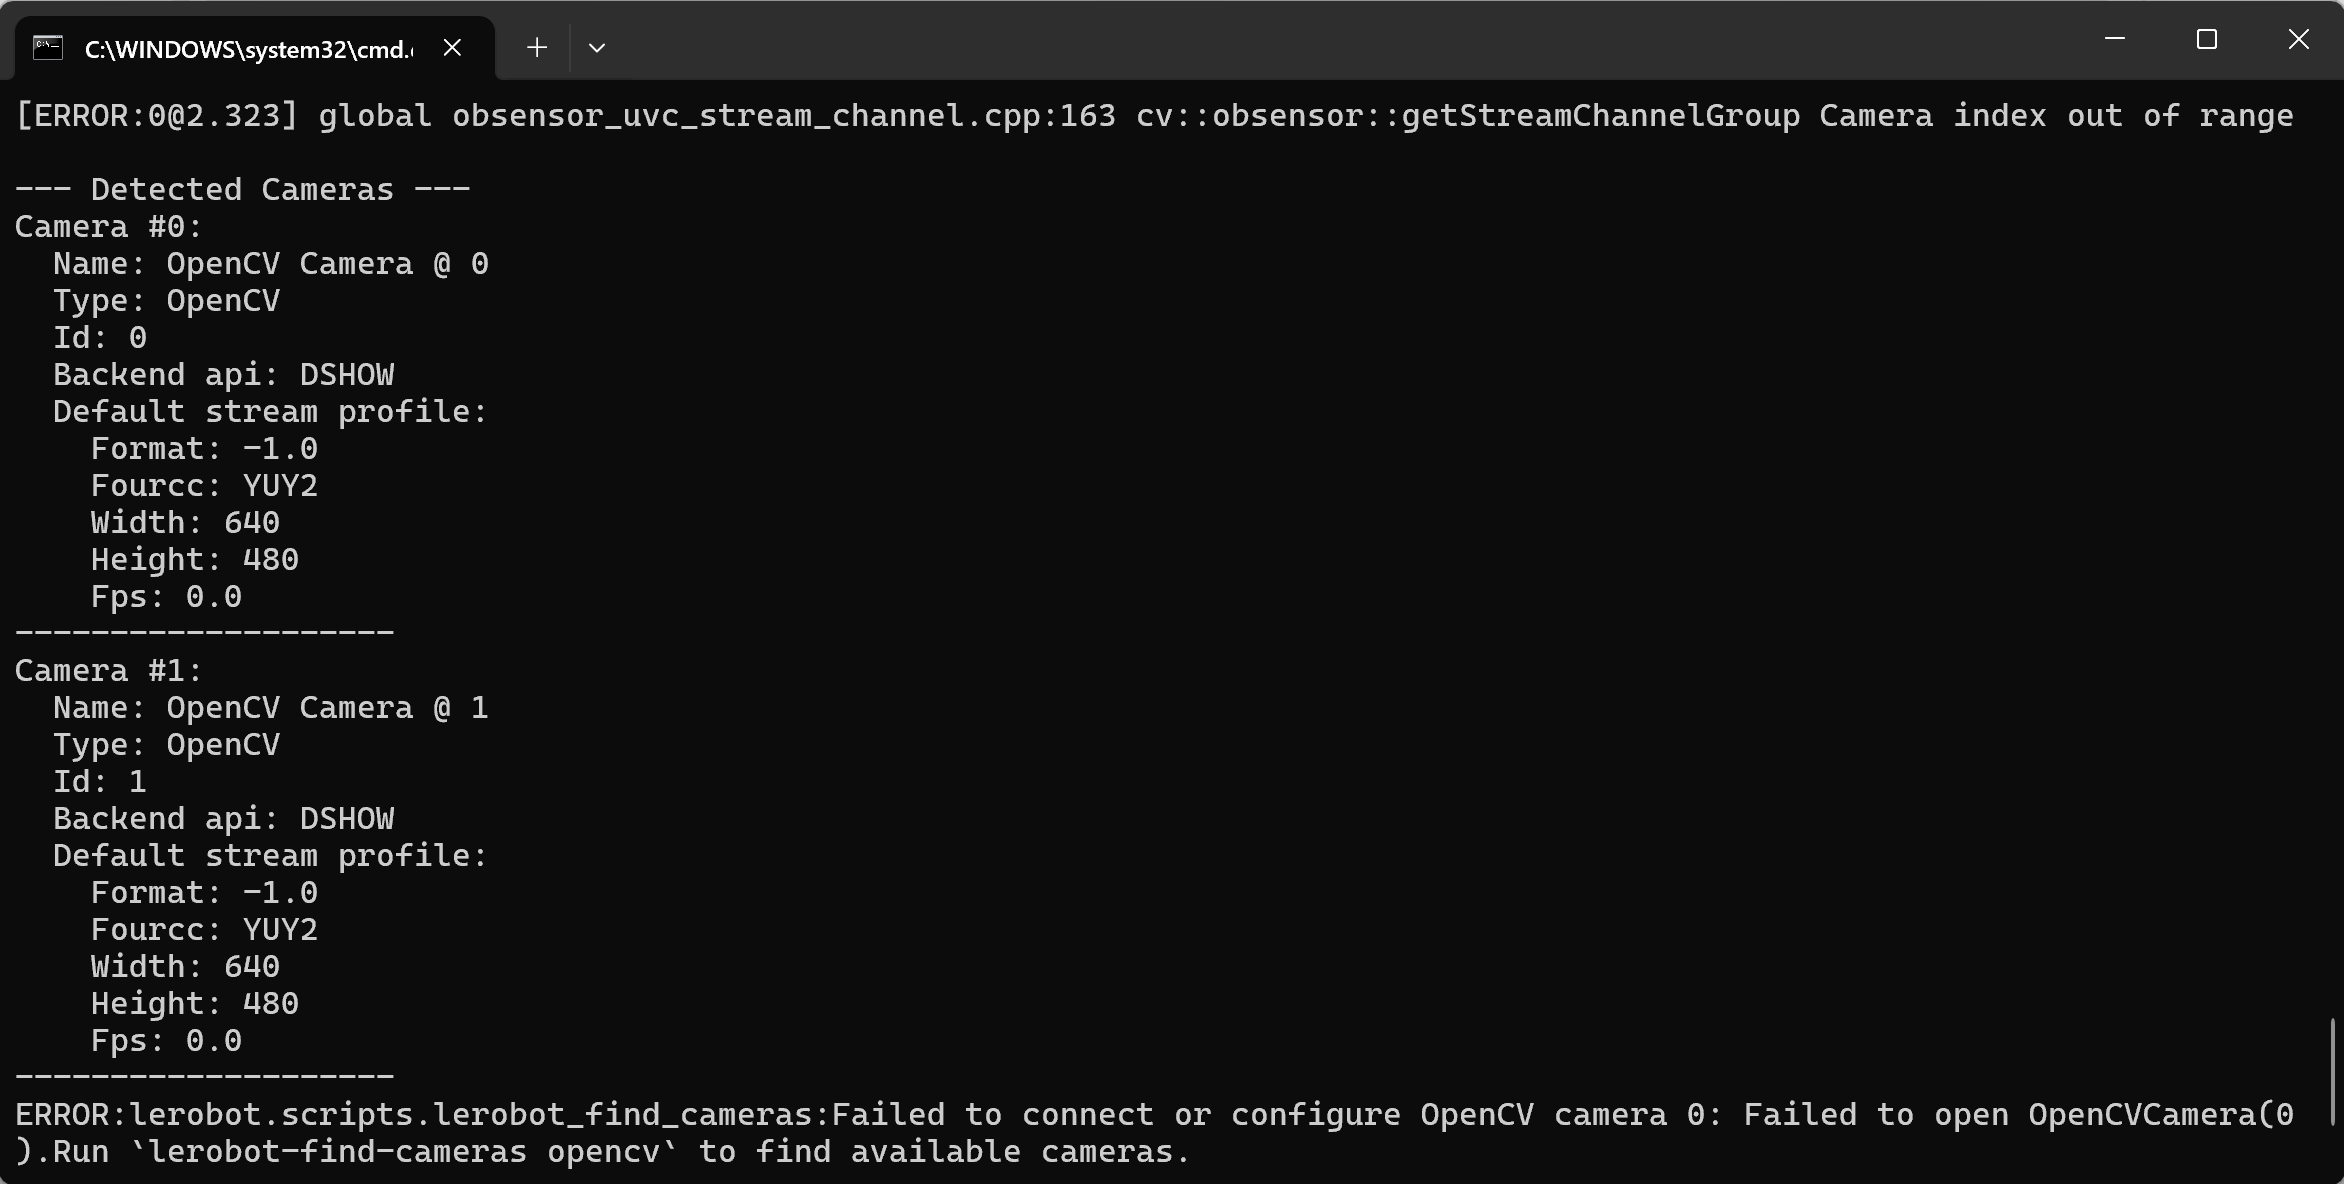
遥操作并显示摄像头画面
Shell
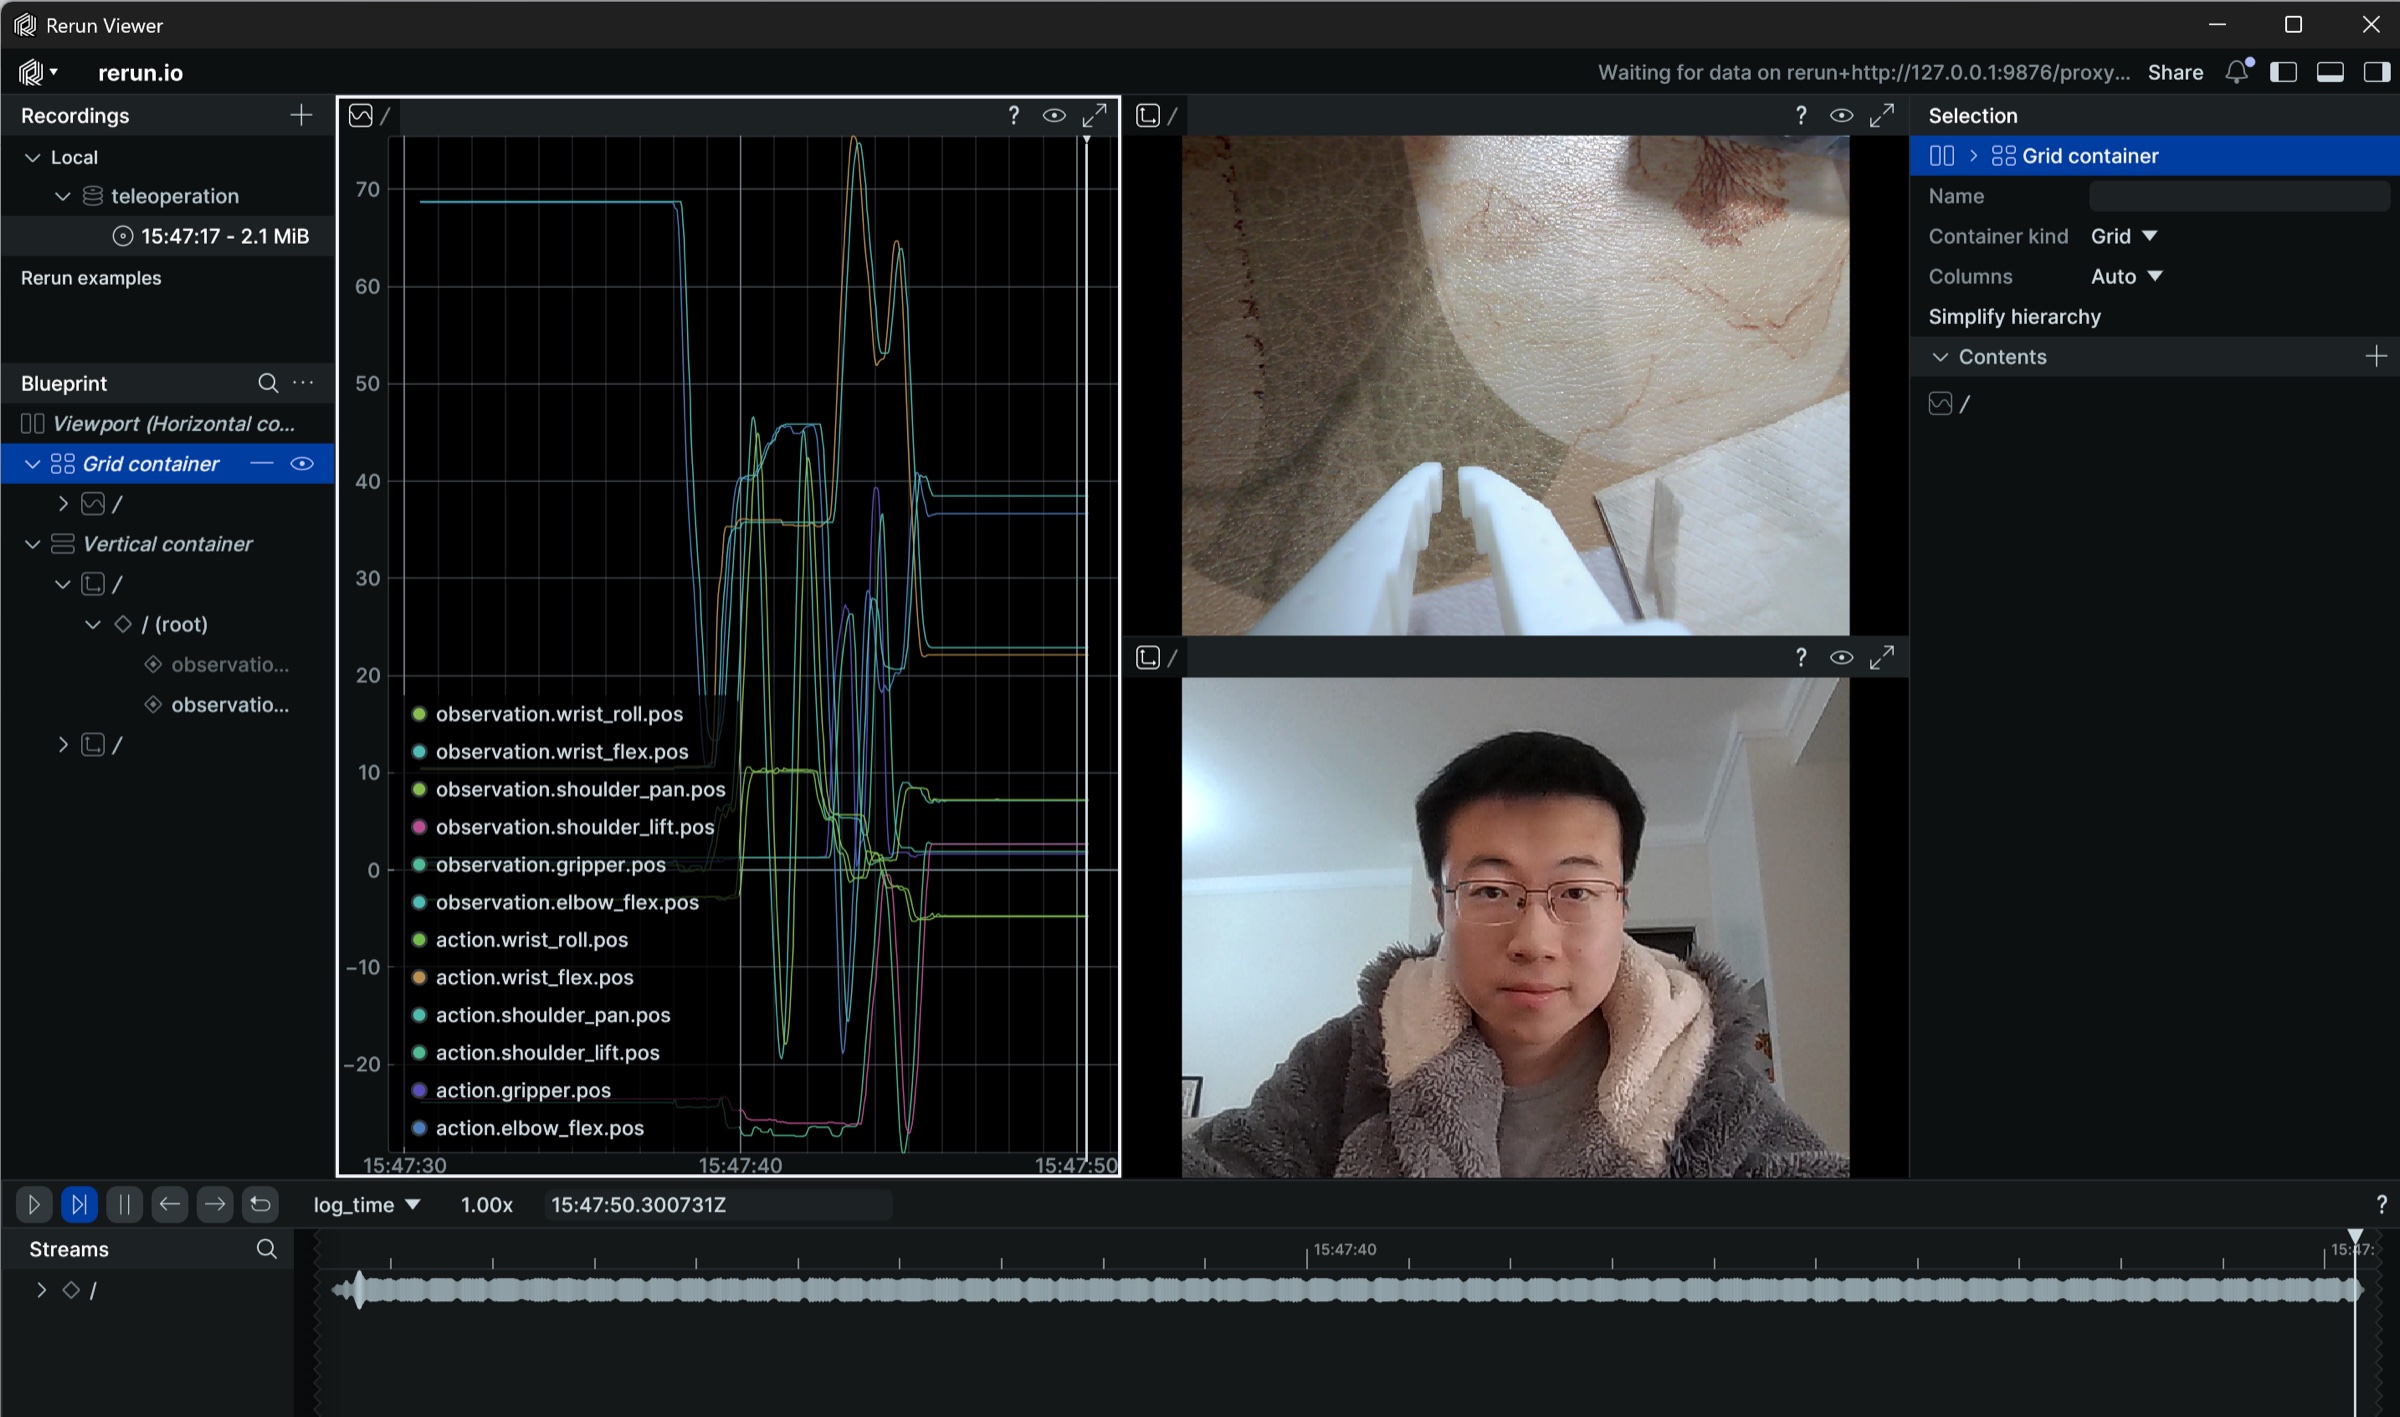
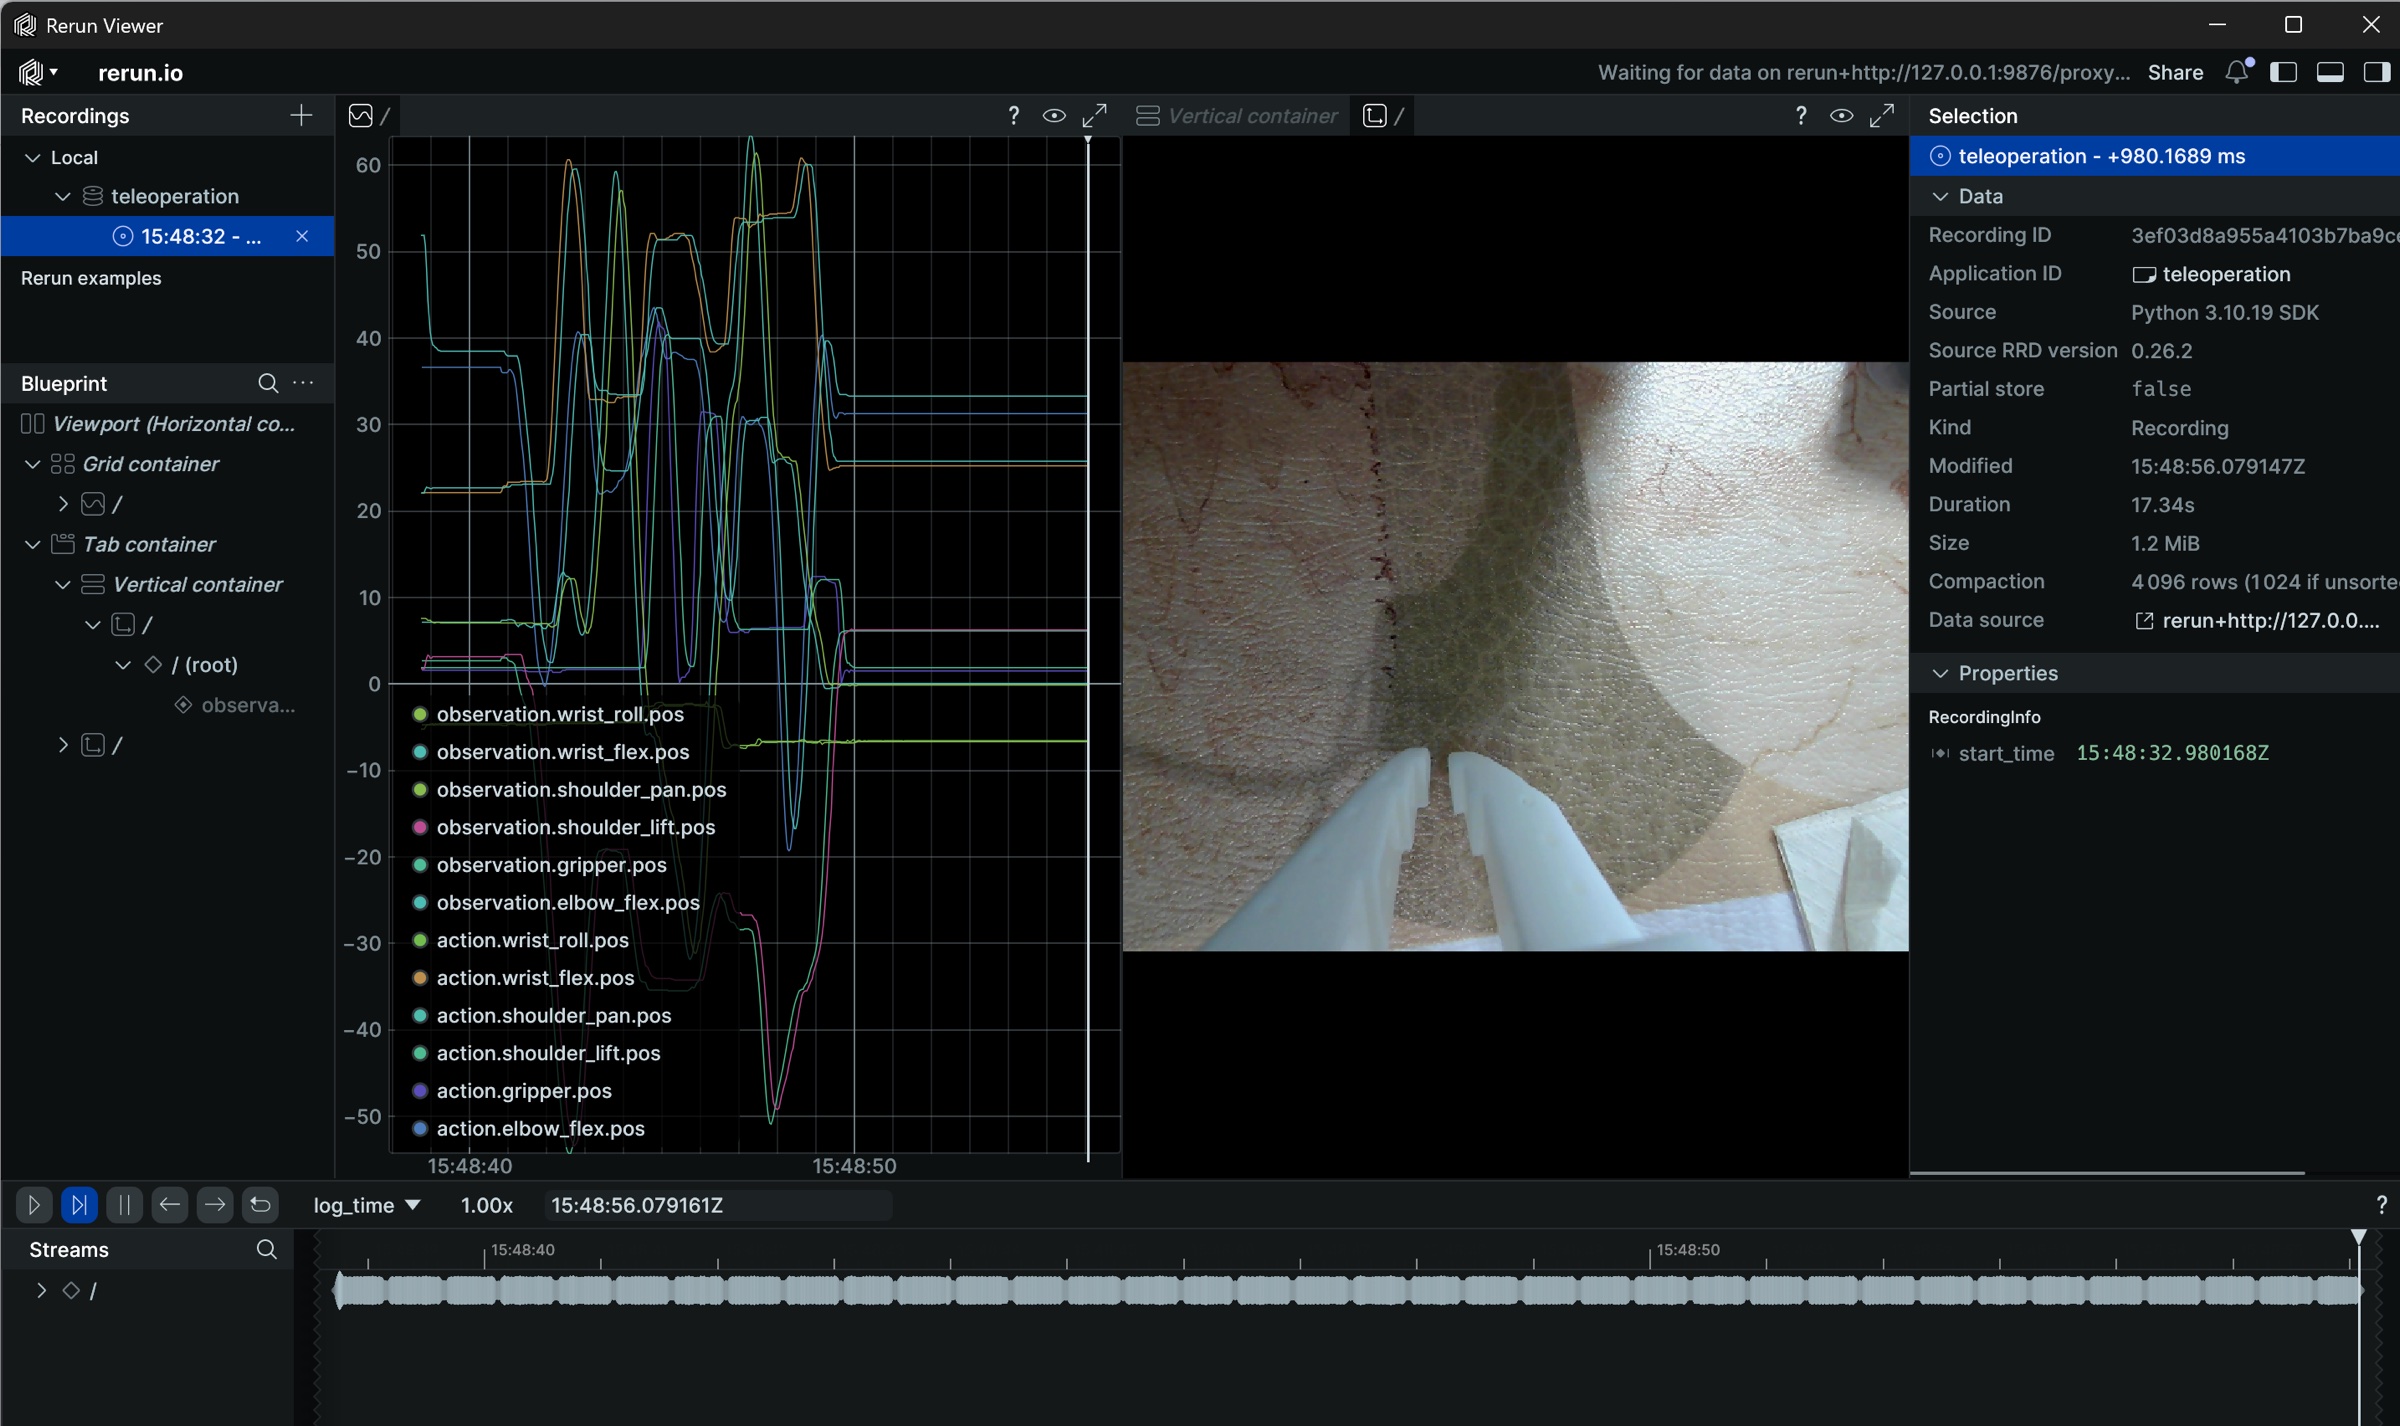
lerobot-teleoperate --robot.type=so101_follower --robot.port=COM6 --robot.id=my_follower_arm --robot.cameras="{ front: {type: opencv, index_or_path: 1, width: 1280, height: 720, fps: 30, fourcc: "MJPG"}}" --teleop.type=so101_leader --teleop.port=COM7 --teleop.id=my_leader_arm --display_data=true会打开rerun.io画面,实时显示各个舵机关节的轨迹,以及摄像头实时画面
并保存图像至C:\Users\<你的Windows用户名>\outputs\captured_images目录
如果遇到了下面这种报错
摄像头连接不上,但在腾讯会议中切换摄像头,仍然能正常开启
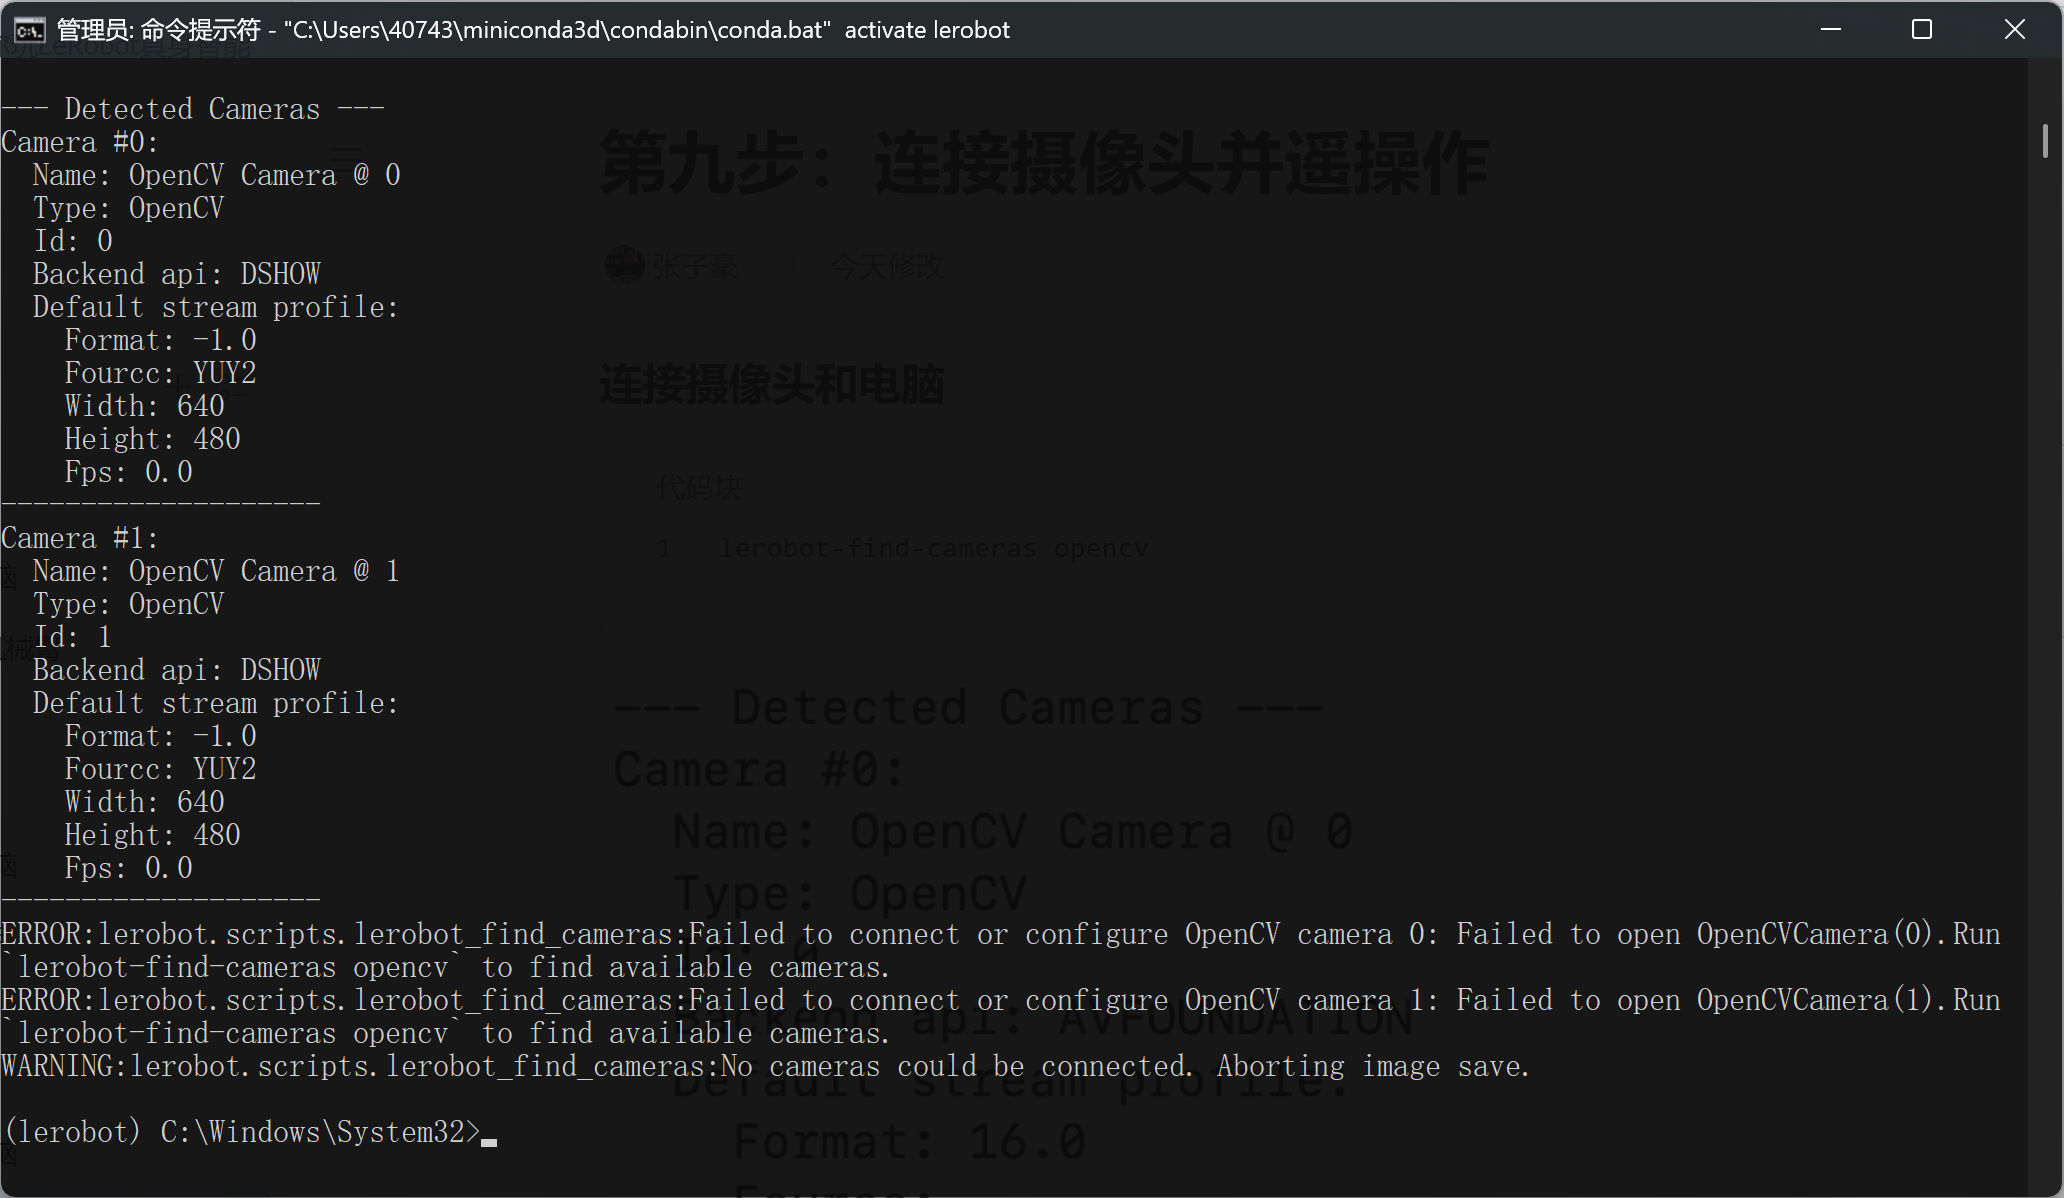
修改lerobot\src\lerobot\cameras\utils.py文件,将OpenCV后端改为cv2.CAP_DSHOW
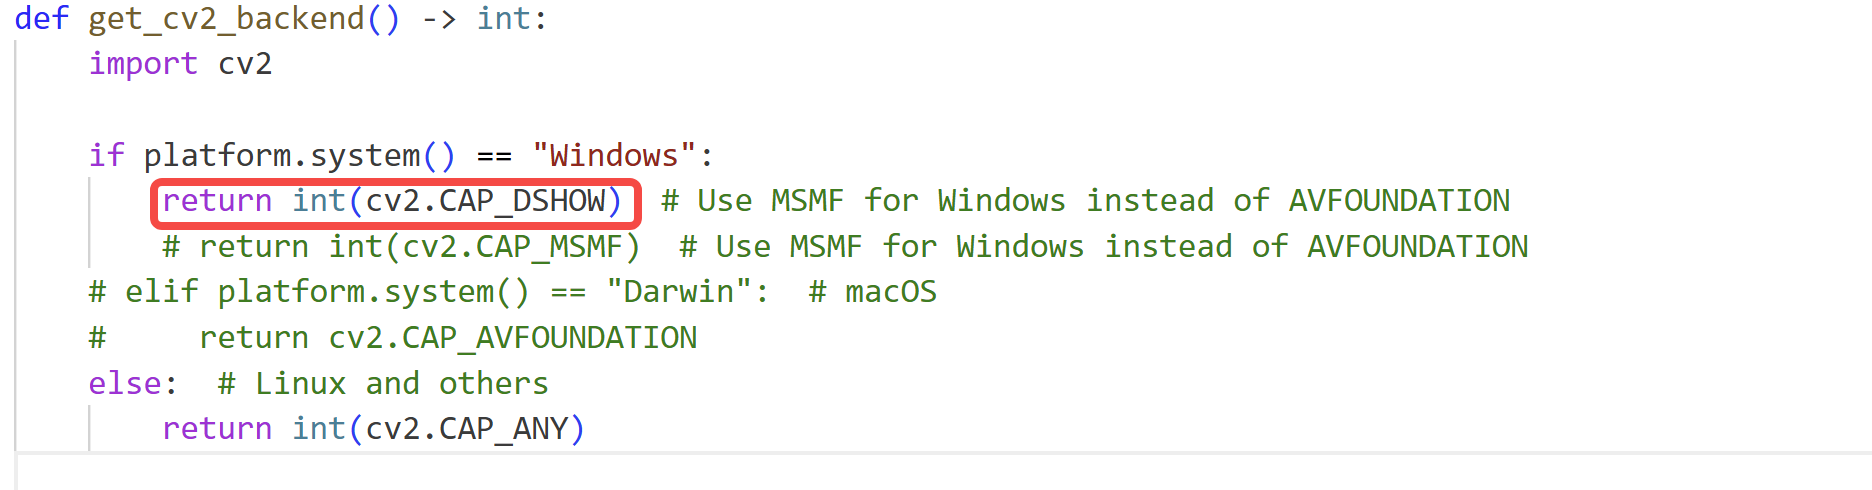
这是一个豆包都无法解决的bug,都怪lerobot库封装的太深了,初学者小白很难dubug
连接多个摄像头,遥操作并显示摄像头画面
Shell
lerobot-teleoperate --robot.type=so101_follower --robot.port=COM6 --robot.id=my_follower_arm --robot.cameras="{ front: {type: opencv, index_or_path: 0, width: 1280, height: 720, fps: 30, fourcc: "MJPG"}, side: {type: opencv, index_or_path: 1, width: 1280, height: 720, fps: 30, fourcc: "MJPG"}}" --teleop.type=so101_leader --teleop.port=COM7 --teleop.id=my_leader_arm --display_data=true