ステップ5:カメラ付きテレオペレーション(Windows)
カメラとパソコンの接続
Shell
lerobot-find-cameras opencv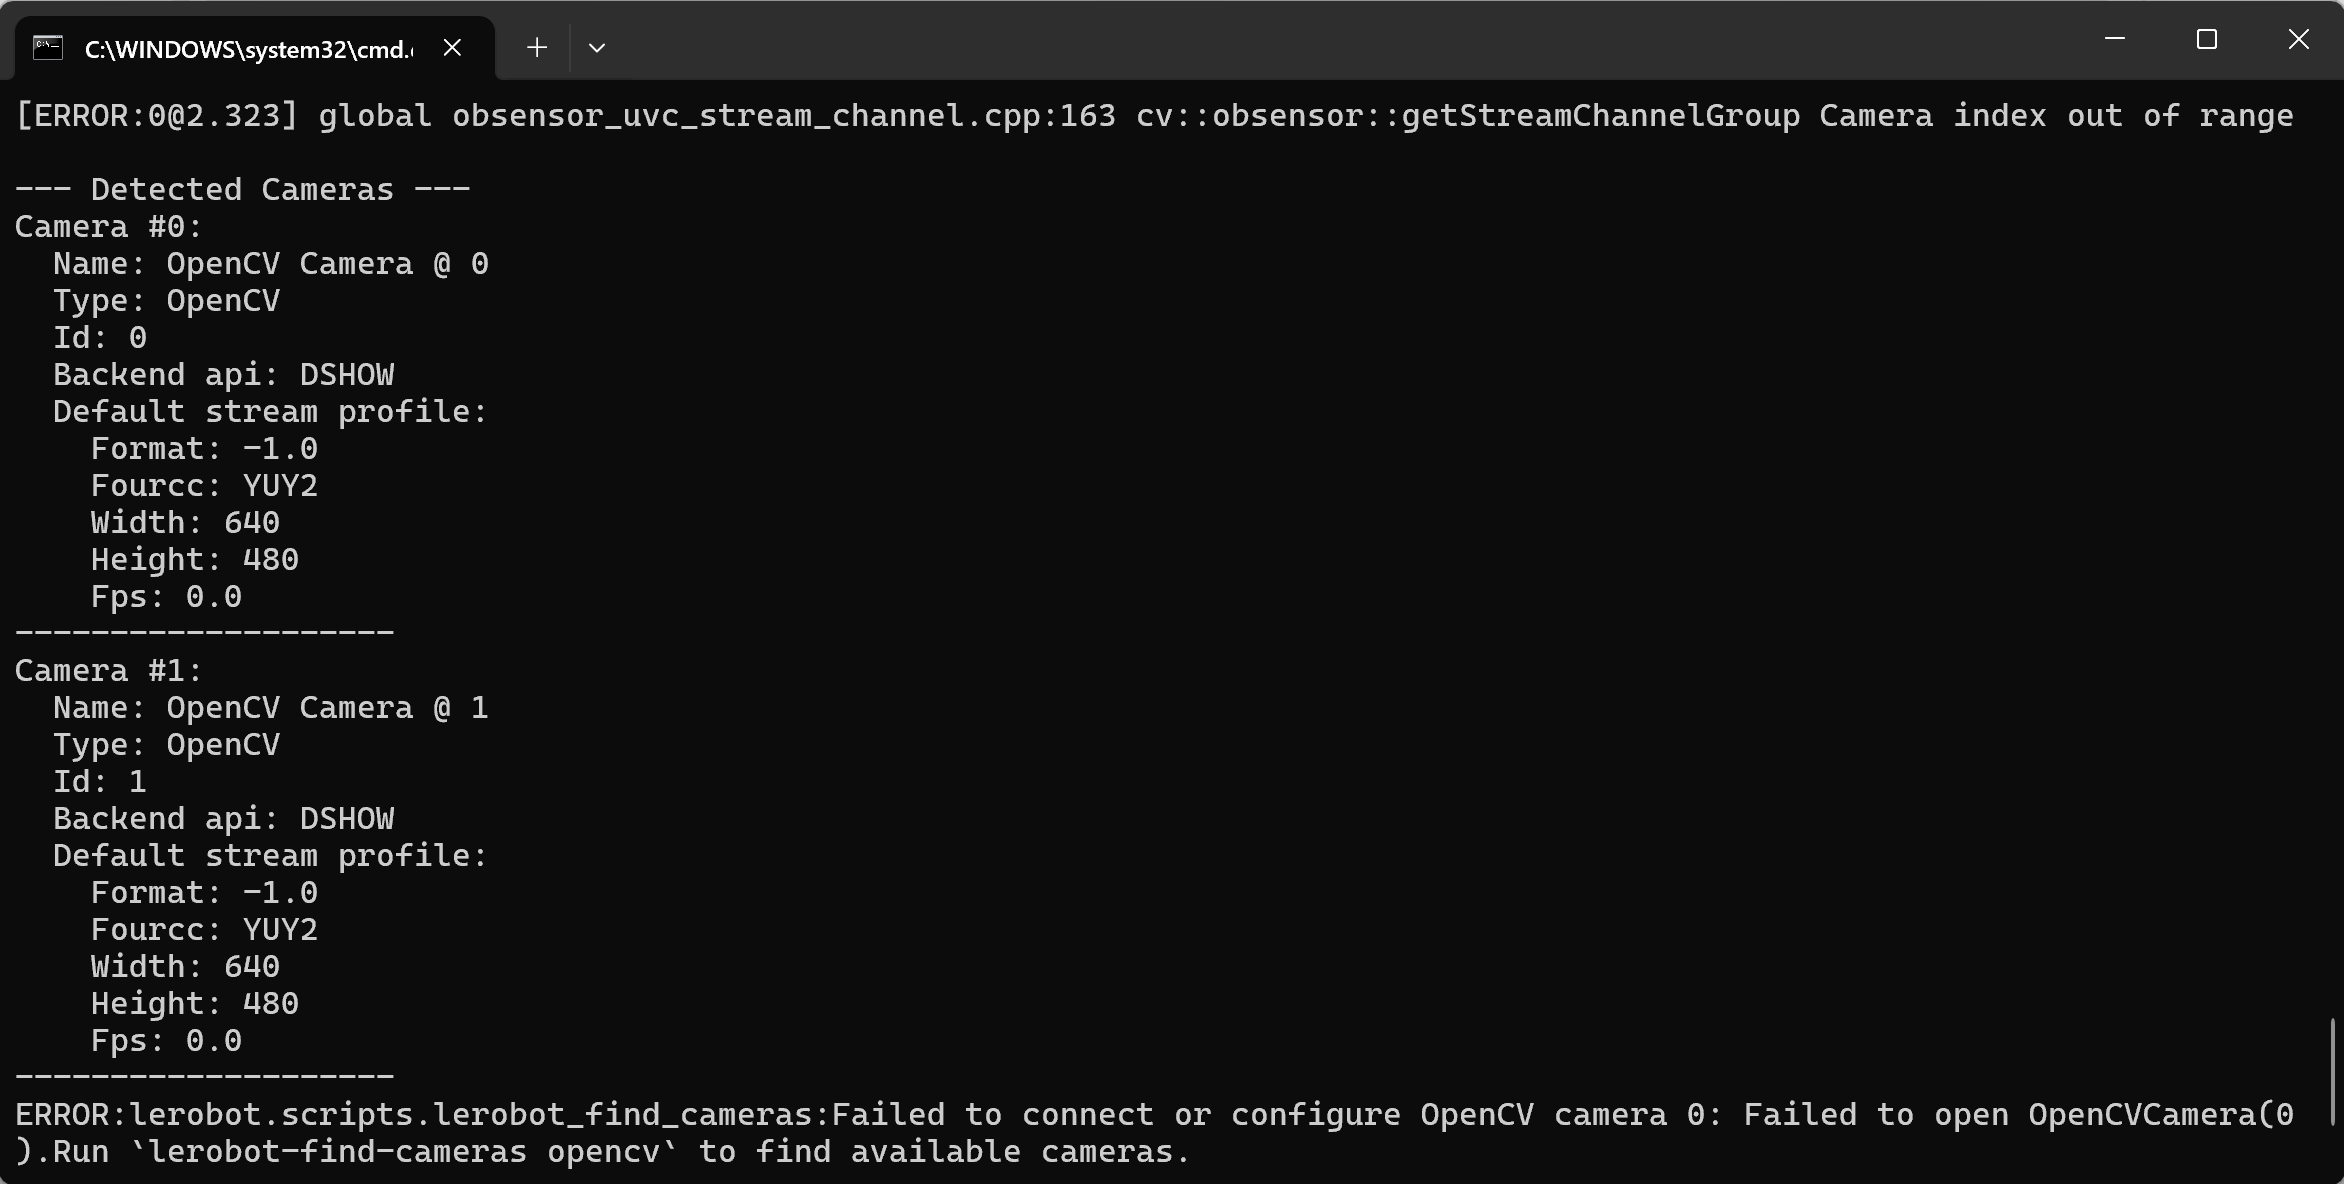
テレオペレーションとカメラ映像の表示
Shell
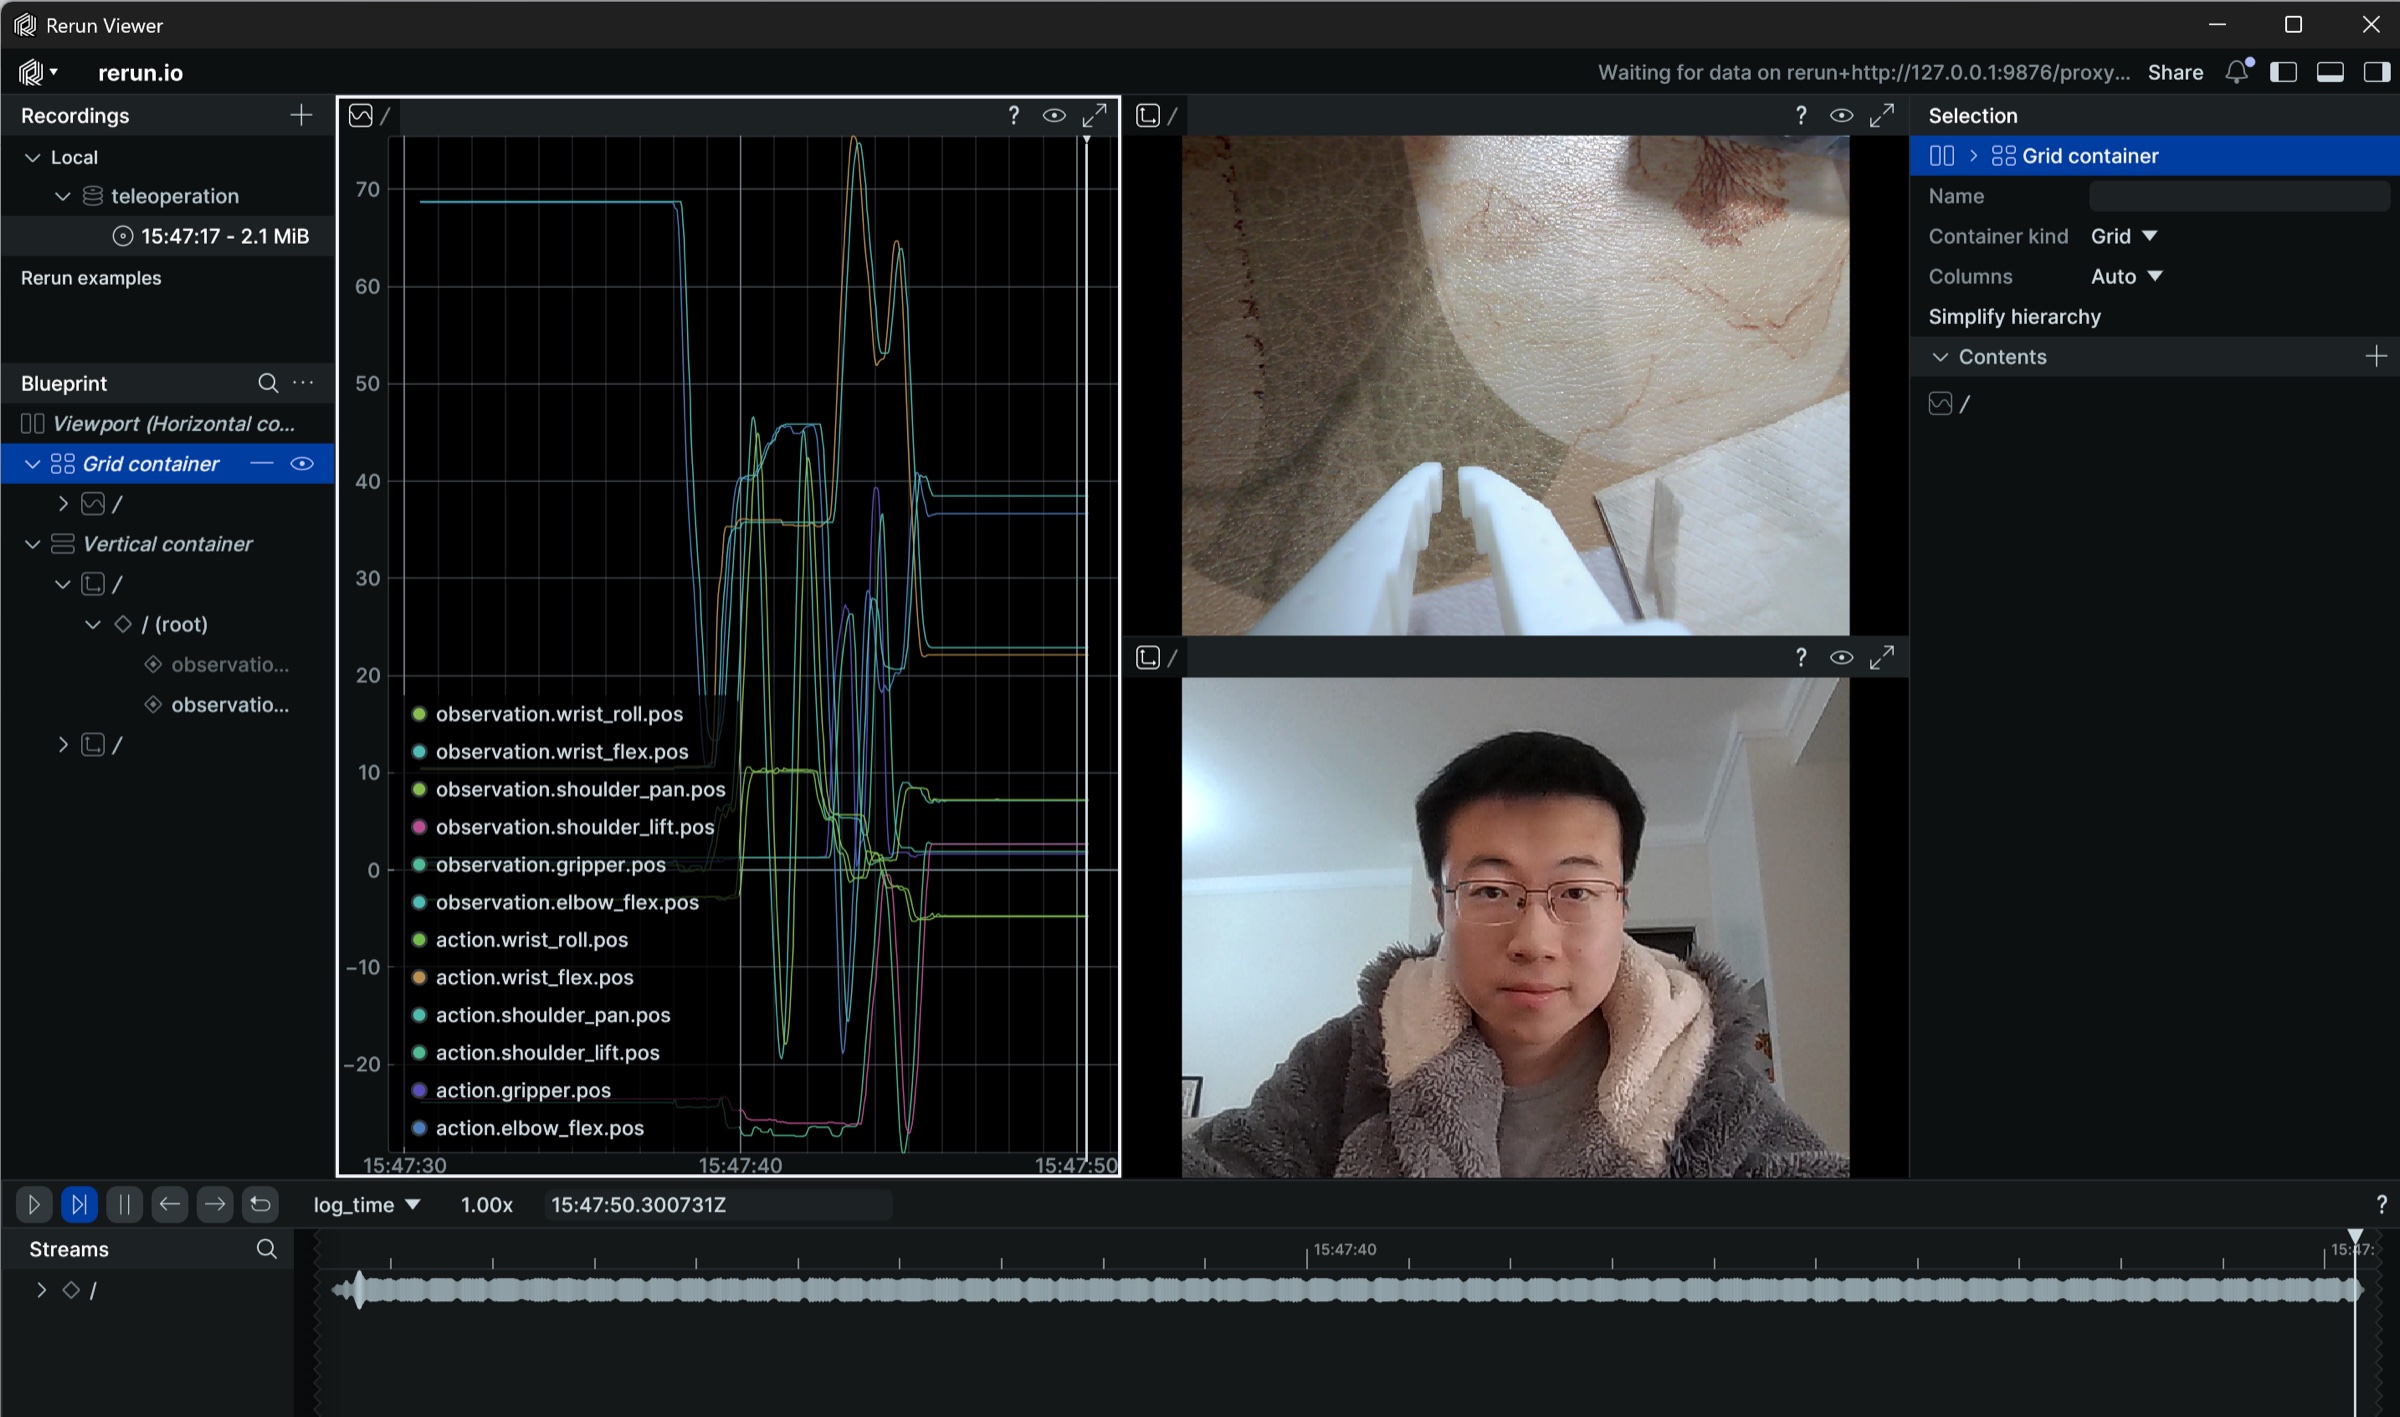
lerobot-teleoperate --robot.type=so101_follower --robot.port=COM6 --robot.id=my_follower_arm --robot.cameras="{ front: {type: opencv, index_or_path: 1, width: 1280, height: 720, fps: 30, fourcc: "MJPG"}}" --teleop.type=so101_leader --teleop.port=COM7 --teleop.id=my_leader_arm --display_data=truererun.ioの画面が開き、各サーボ関節の軌跡、およびカメラのリアルタイム映像がリアルタイムに表示されます
また、画像はC:\Users\<Windows-ユーザー名>\outputs\captured_imagesディレクトリに保存されます
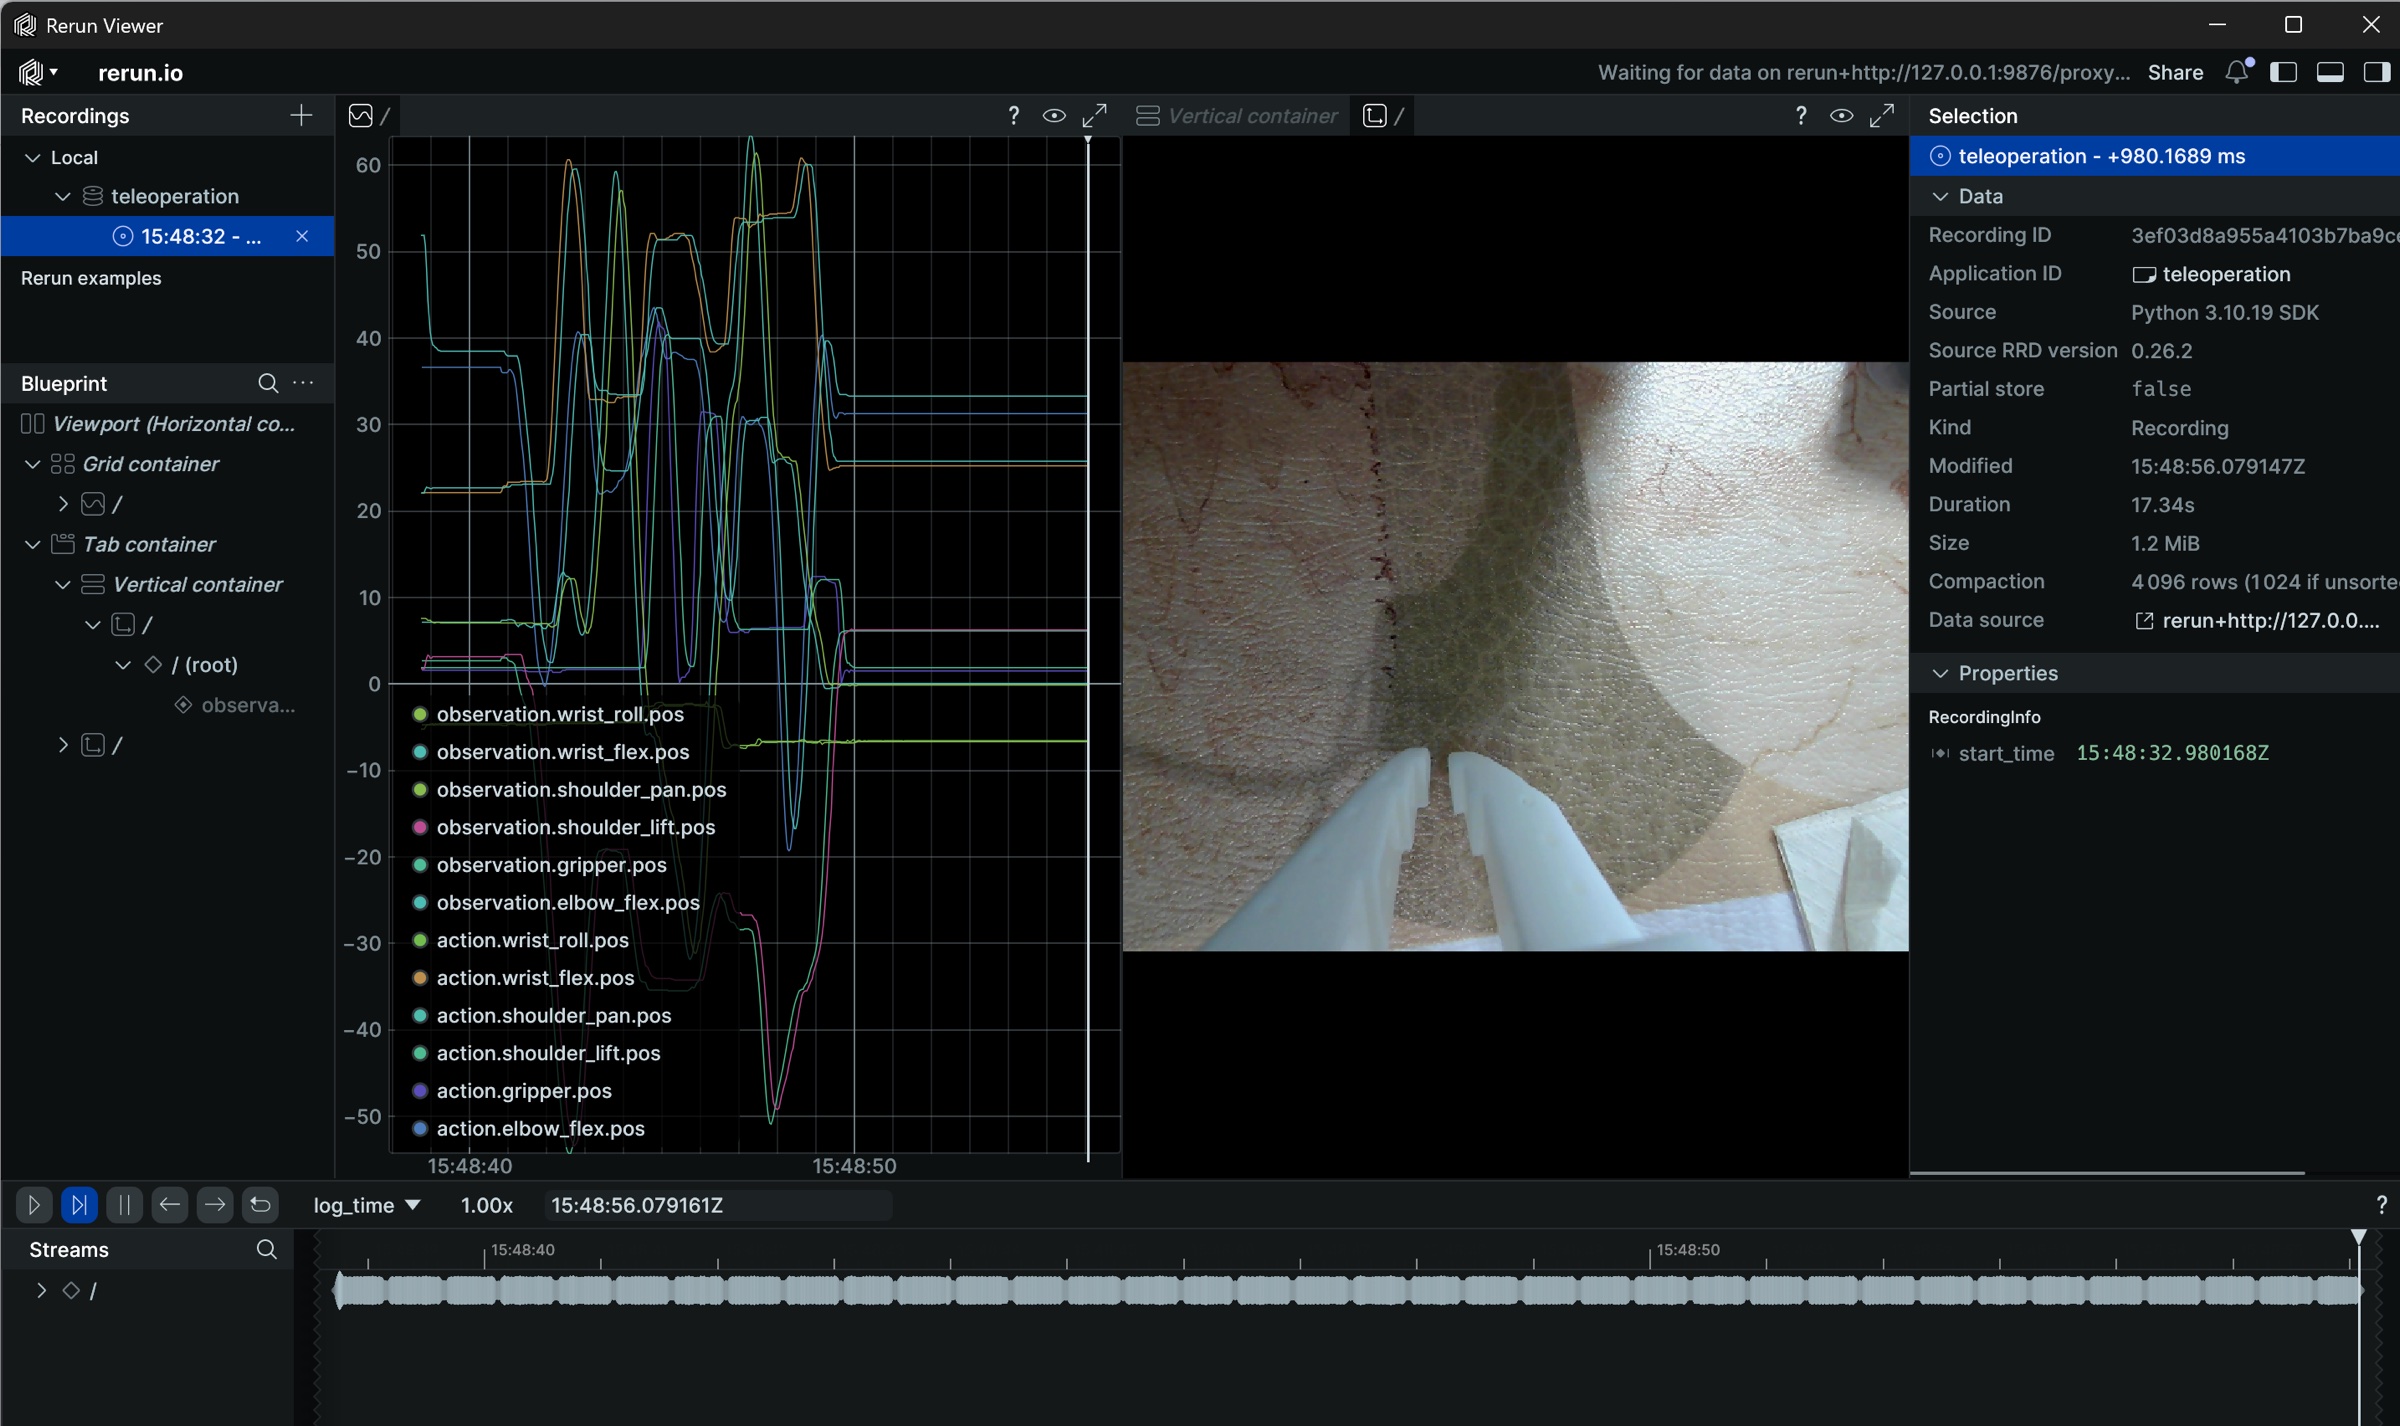
以下のようなエラーが発生した場合
カメラに接続できませんが、Tencent Meetingでカメラを切り替えると、正常に起動できます
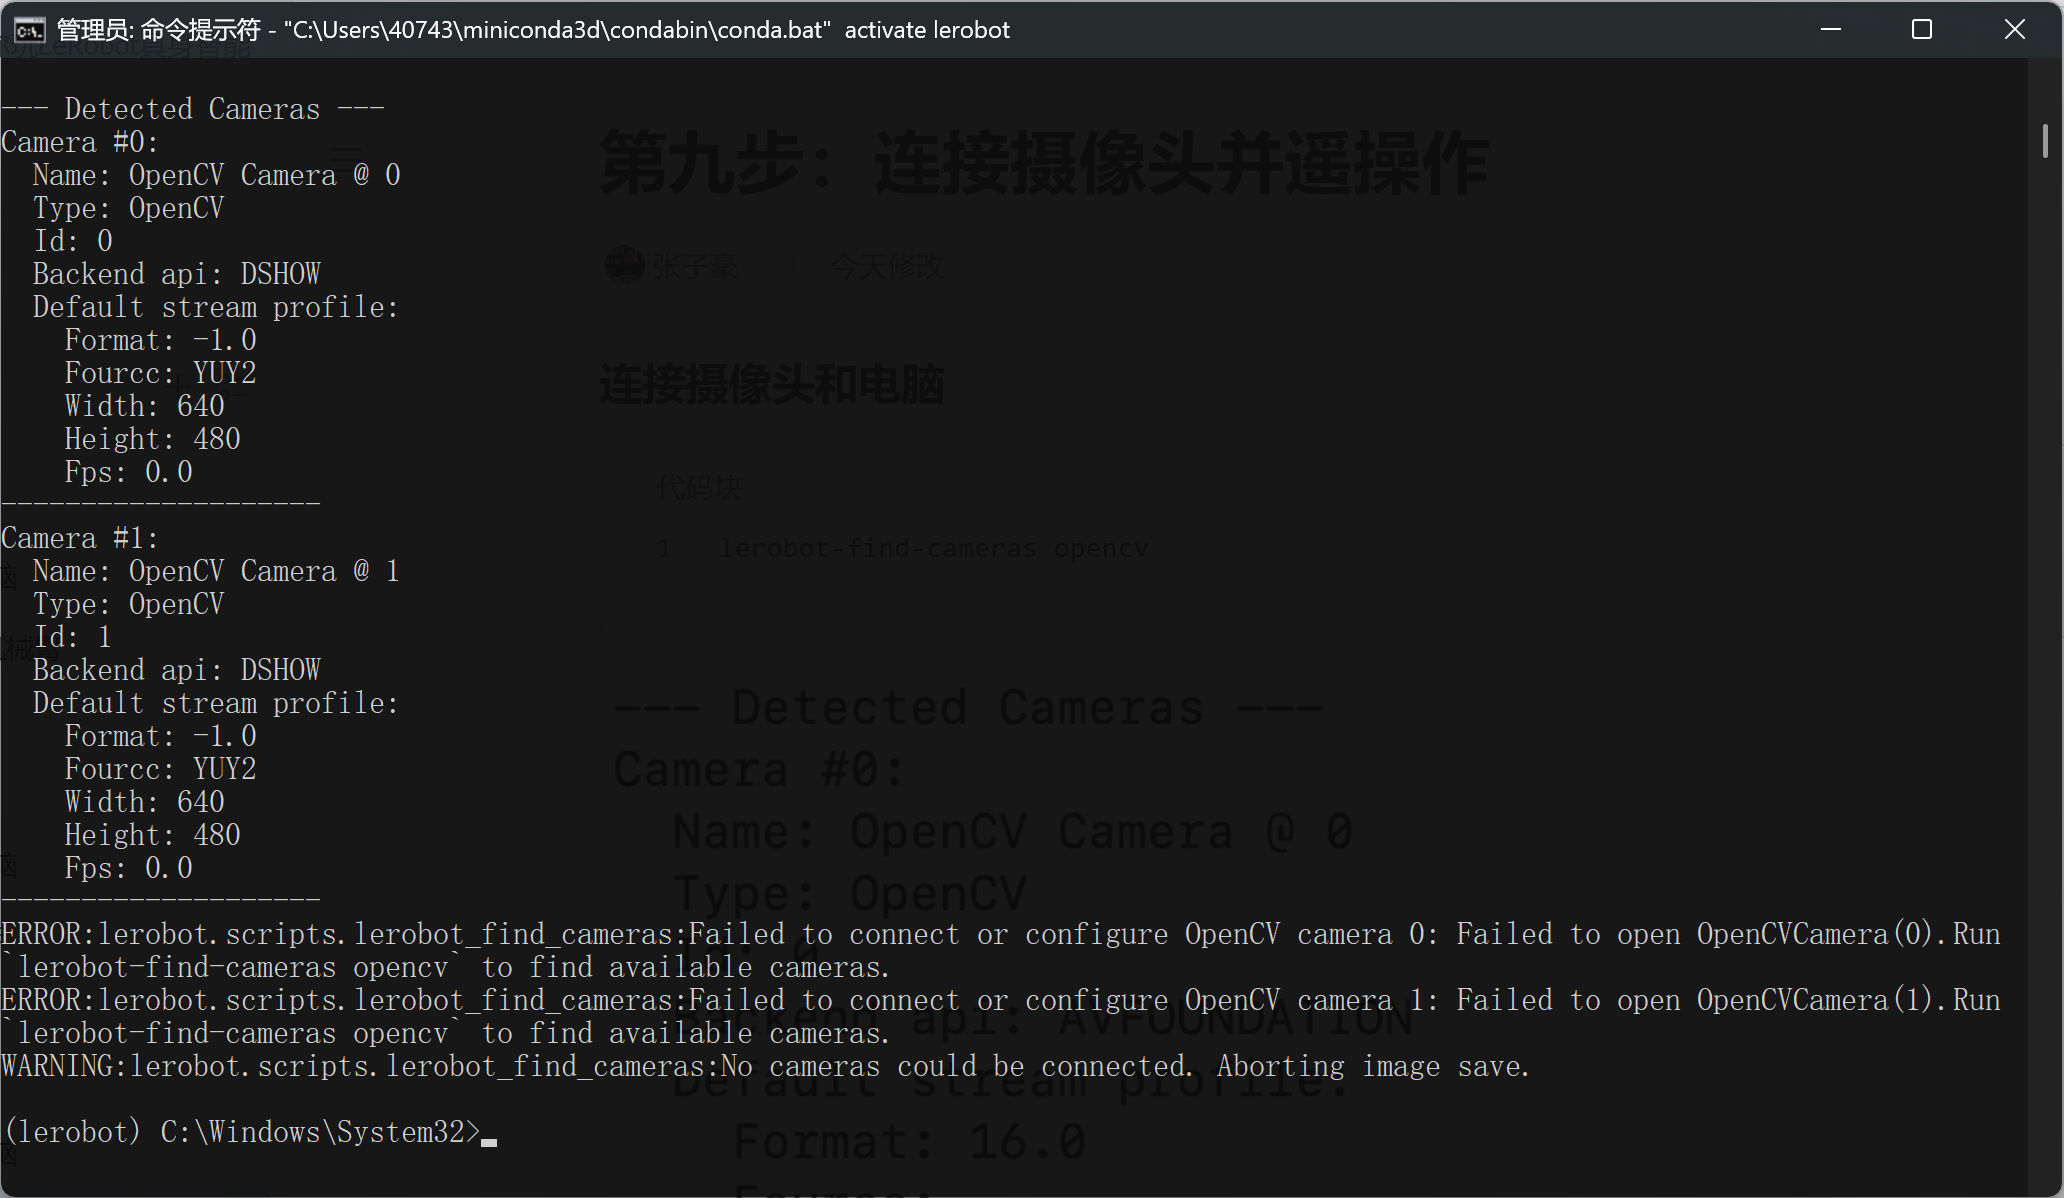
lerobot\src\lerobot\cameras\utils.pyファイルを修正し、OpenCVのバックエンドをcv2.CAP_DSHOWに変更します
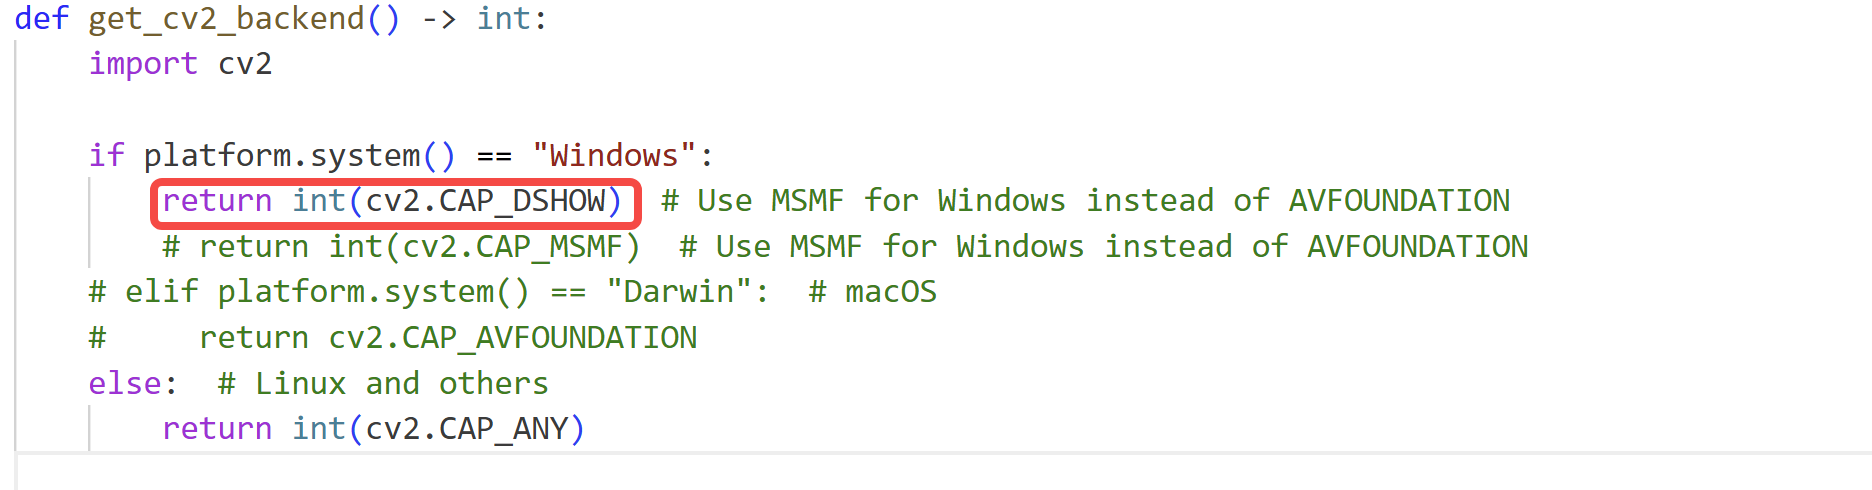
これはDoubaoですら解決できないbugで、lerobotライブラリのカプセル化が深すぎるのが原因です。初心者にはdubugが非常に困難です
カメラを複数台接続してテレオペレーションし、カメラ映像を表示する
Shell
lerobot-teleoperate --robot.type=so101_follower --robot.port=COM6 --robot.id=my_follower_arm --robot.cameras="{ front: {type: opencv, index_or_path: 0, width: 1280, height: 720, fps: 30, fourcc: "MJPG"}, side: {type: opencv, index_or_path: 1, width: 1280, height: 720, fps: 30, fourcc: "MJPG"}}" --teleop.type=so101_leader --teleop.port=COM7 --teleop.id=my_leader_arm --display_data=true