ステップ1:LeRobot環境のインストール(Ubuntu)
黒色のリーダーアーム(Leader)は 5V6A 電源アダプターを使用します
白色のフォロワーアーム(Follower)は 12V5A 電源アダプターを使用します
Minicondaのインストール
https://www.anaconda.com/download
pipのソース変更
Shell
pip config set global.index-url https://mirrors.aliyun.com/pypi/simplecondaのソース変更
Shell
# 既存の .condarc 設定をクリア(任意、競合を回避)
echo "" > ~/.condarc

# 清華ミラーの設定を書き込む
cat << EOF > ~/.condarc
channels:
  - defaults
show_channel_urls: true
default_channels:
  - https://mirrors.tuna.tsinghua.edu.cn/anaconda/pkgs/main
  - https://mirrors.tuna.tsinghua.edu.cn/anaconda/pkgs/r
  - https://mirrors.tuna.tsinghua.edu.cn/anaconda/pkgs/msys2
custom_channels:
  conda-forge: https://mirrors.tuna.tsinghua.edu.cn/anaconda/cloud
  msys2: https://mirrors.tuna.tsinghua.edu.cn/anaconda/cloud
  bioconda: https://mirrors.tuna.tsinghua.edu.cn/anaconda/cloud
  menpo: https://mirrors.tuna.tsinghua.edu.cn/anaconda/cloud
  pytorch: https://mirrors.tuna.tsinghua.edu.cn/anaconda/cloud
  pytorch-lts: https://mirrors.tuna.tsinghua.edu.cn/anaconda/cloud
  simpleitk: https://mirrors.tuna.tsinghua.edu.cn/anaconda/cloud
EOF

# キャッシュをクリアして設定を反映させる
conda clean -i
仮想環境の作成
Shell
conda create -y -n lerobot python=3.12 -y仮想環境への移行
Shell
conda activate lerobotffmpegのインストール
Shell
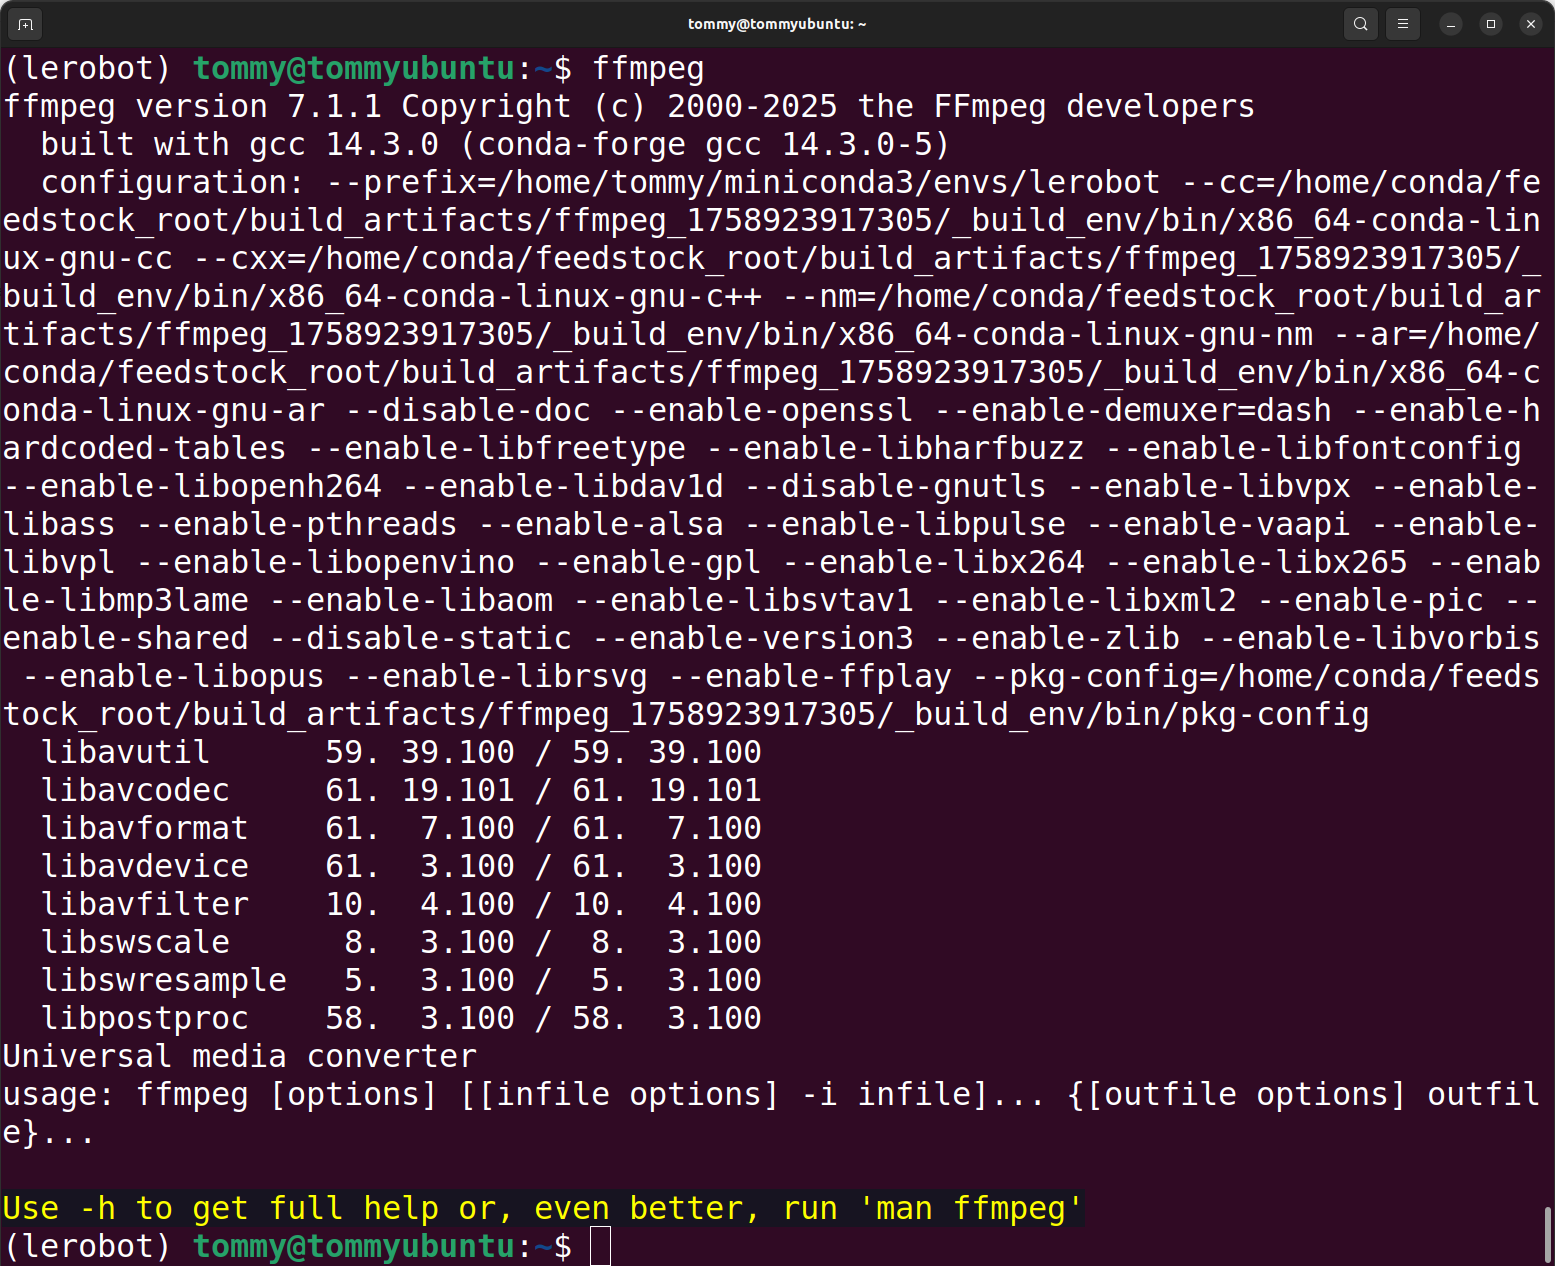
conda install ffmpeg=7.1.1 -c conda-forge -yインストール成功の確認
Shell
ffmpeg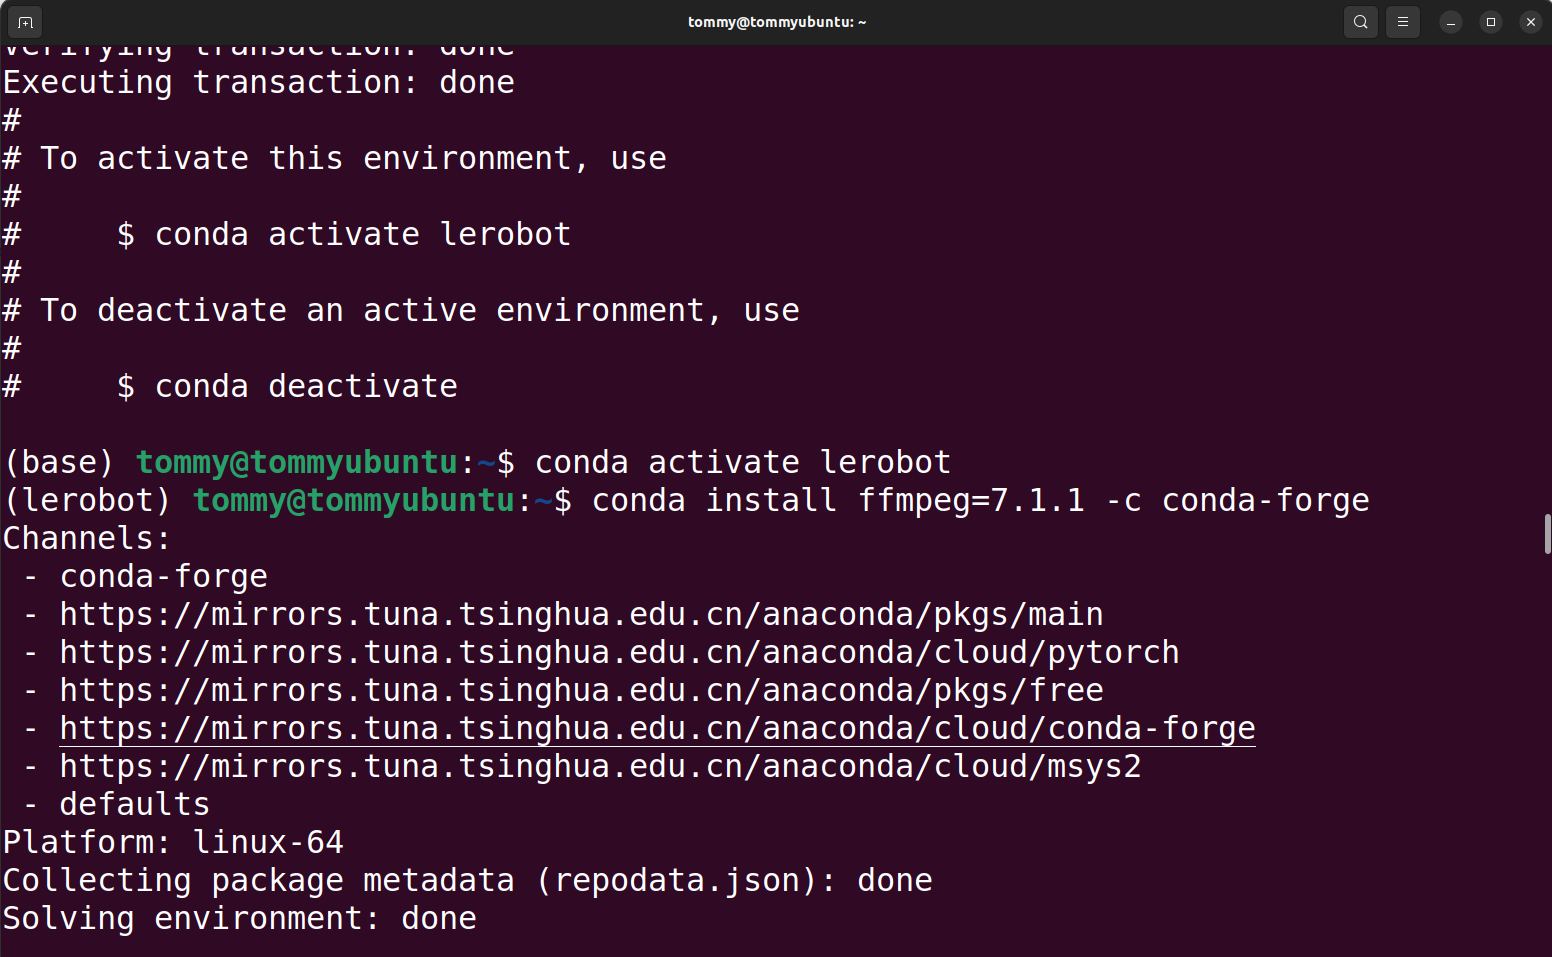
LeRobot公式コードリポジトリのダウンロード
Shell
git clone https://github.com/huggingface/lerobot.gitコードリポジトリのインストール
Shell
#cd lerobot-main
cd lerobot

pip install -e ".[feetech]"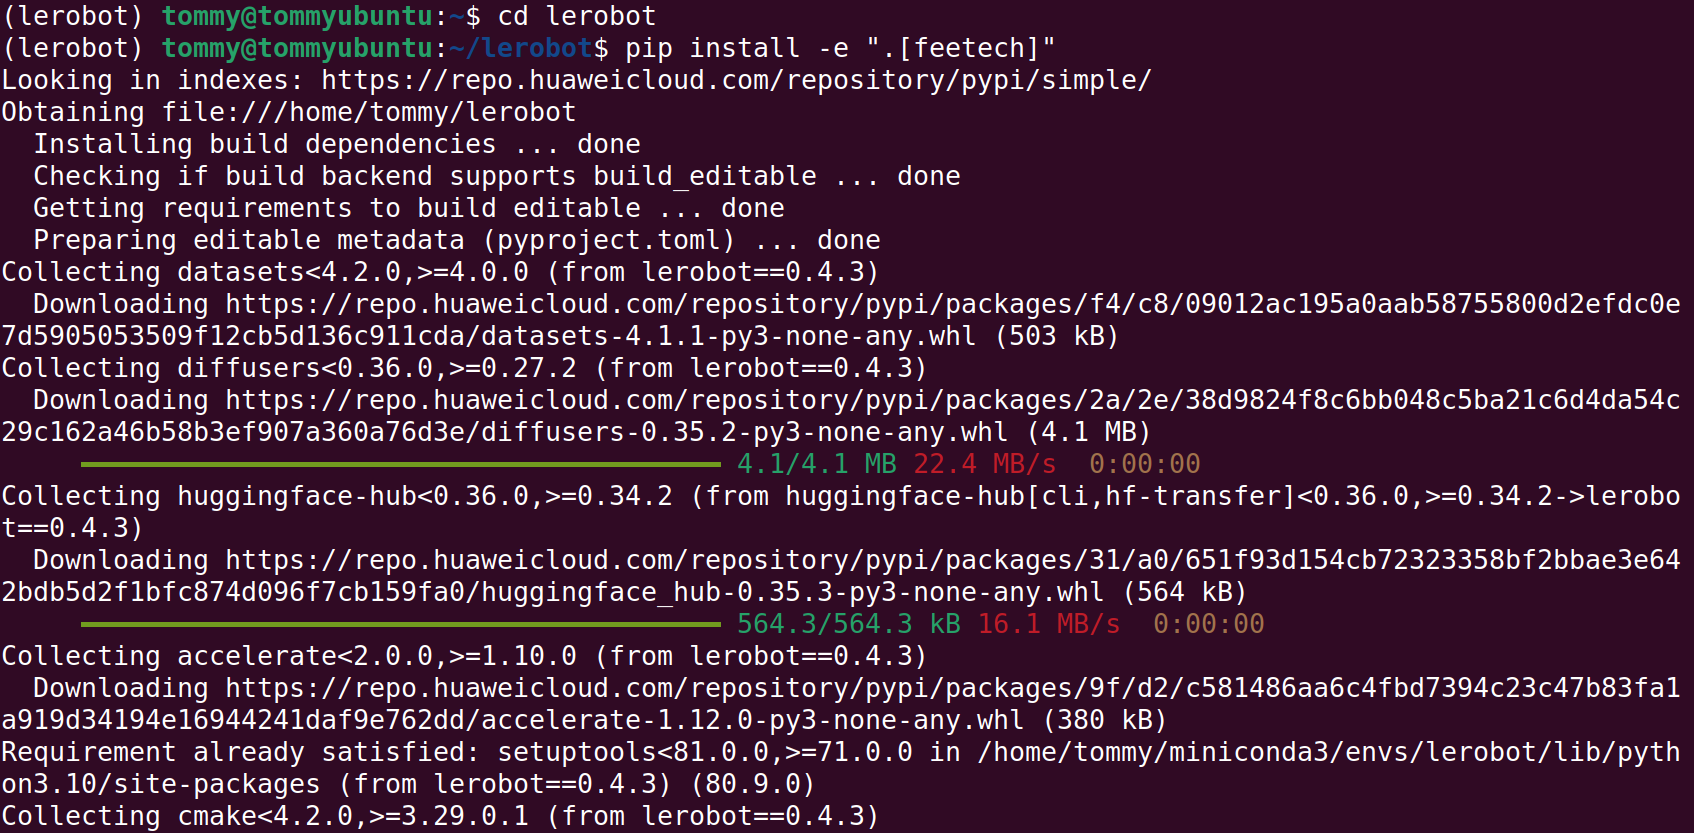
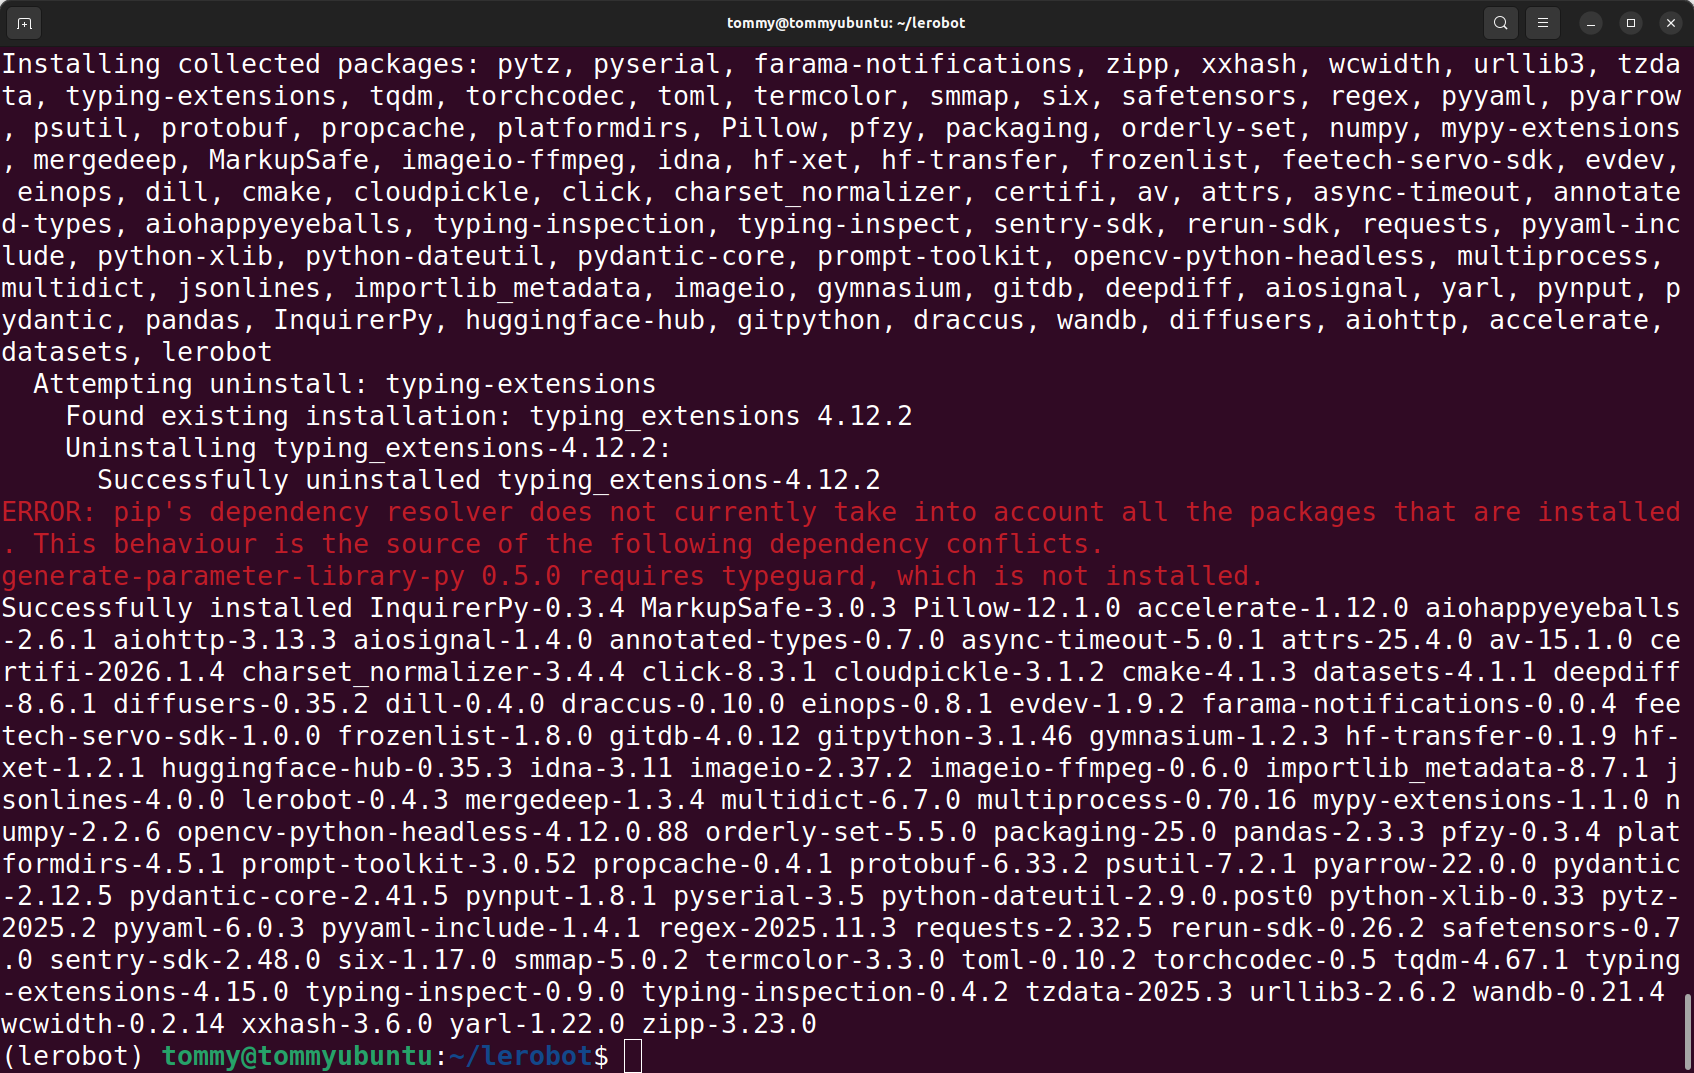
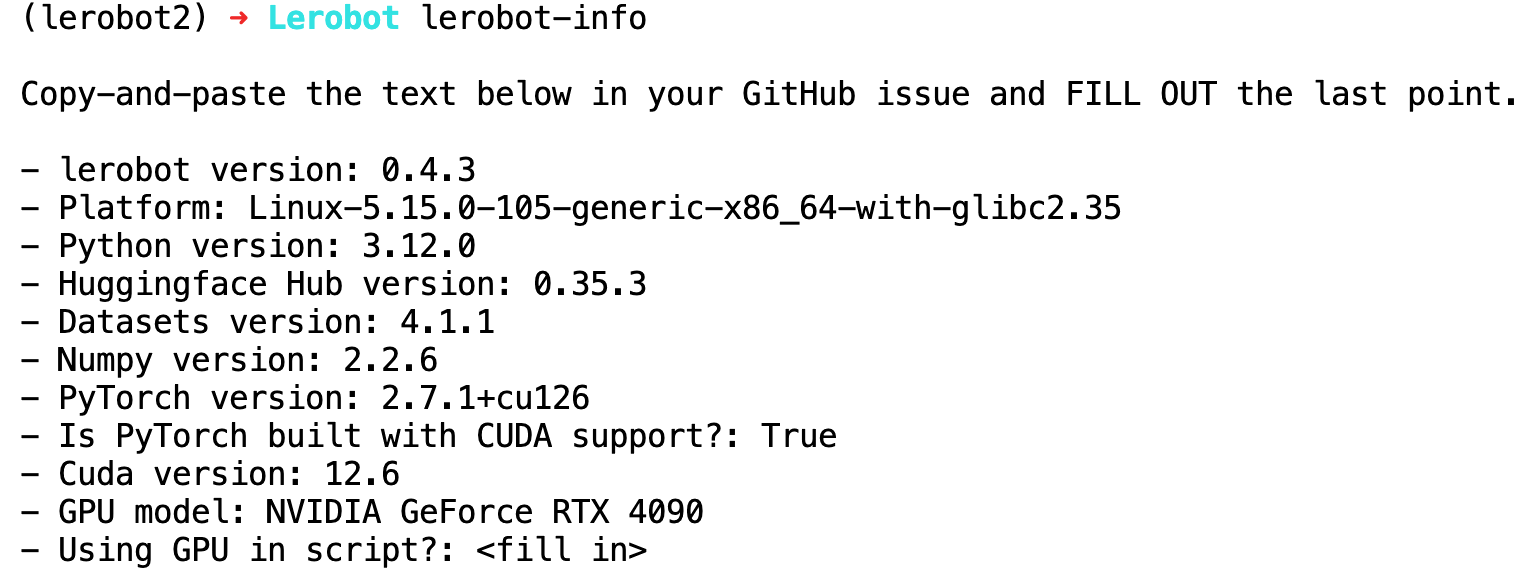
インストール成功の確認
Shell
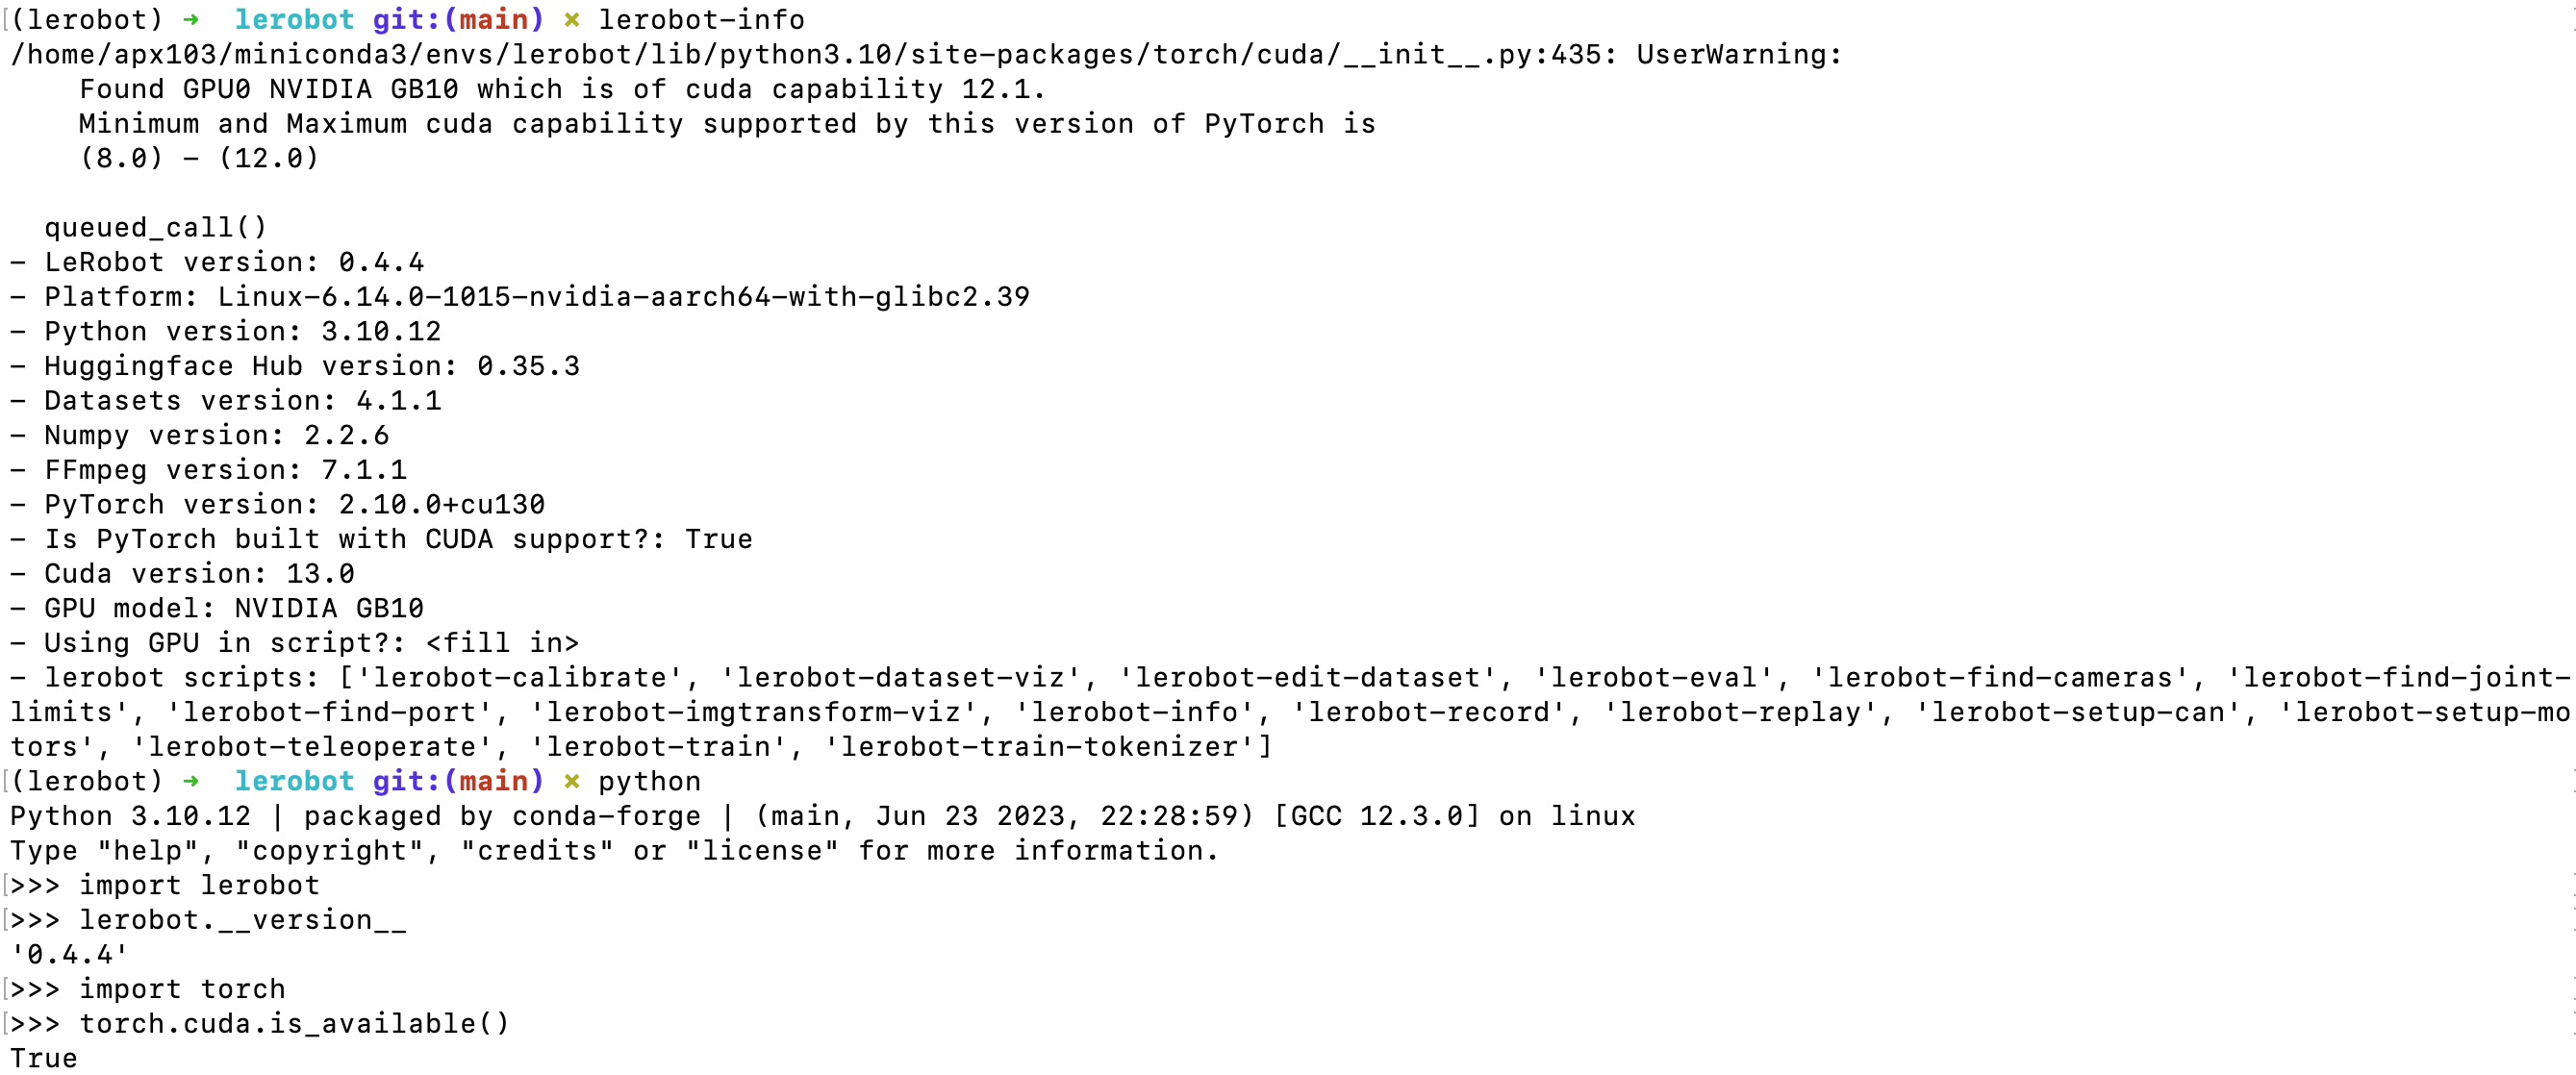
lerobot-info

python

import lerobot
lerobot.__version__

import torch
torch.cuda.is_available()
import scservo_sdk
4090ホストでの実行結果
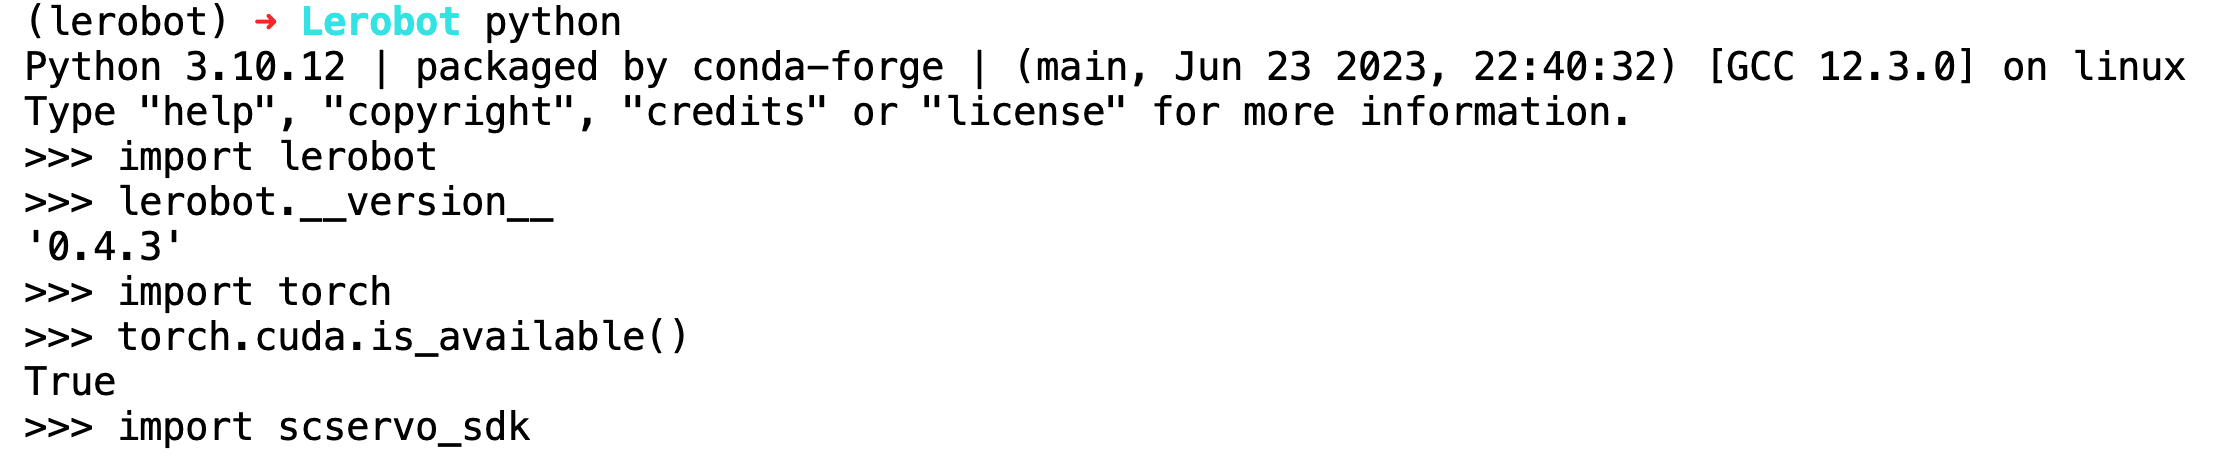
NVIDIA DGX Spark での実行結果