1단계: LeRobot 환경 설치 (Ubuntu)
검은색 리더 암은 5V6A 전원 어댑터를 사용합니다
흰색 팔로워 암은 12V5A 전원 어댑터를 사용합니다
Miniconda 설치
https://www.anaconda.com/download
pip 미러 소스 변경
Shell
pip config set global.index-url https://mirrors.aliyun.com/pypi/simpleconda 미러 소스 변경
Shell
# 기존 .condarc 설정 비우기 (선택 사항, 충돌 방지)
echo "" > ~/.condarc

# 칭화(Tsinghua) 미러 소스 설정 작성
cat << EOF > ~/.condarc
channels:
  - defaults
show_channel_urls: true
default_channels:
  - https://mirrors.tuna.tsinghua.edu.cn/anaconda/pkgs/main
  - https://mirrors.tuna.tsinghua.edu.cn/anaconda/pkgs/r
  - https://mirrors.tuna.tsinghua.edu.cn/anaconda/pkgs/msys2
custom_channels:
  conda-forge: https://mirrors.tuna.tsinghua.edu.cn/anaconda/cloud
  msys2: https://mirrors.tuna.tsinghua.edu.cn/anaconda/cloud
  bioconda: https://mirrors.tuna.tsinghua.edu.cn/anaconda/cloud
  menpo: https://mirrors.tuna.tsinghua.edu.cn/anaconda/cloud
  pytorch: https://mirrors.tuna.tsinghua.edu.cn/anaconda/cloud
  pytorch-lts: https://mirrors.tuna.tsinghua.edu.cn/anaconda/cloud
  simpleitk: https://mirrors.tuna.tsinghua.edu.cn/anaconda/cloud
EOF

# 캐시를 지워 설정 적용
conda clean -i
가상 환경 생성
Shell
conda create -y -n lerobot python=3.12 -y가상 환경 진입
Shell
conda activate lerobotffmpeg 설치
Shell
conda install ffmpeg=7.1.1 -c conda-forge -y설치 성공 확인
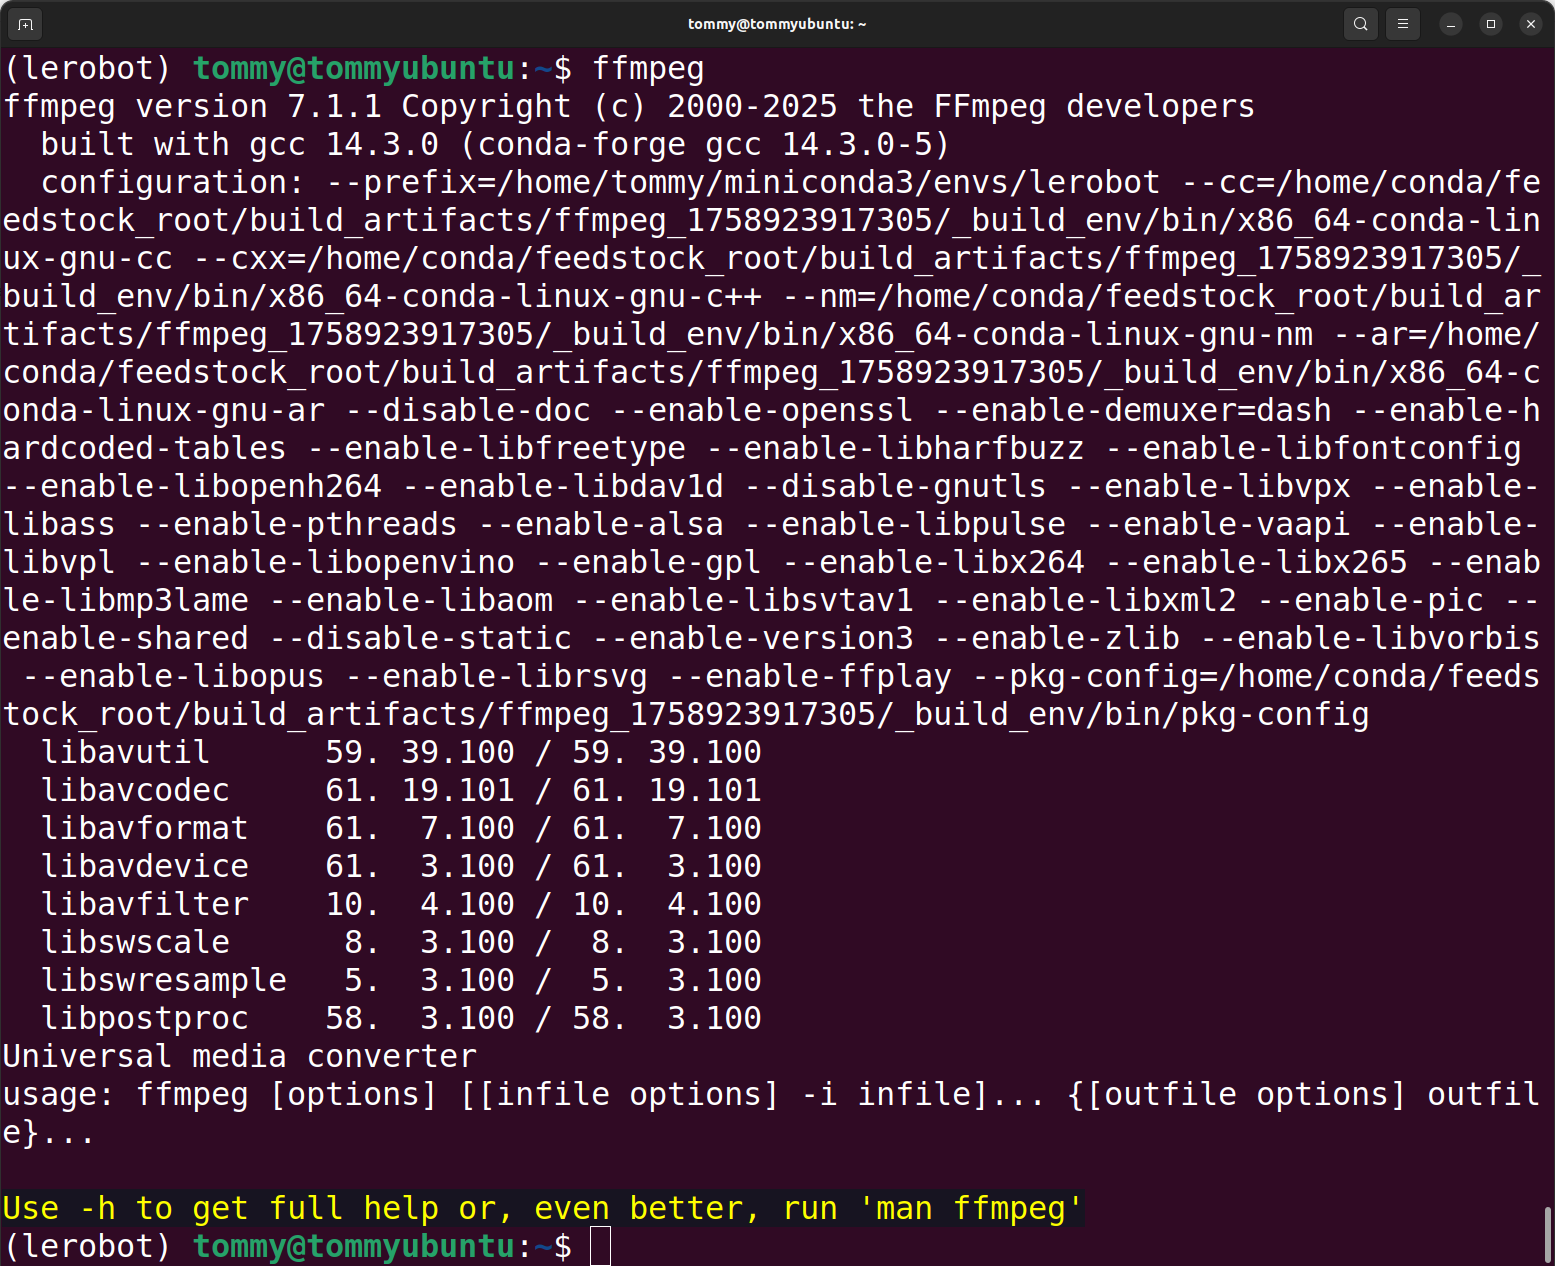
Shell
ffmpeg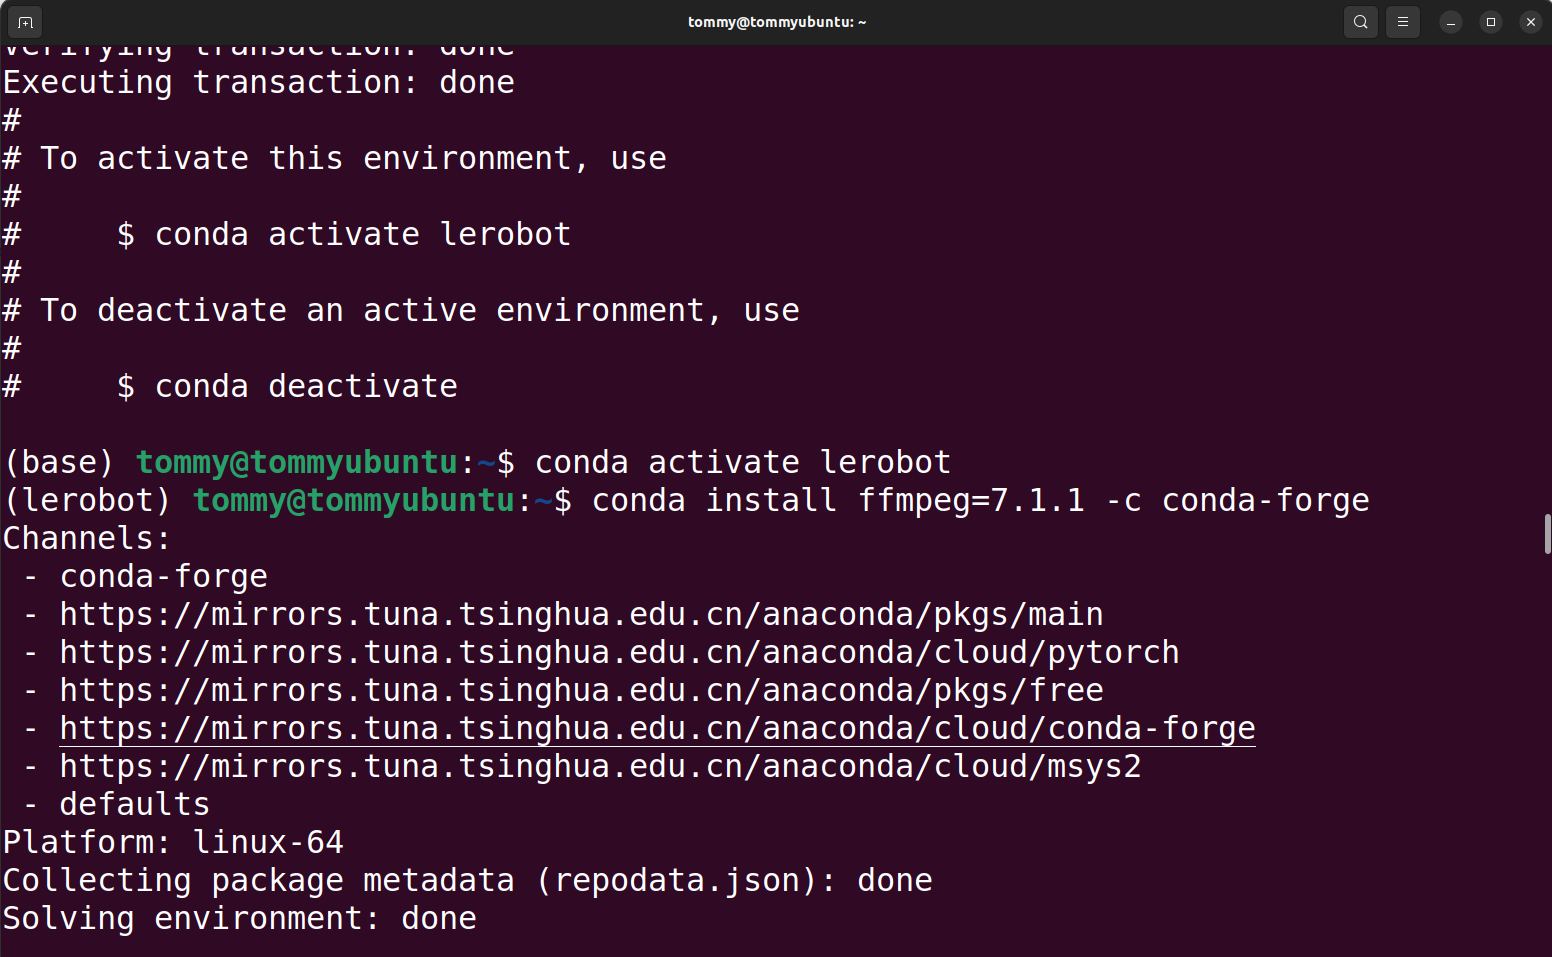
LeRobot 공식 코드 저장소 다운로드
Shell
git clone https://github.com/huggingface/lerobot.git코드 저장소 설치
Shell
#cd lerobot-main
cd lerobot

pip install -e ".[feetech]"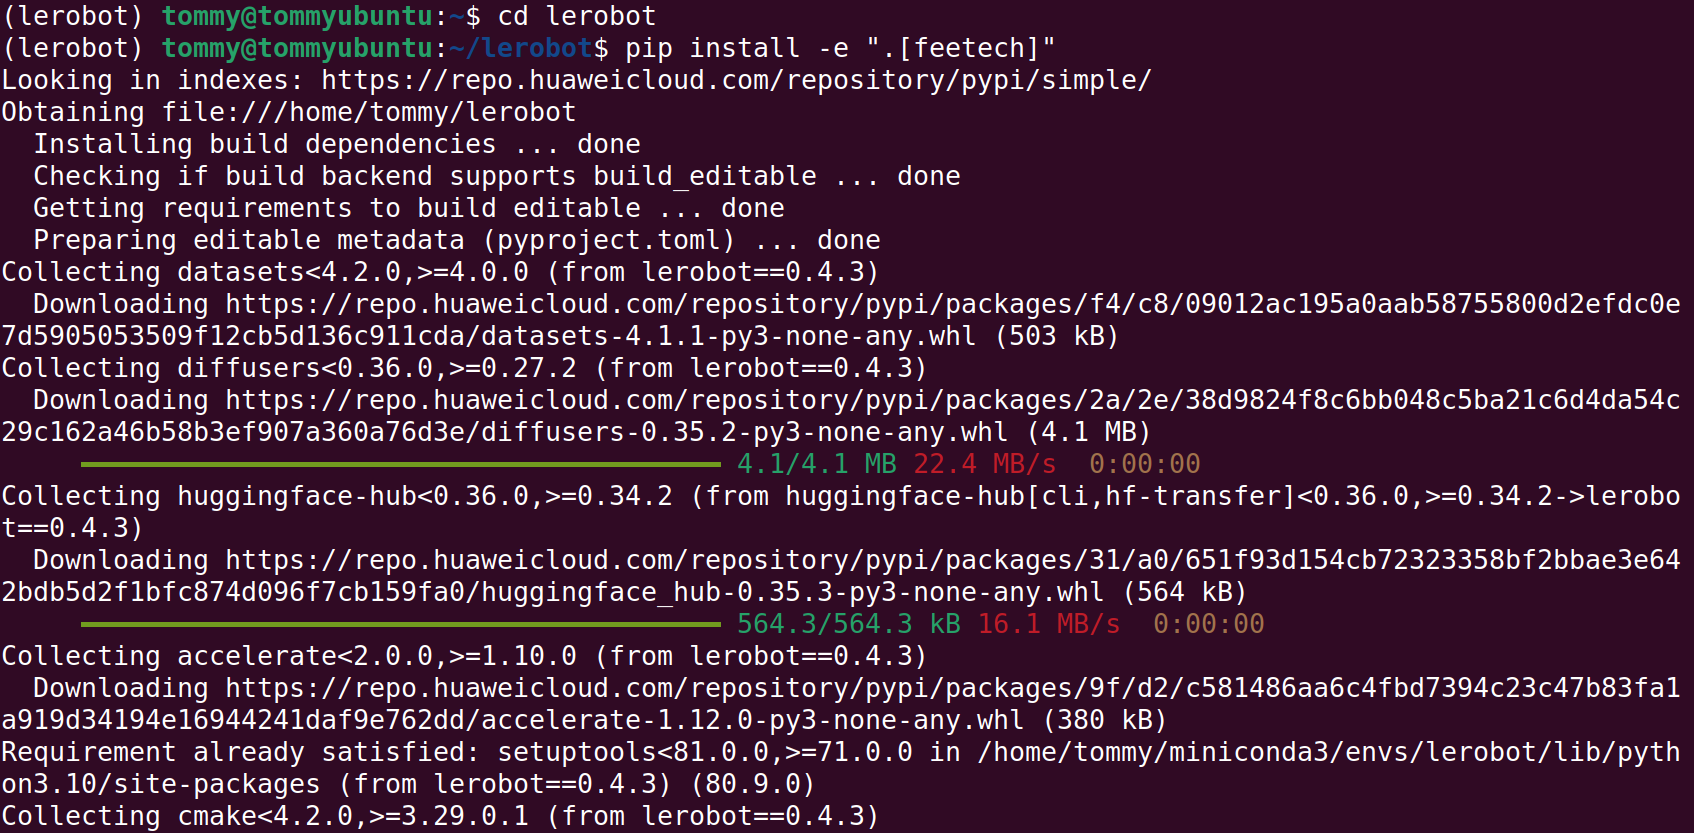
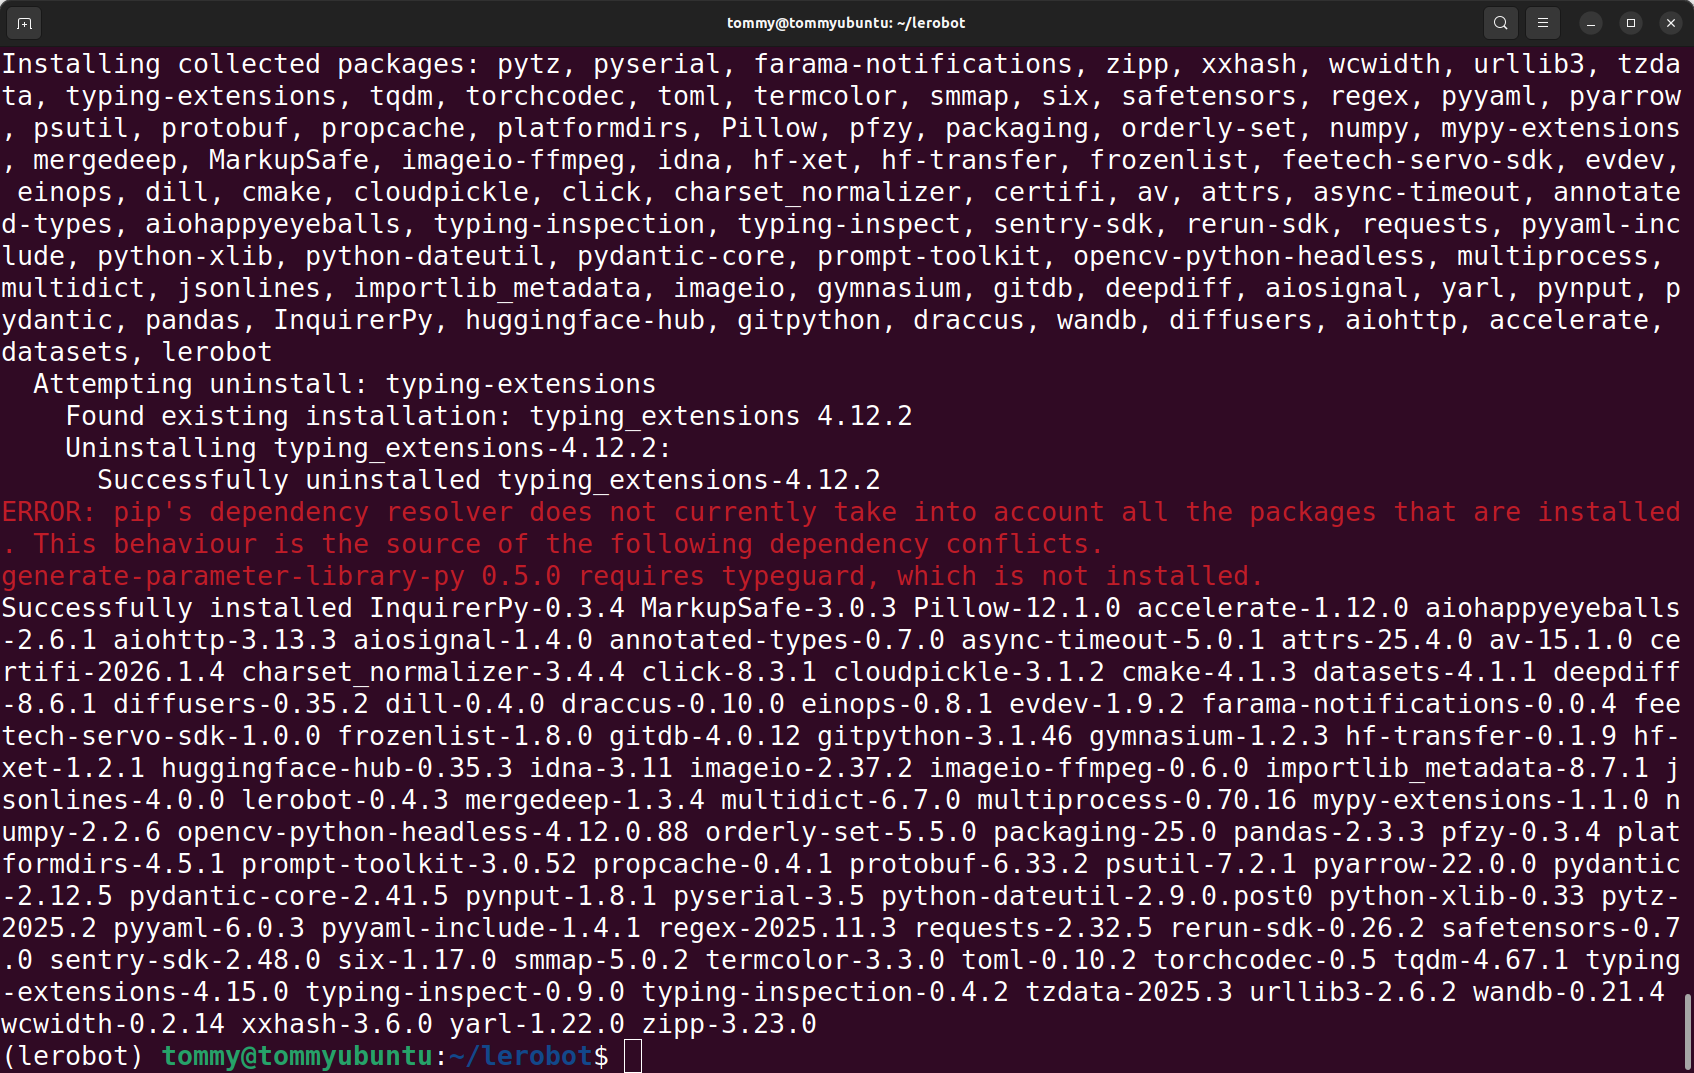
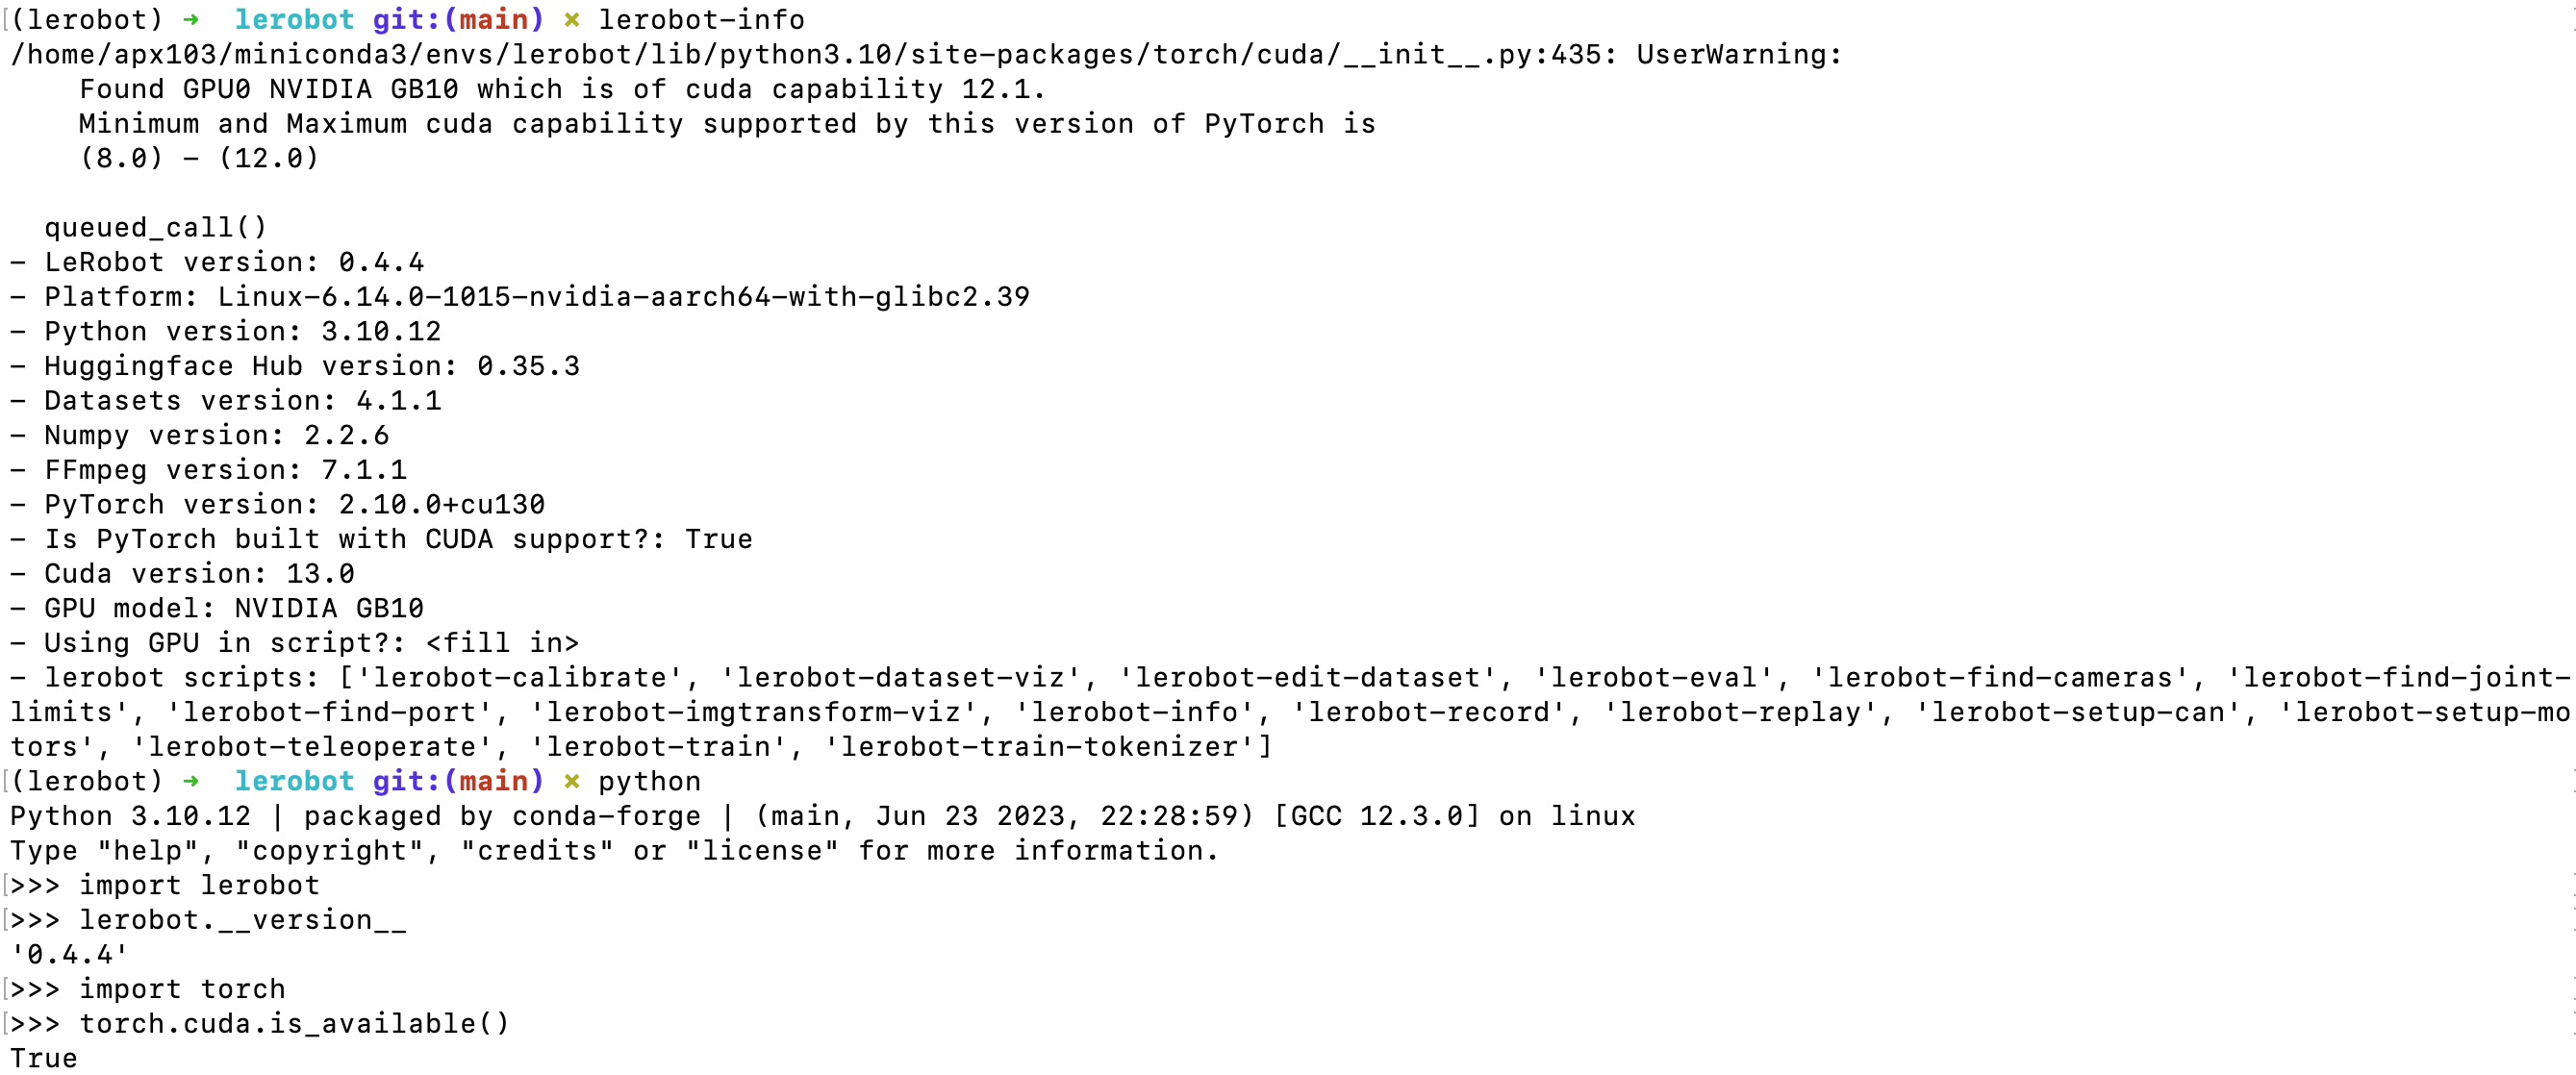
설치 성공 확인
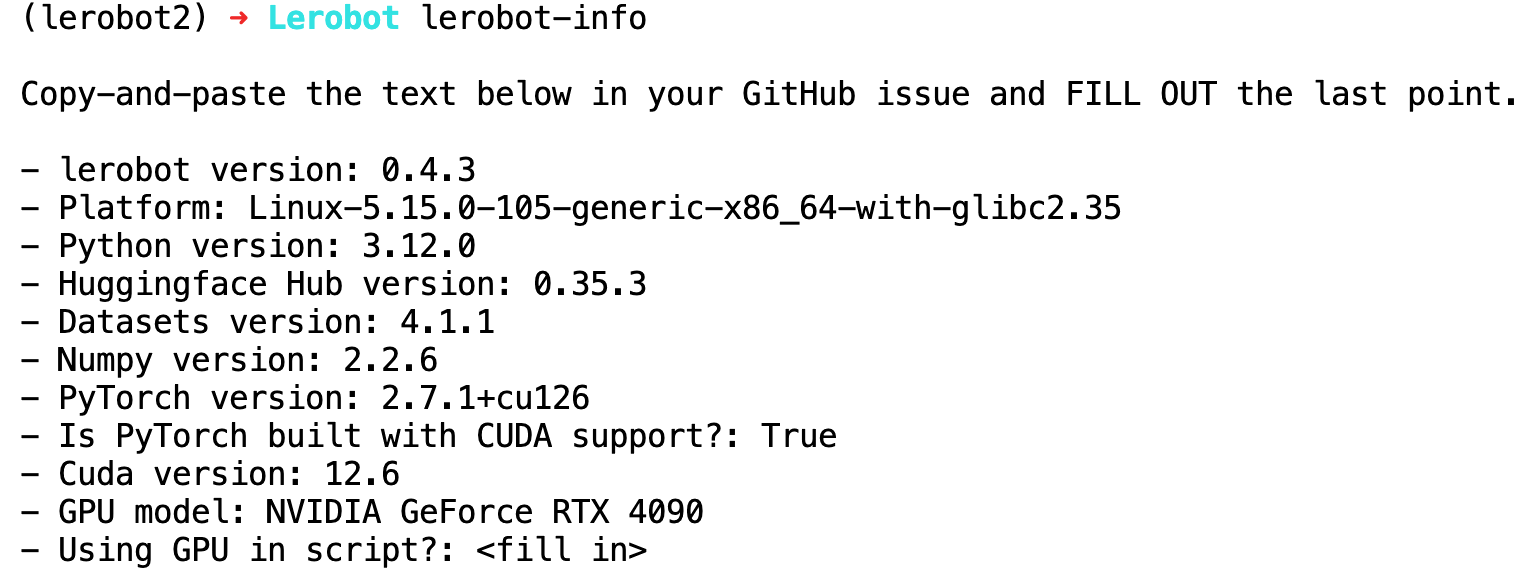
Shell
lerobot-info

python

import lerobot
lerobot.__version__

import torch
torch.cuda.is_available()
import scservo_sdk
4090 호스트에서 실행한 결과
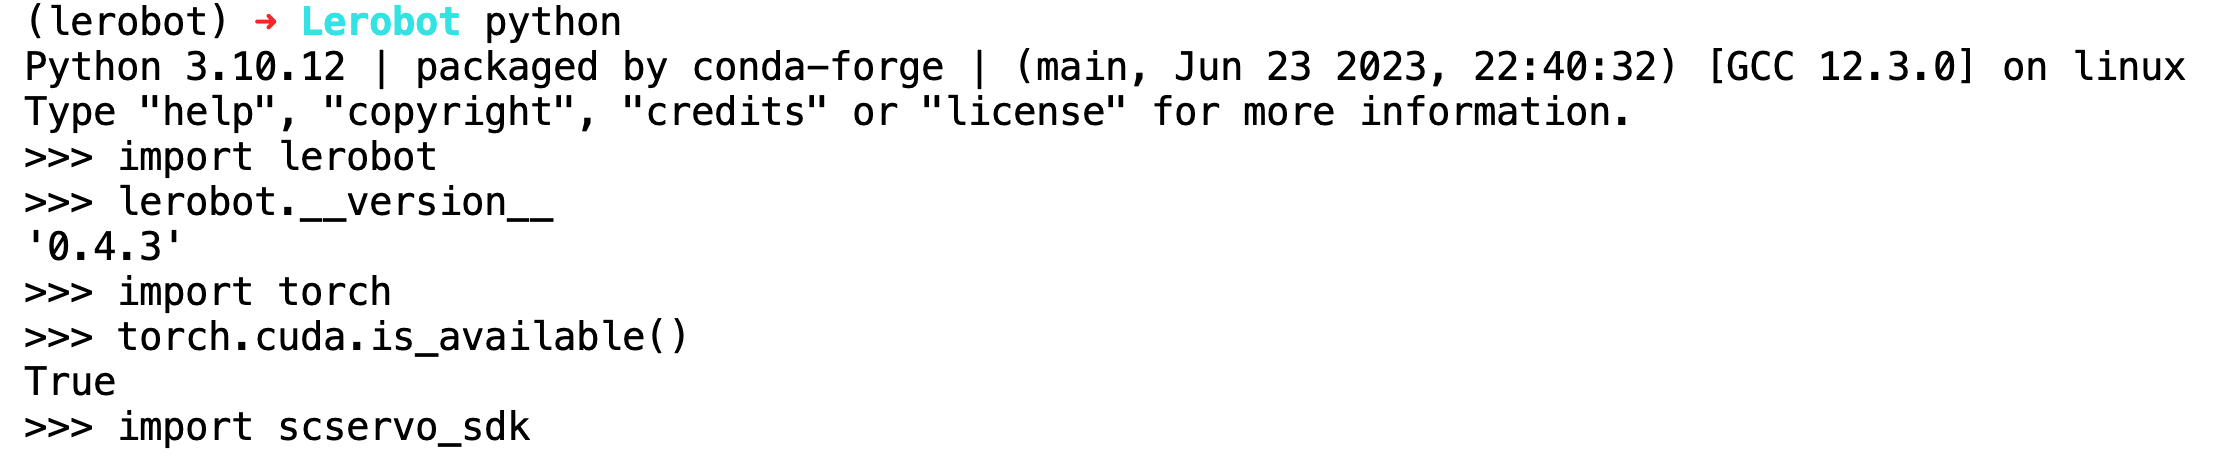
NVIDIA DGX Spark에서 실행한 결과