Windows 컴퓨터
검은색 리더 암은 5V6A 전원 어댑터를 사용합니다
흰색 팔로워 암은 12V5A 전원 어댑터를 사용합니다
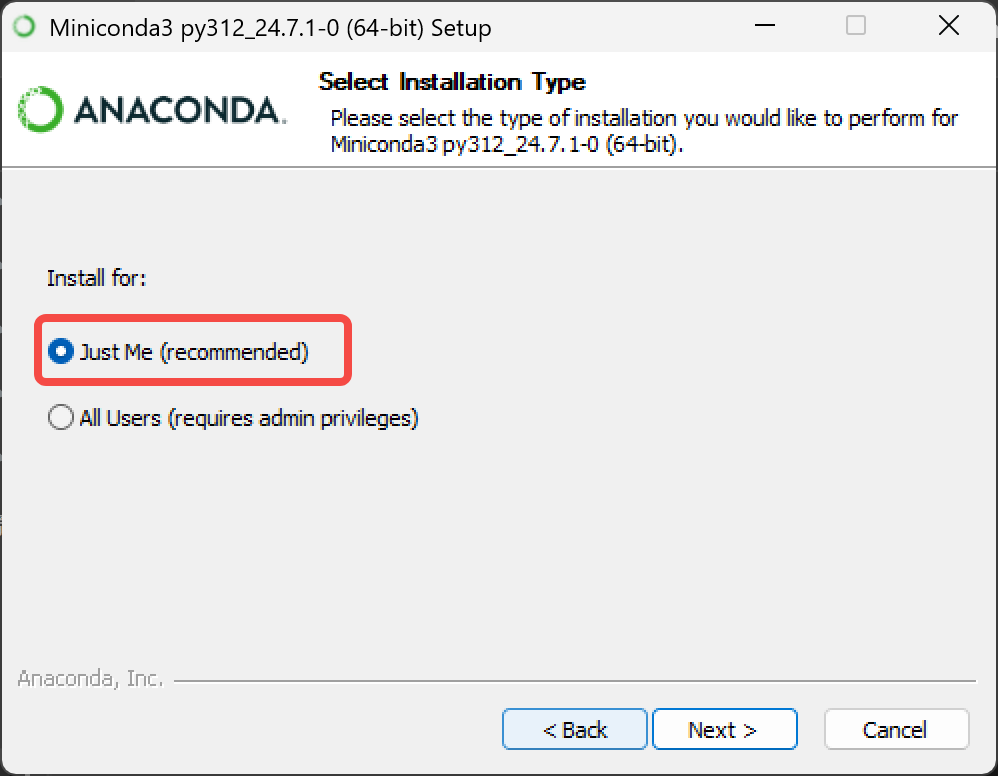
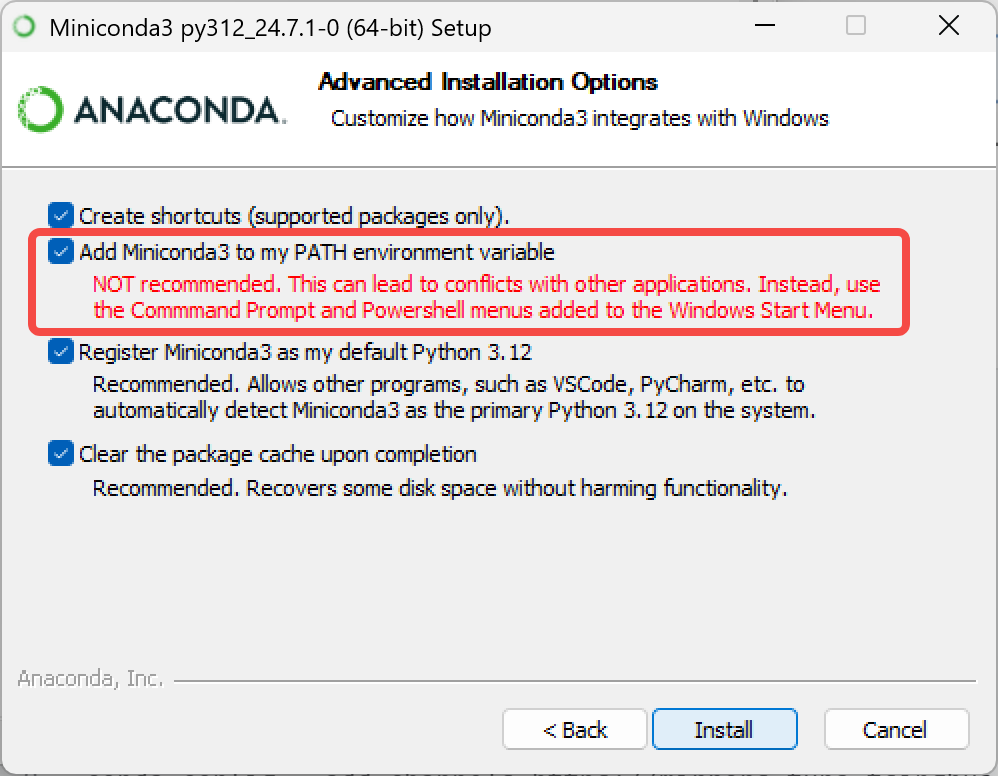
Miniconda 설치
anaconda.com/download/success
또는 이 링크를 직접 클릭해 설치 패키지를 다운로드하세요
https://repo.anaconda.com/miniconda/Miniconda3-latest-Windows-x86_64.exe
conda 미러 소스 변경
Shell
# 먼저 기존 소스 설정 비우기 (충돌 방지)
conda config --remove-key channels

# conda의 기본 소스와 자주 쓰는 서드파티 소스를 칭화 미러로 교체
# 기본 패키지 소스 추가 (main/r/msys2)
conda config --add channels https://mirrors.tuna.tsinghua.edu.cn/anaconda/pkgs/main/
conda config --add channels https://mirrors.tuna.tsinghua.edu.cn/anaconda/pkgs/r/
conda config --add channels https://mirrors.tuna.tsinghua.edu.cn/anaconda/pkgs/msys2/

# 자주 쓰는 서드파티 소스 추가
conda config --add channels https://mirrors.tuna.tsinghua.edu.cn/anaconda/cloud/conda-forge/
conda config --add channels https://mirrors.tuna.tsinghua.edu.cn/anaconda/cloud/msys2/
conda config --add channels https://mirrors.tuna.tsinghua.edu.cn/anaconda/cloud/bioconda/
conda config --add channels https://mirrors.tuna.tsinghua.edu.cn/anaconda/cloud/menpo/
conda config --add channels https://mirrors.tuna.tsinghua.edu.cn/anaconda/cloud/pytorch/

# 다운로드 소스 표시를 켜서, 패키지 설치 시 구체적인 다운로드 주소 표시
conda config --set show_channel_urls yes

# 인덱스 캐시를 지워 새 소스 적용
conda clean -i

# 현재 설정 확인 (소스가 성공적으로 추가되었는지 검증)
conda config --show-sources
가상 환경 생성
Shell
conda create -y -n lerobot python=3.12가상 환경 활성화
Shell
conda activate lerobotffmpeg 설치
Shell
conda install *ffmpeg*=7.1.1 *-c* conda-forge -y설치 성공 확인
Shell
ffmpeg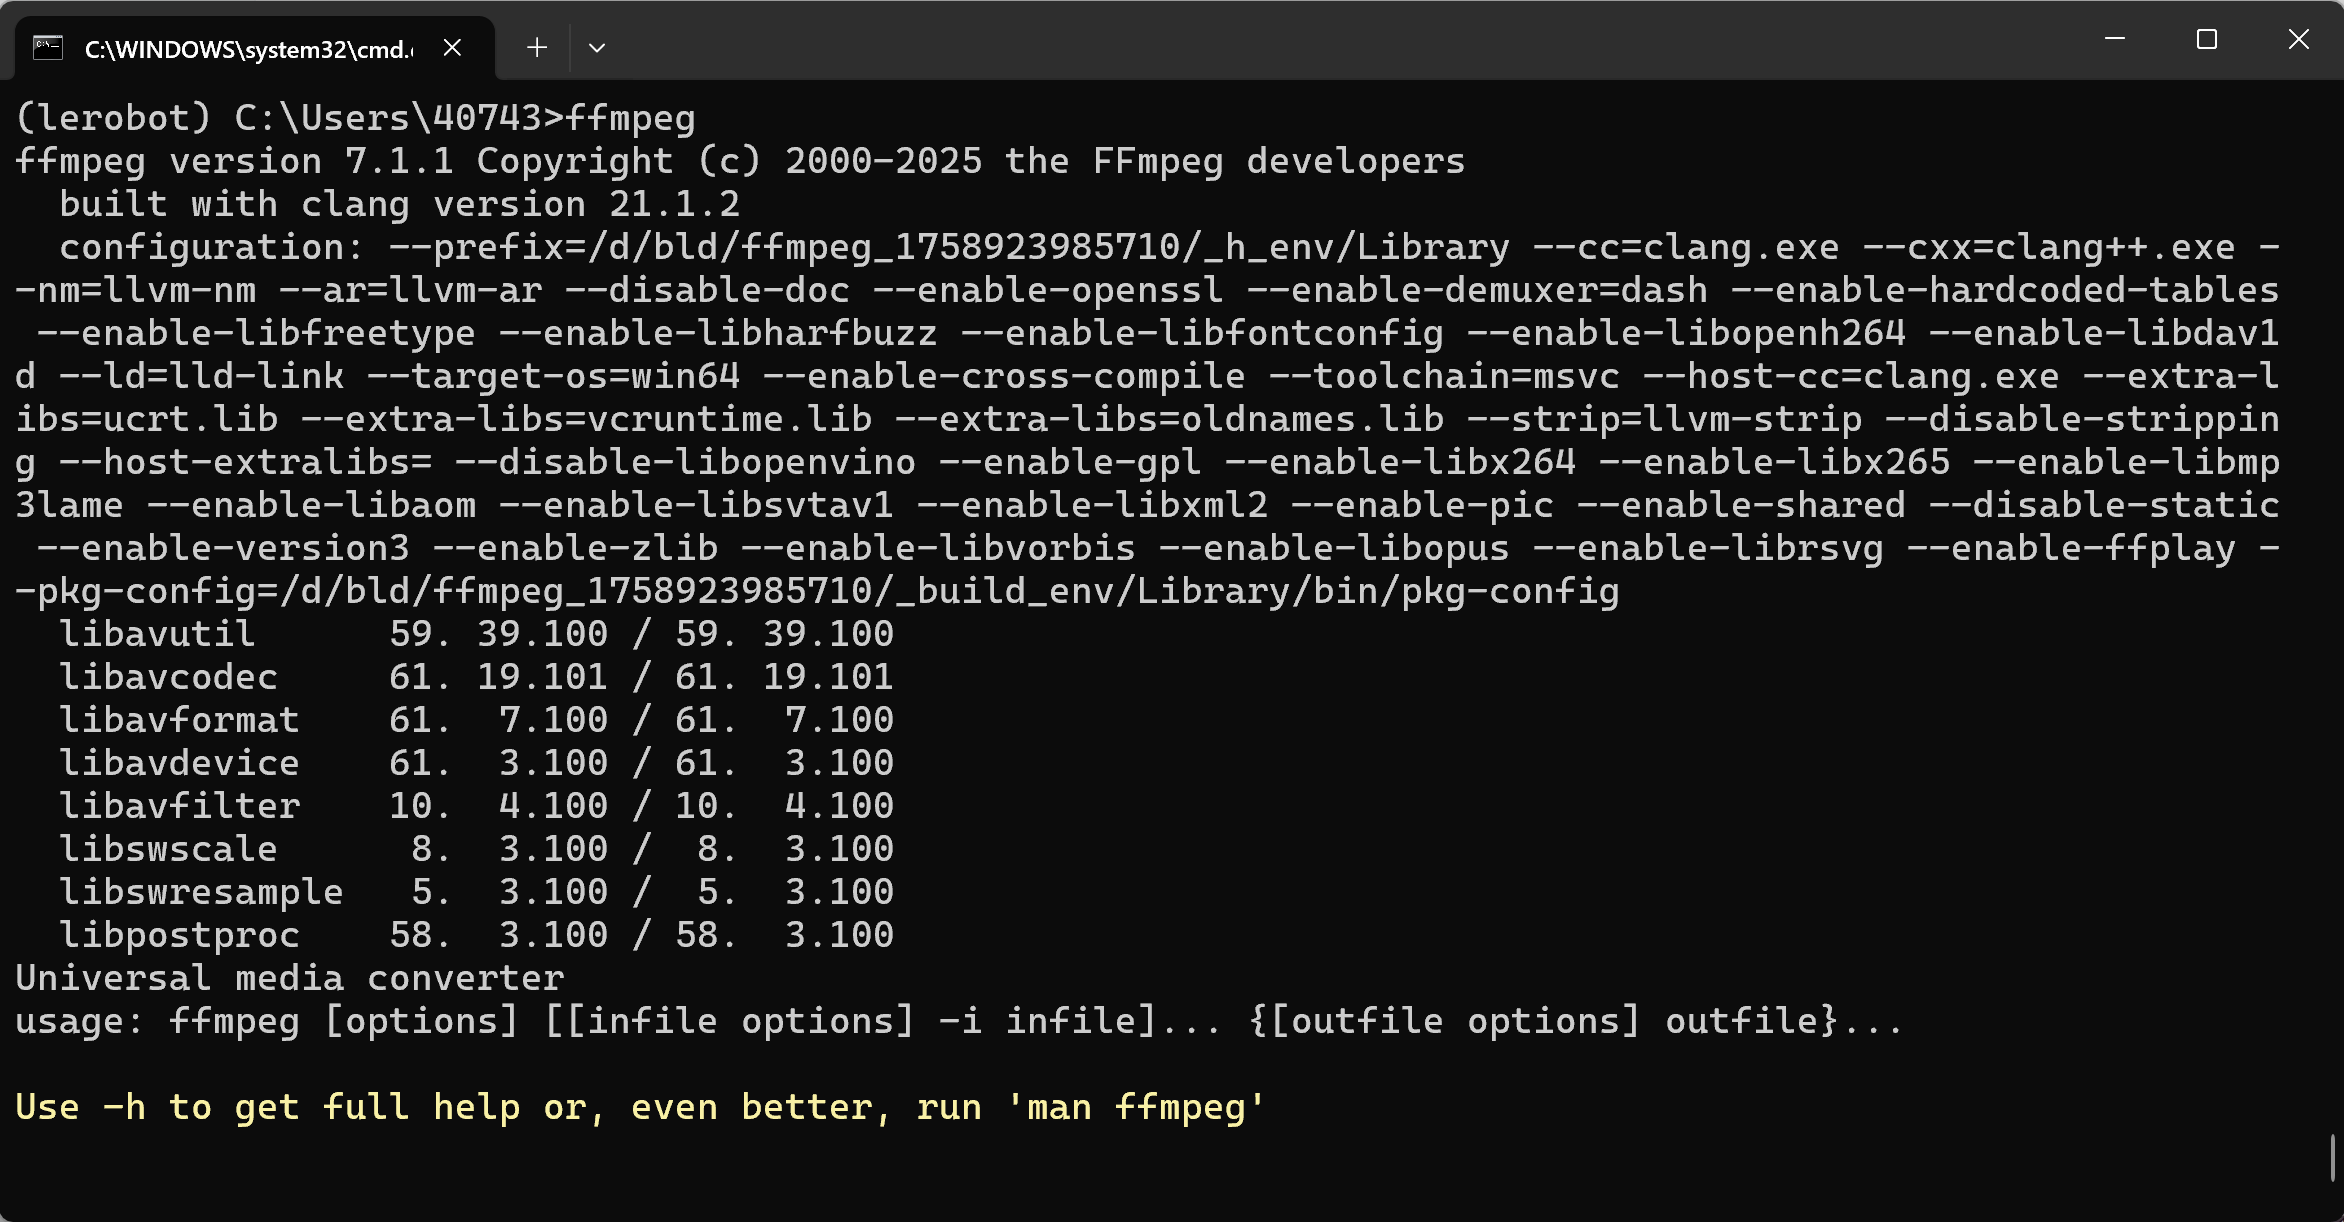
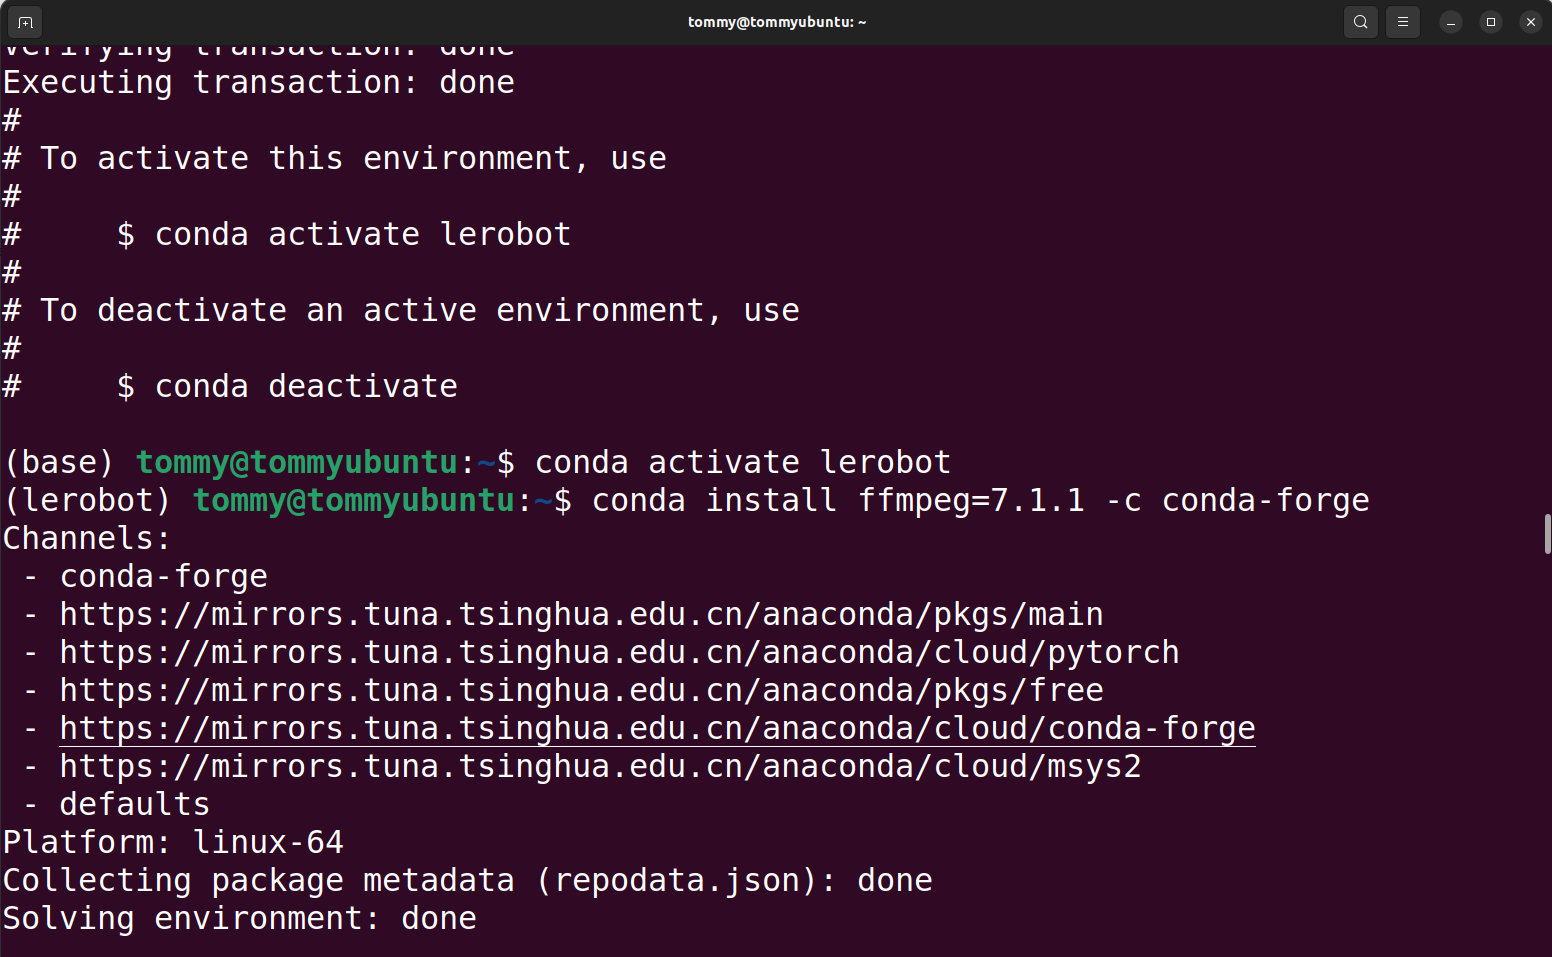
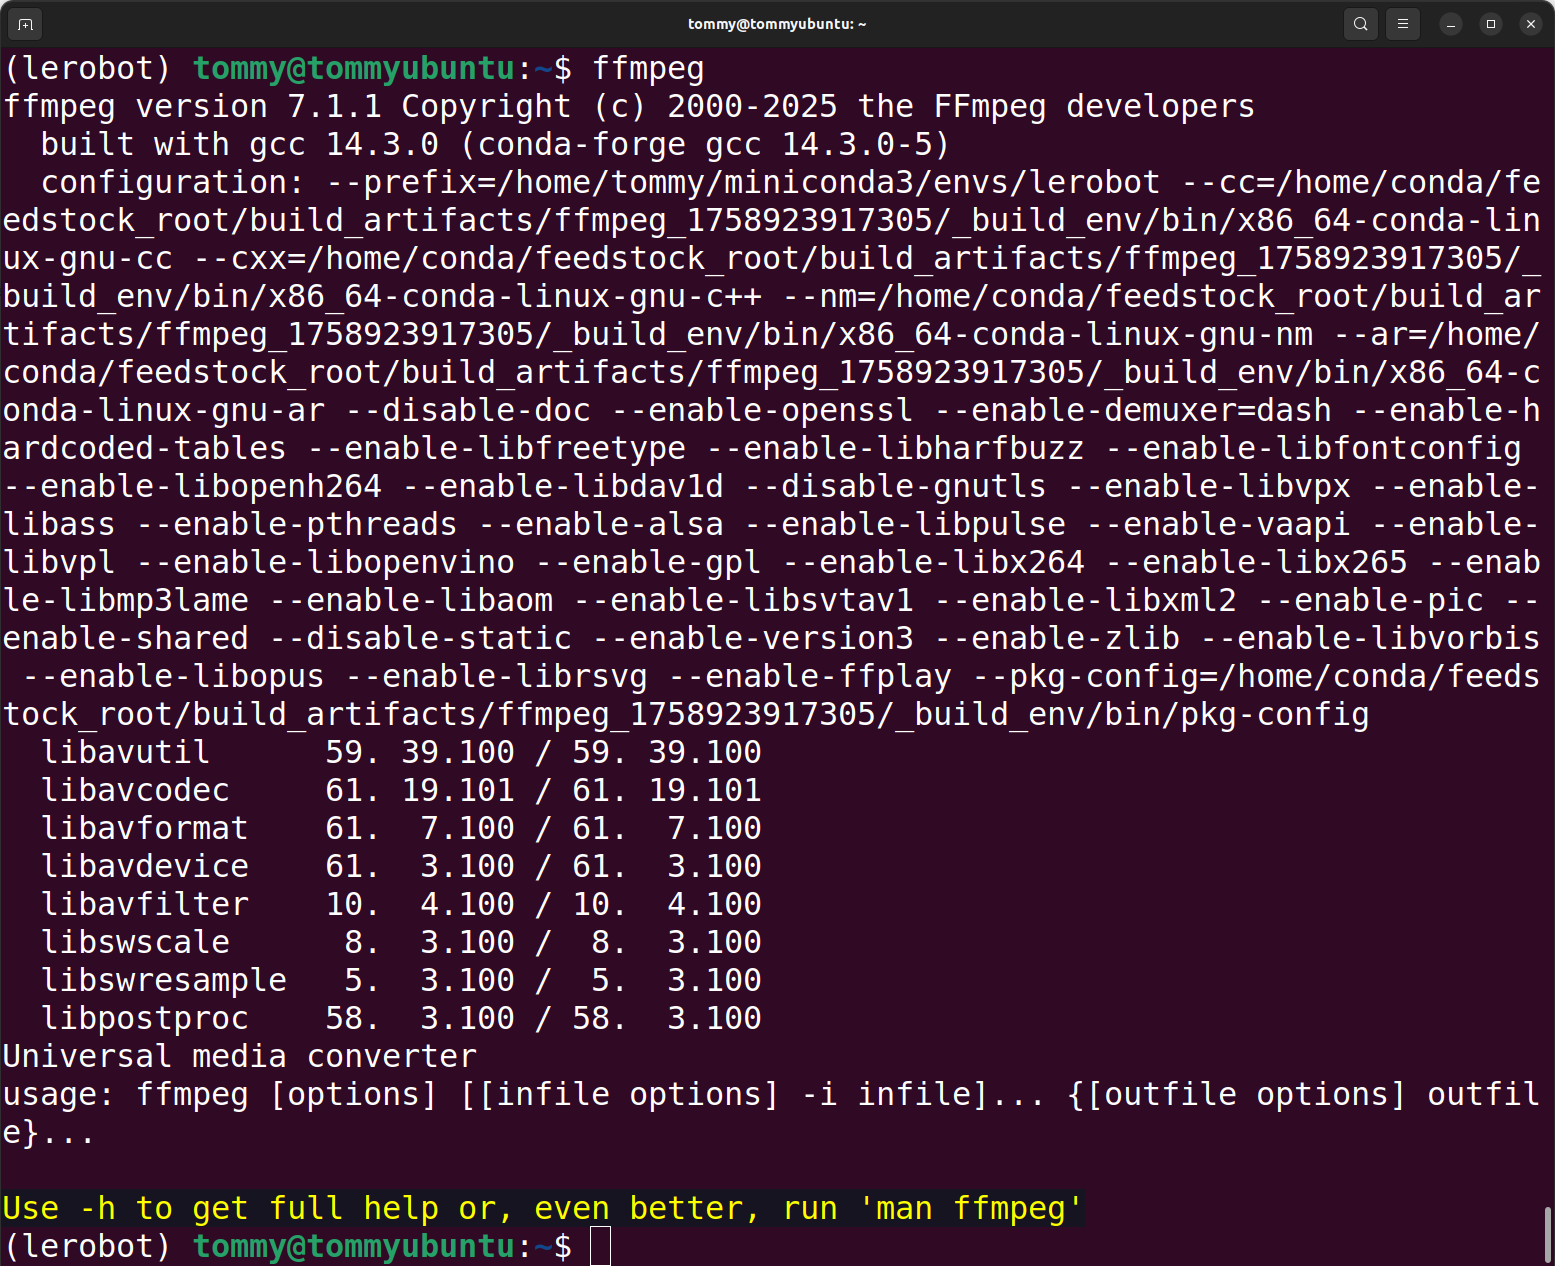
LeRobot 코드 다운로드
방안 A: 본 저장소 코드를 직접 사용(권장)
방안 B: 공식 코드 저장소를 다운로드하고, 해당 파일을 수동으로 교체
Shell
git clone https://github.com/huggingface/lerobot.git코드 저장소 설치
Shell
cd lerobotPlain
pip install -e ".[feetech]"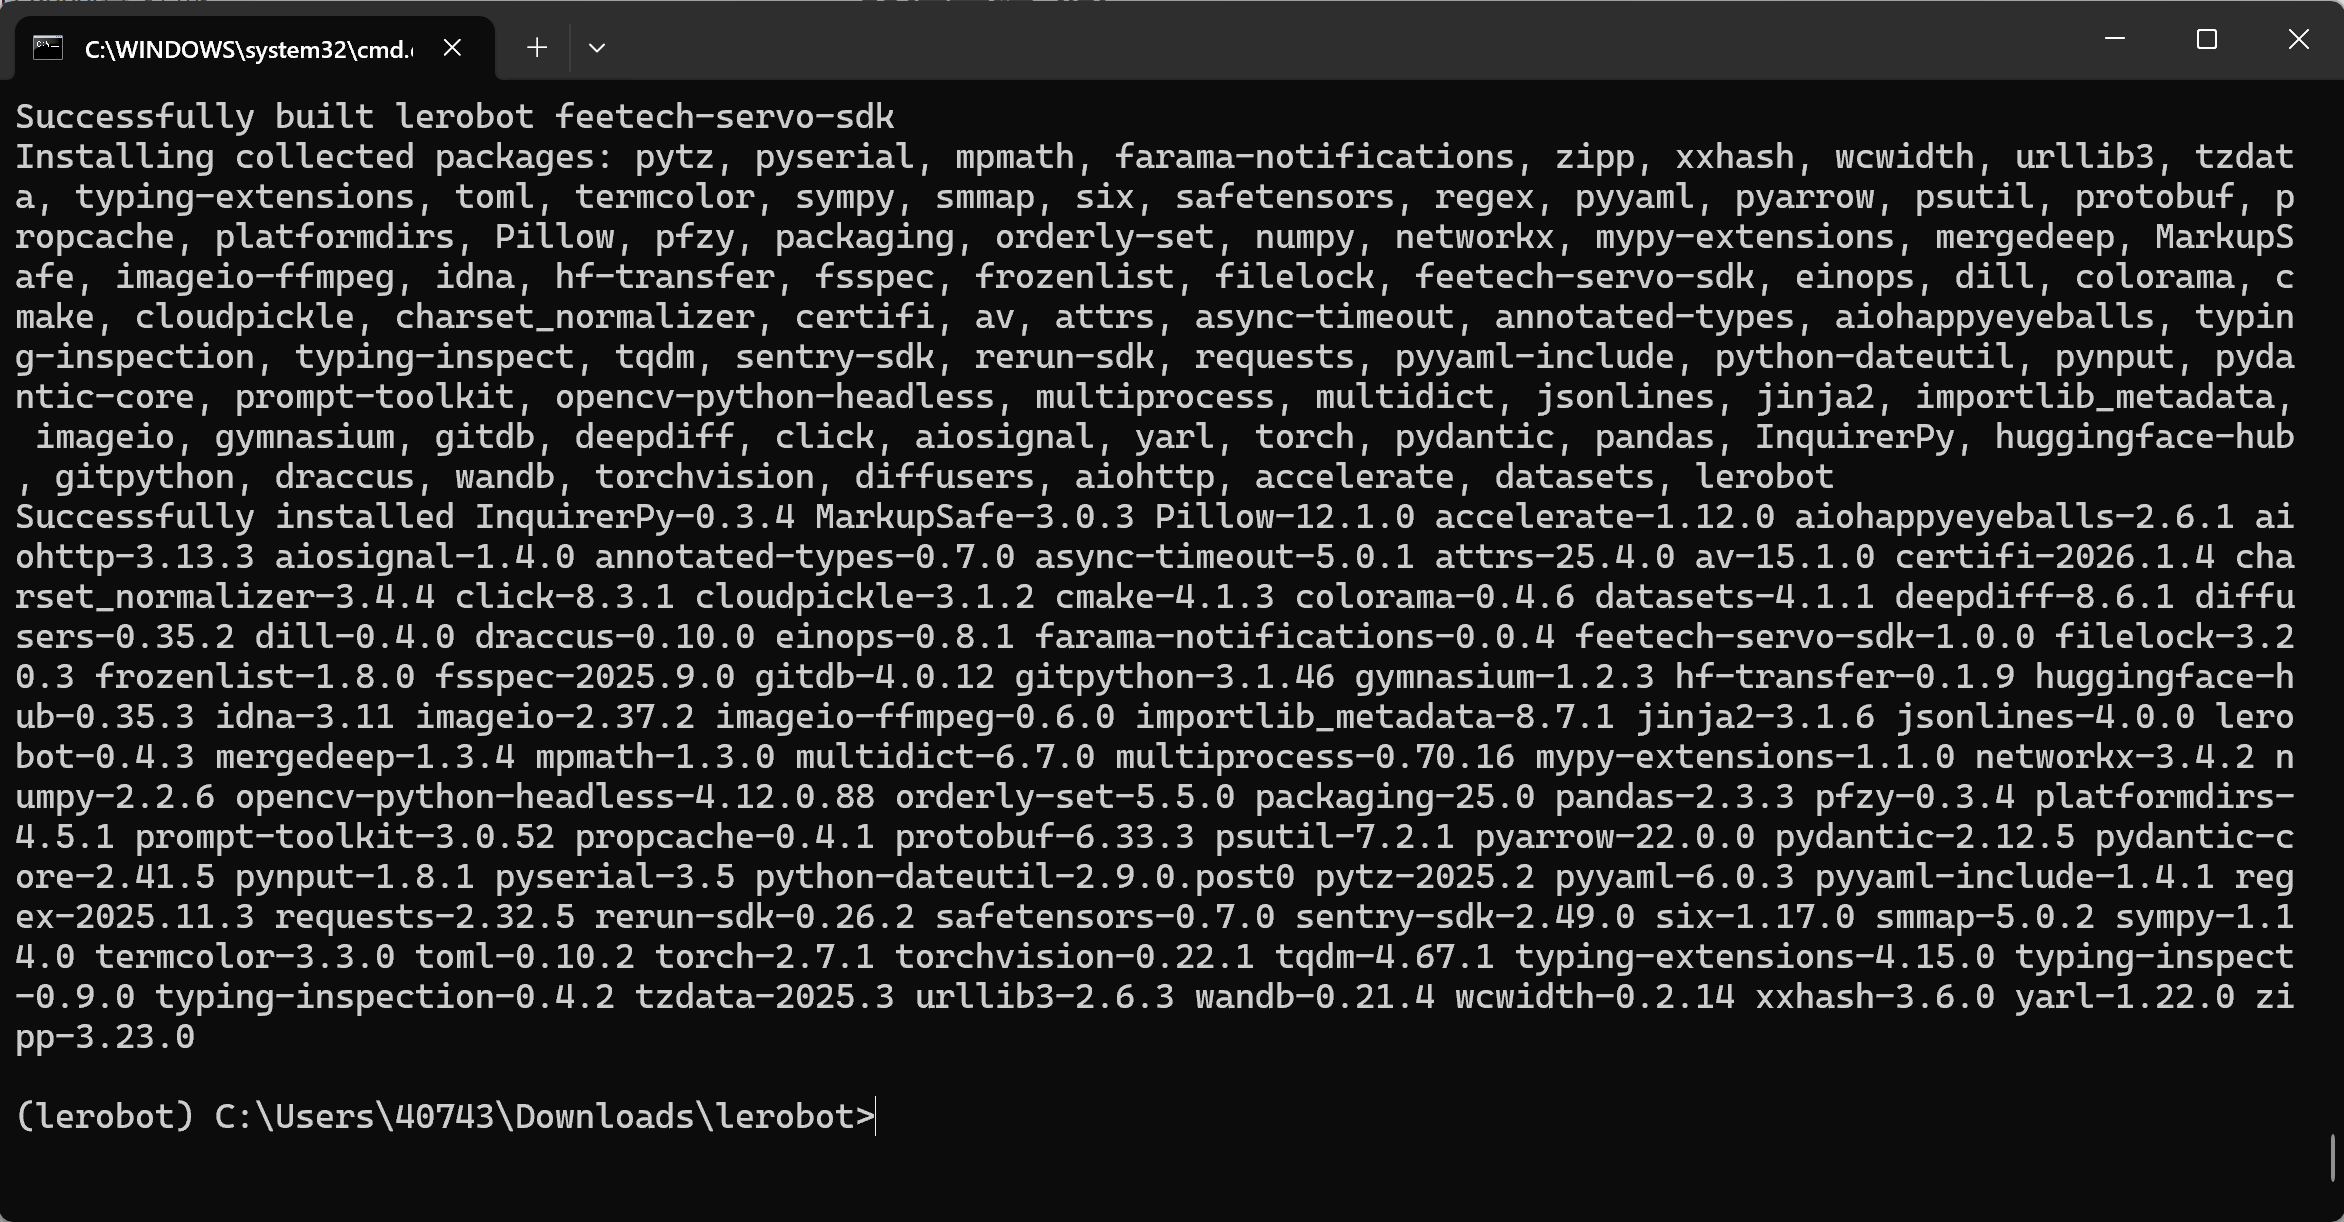
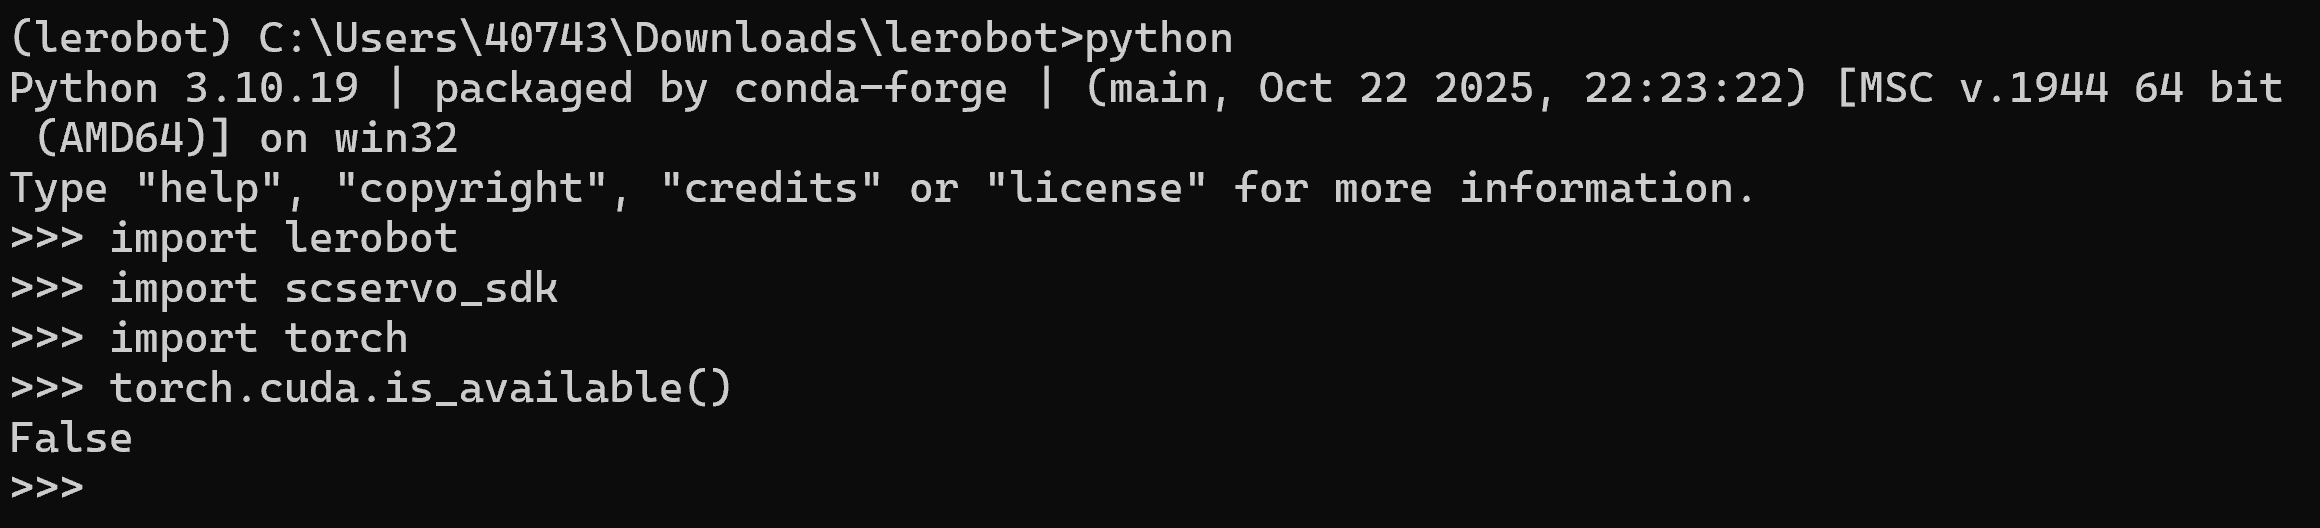
설치 성공 확인
Shell
python

import lerobot
import scservo_sdk
import torch
torch.cuda.is_available()