5단계: 카메라 연결 원격조작 (Windows)
카메라와 컴퓨터 연결
Shell
lerobot-find-cameras opencv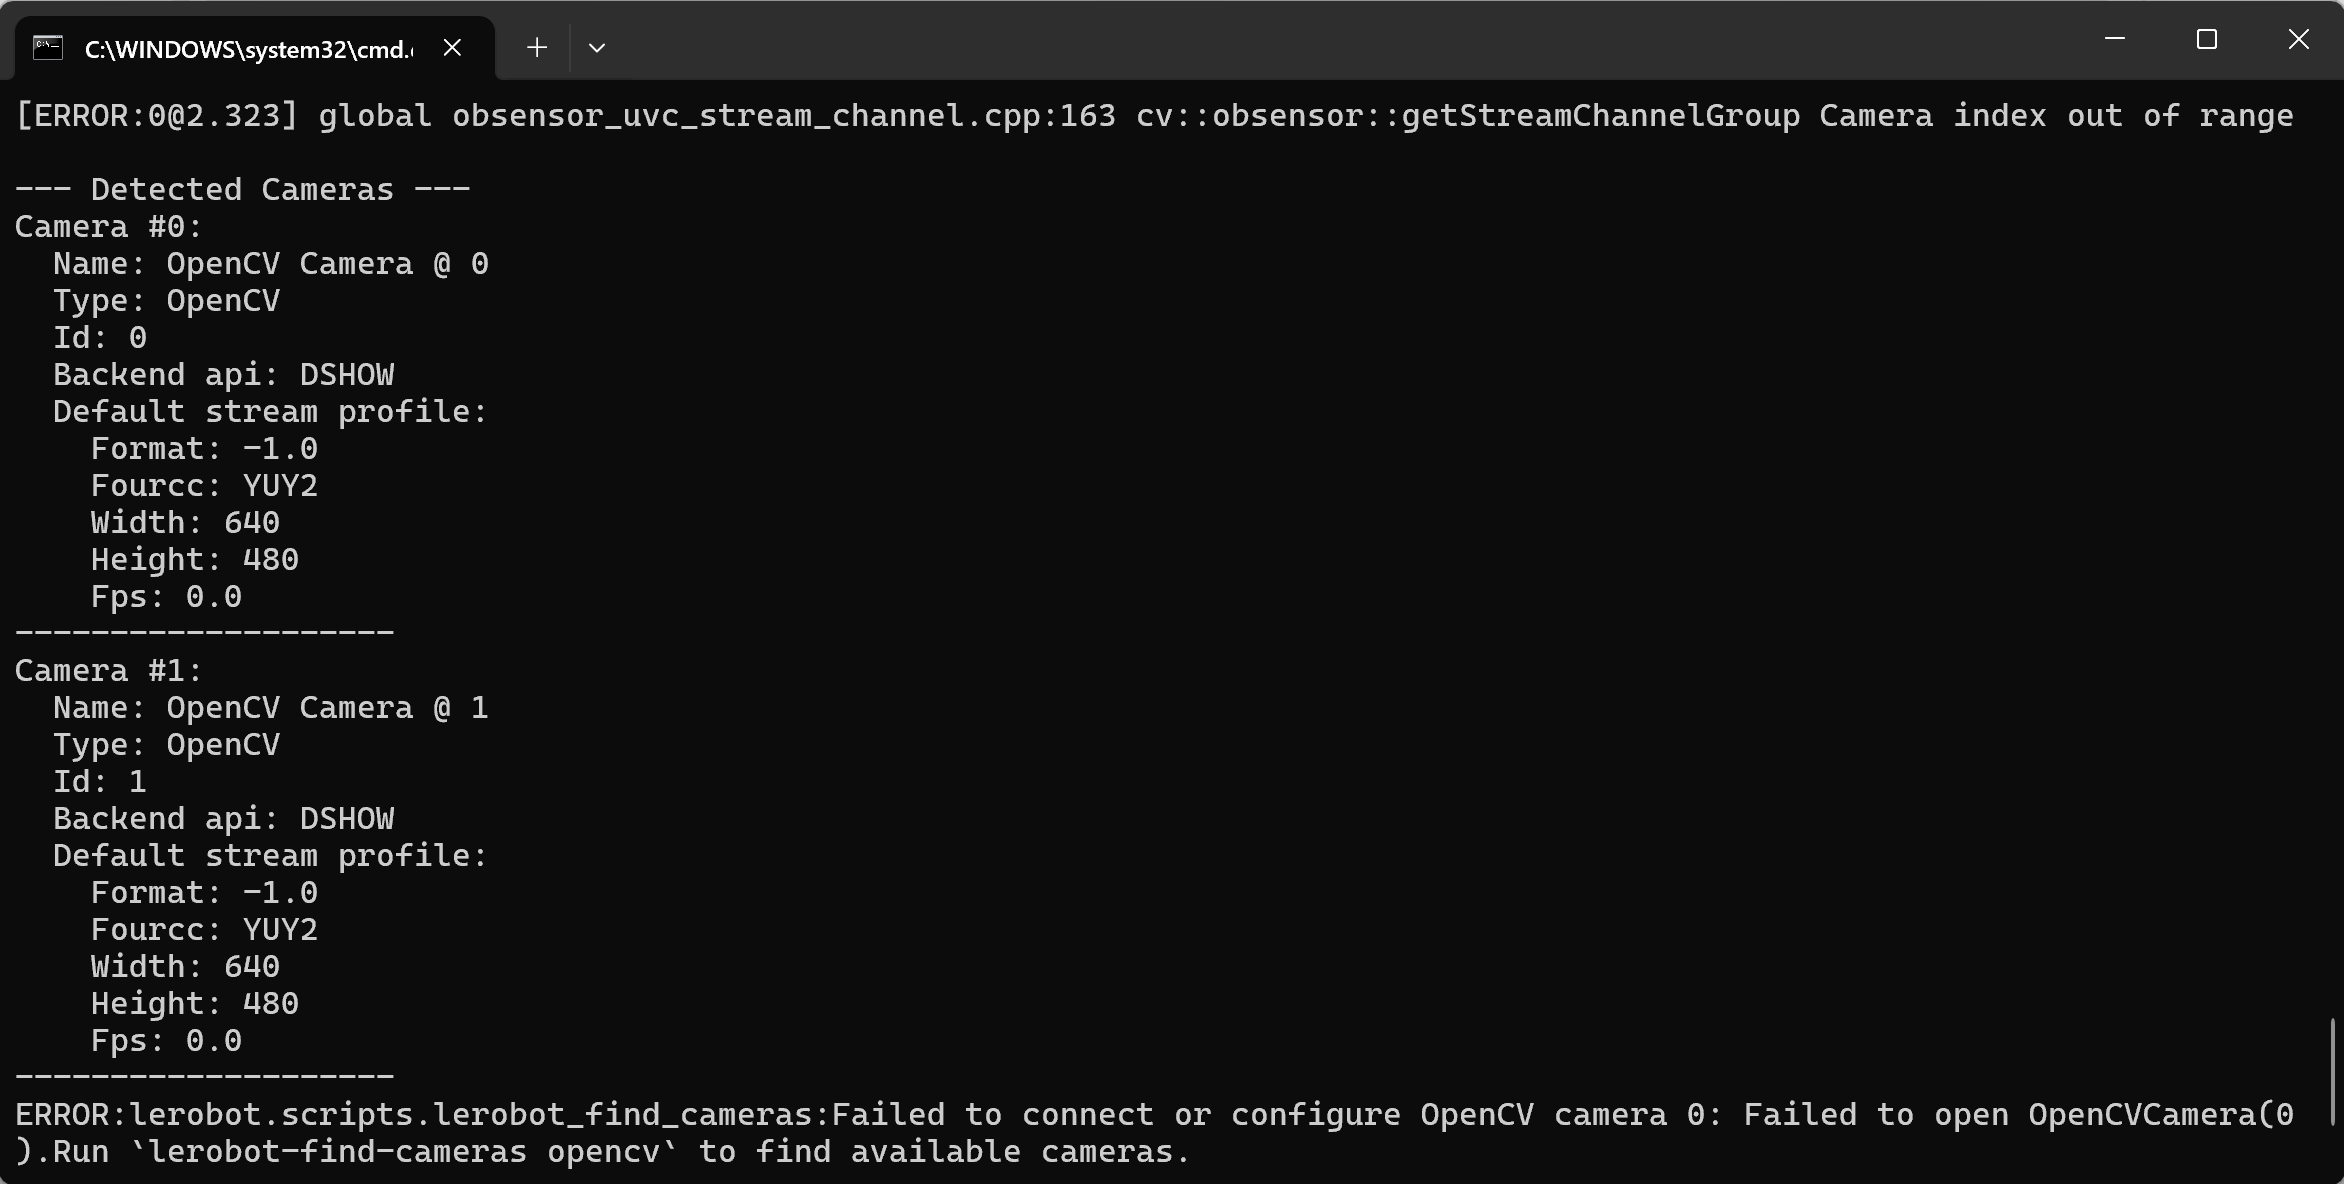
원격조작 및 카메라 화면 표시
Shell
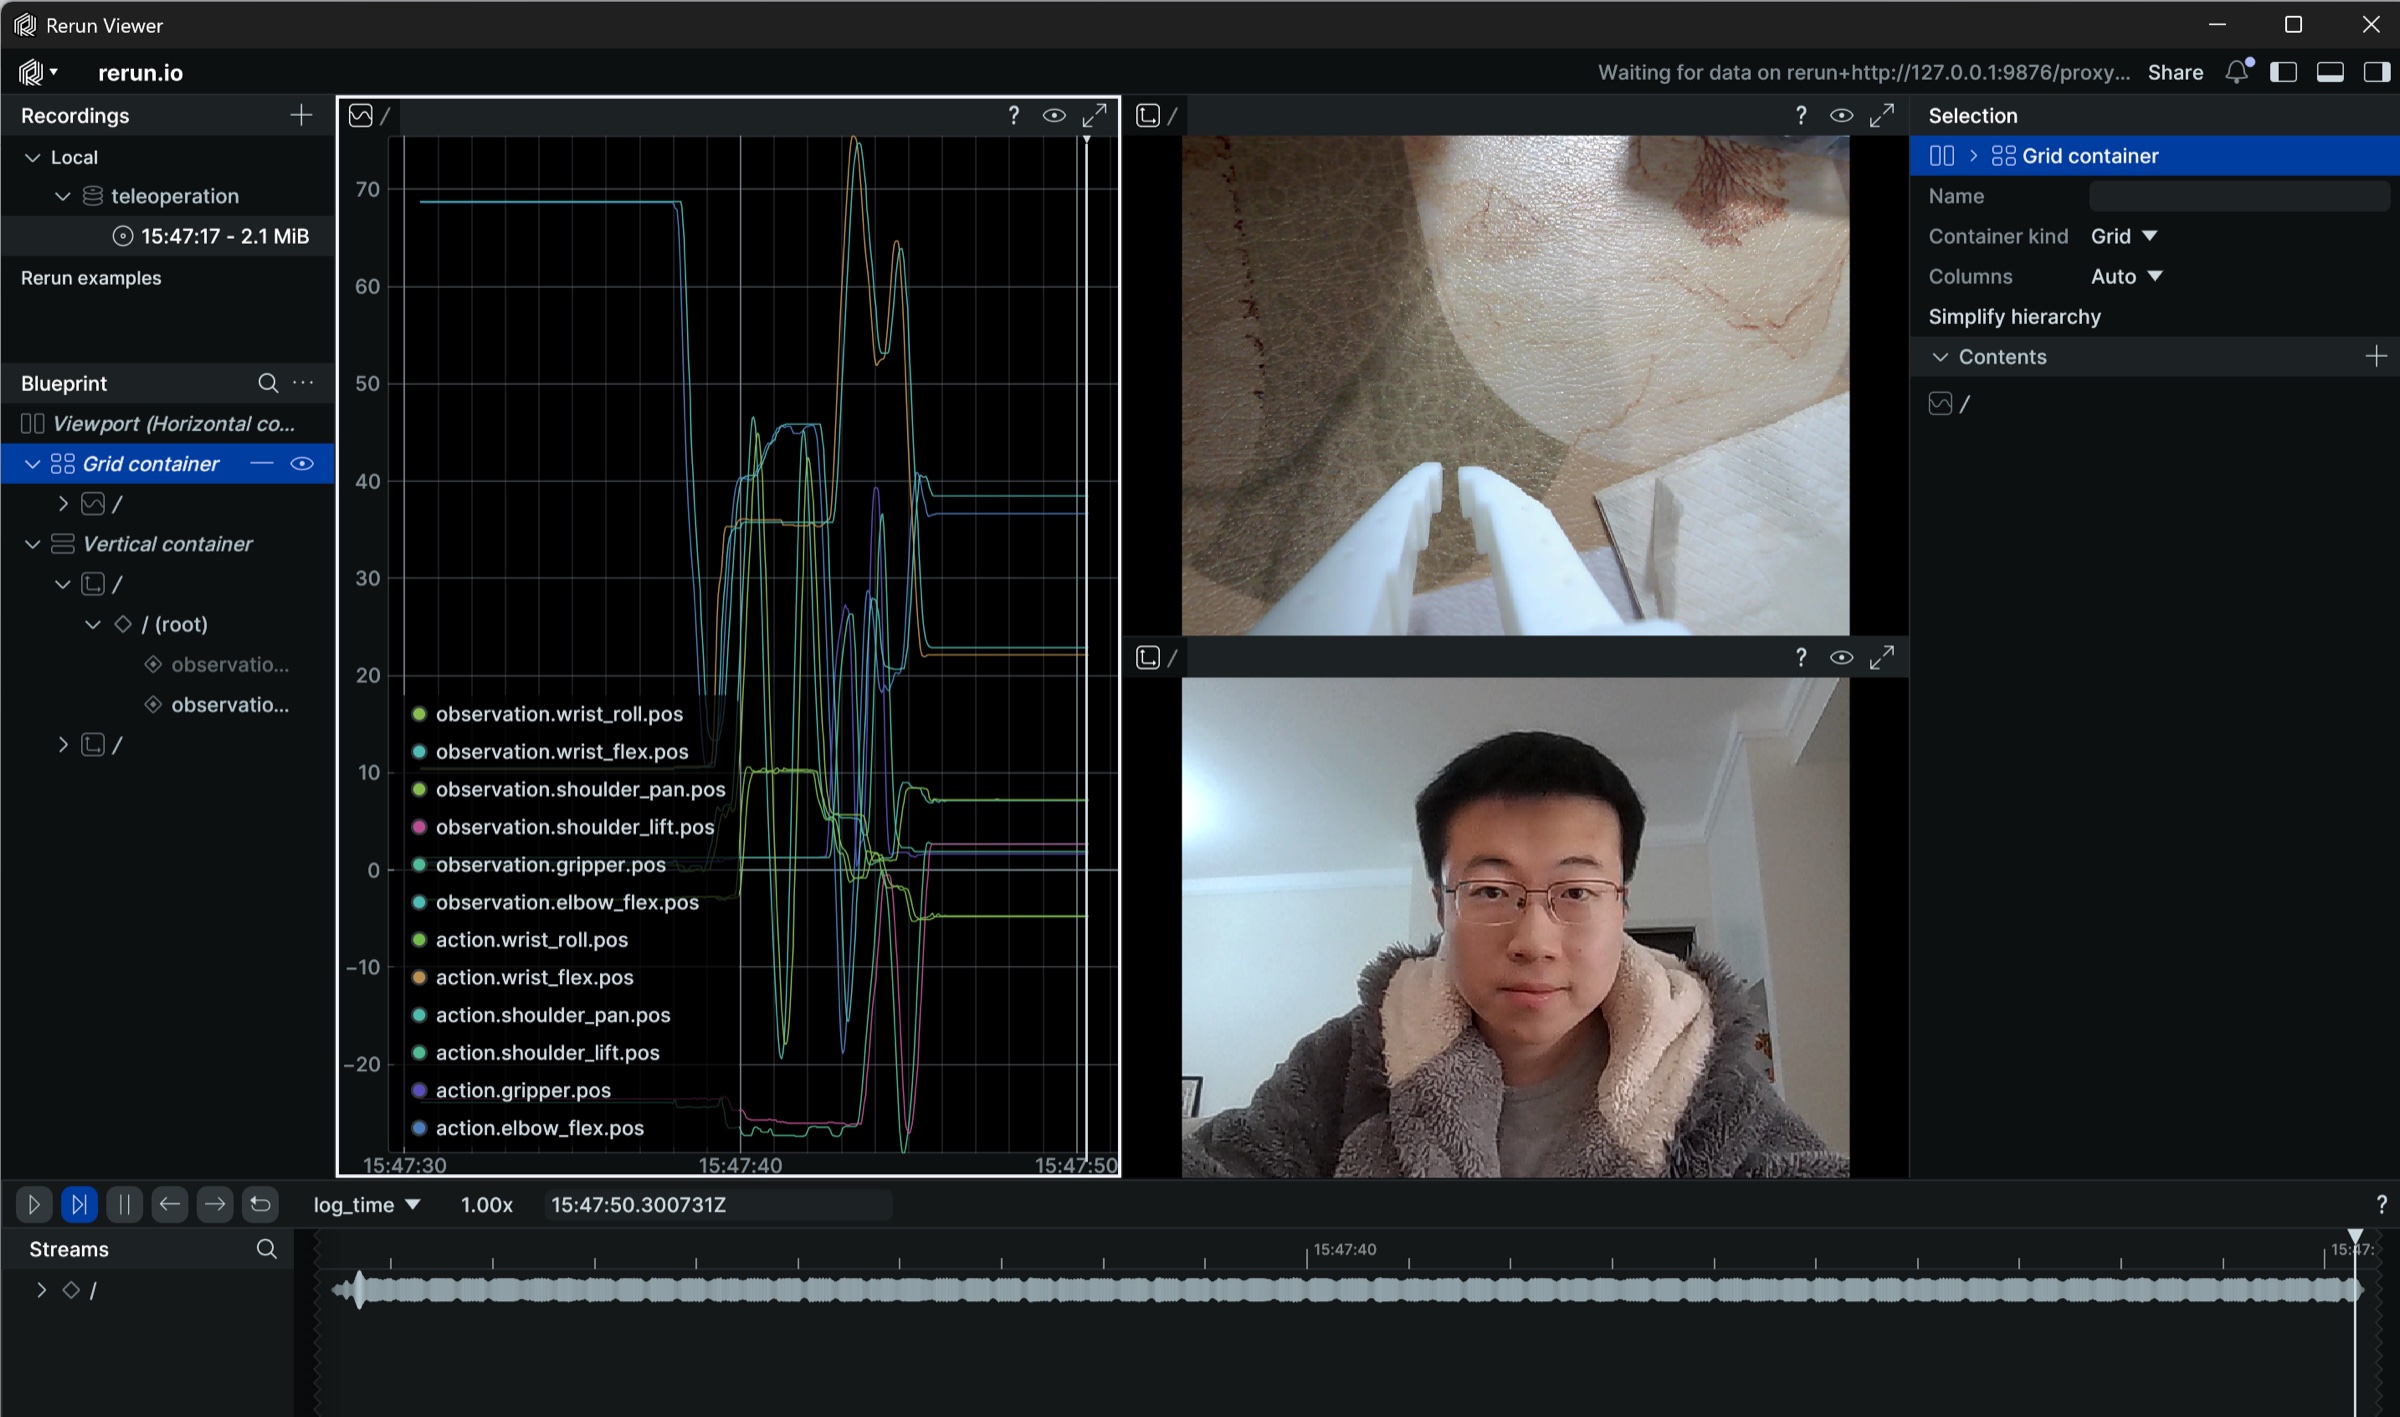
lerobot-teleoperate --robot.type=so101_follower --robot.port=COM6 --robot.id=my_follower_arm --robot.cameras="{ front: {type: opencv, index_or_path: 1, width: 1280, height: 720, fps: 30, fourcc: "MJPG"}}" --teleop.type=so101_leader --teleop.port=COM7 --teleop.id=my_leader_arm --display_data=truererun.io 화면이 열려 각 서보모터 관절의 궤적과 카메라 실시간 화면을 실시간으로 표시합니다
또한 이미지를 C:\Users\<Windows-사용자명>\outputs\captured_images 디렉터리에 저장합니다
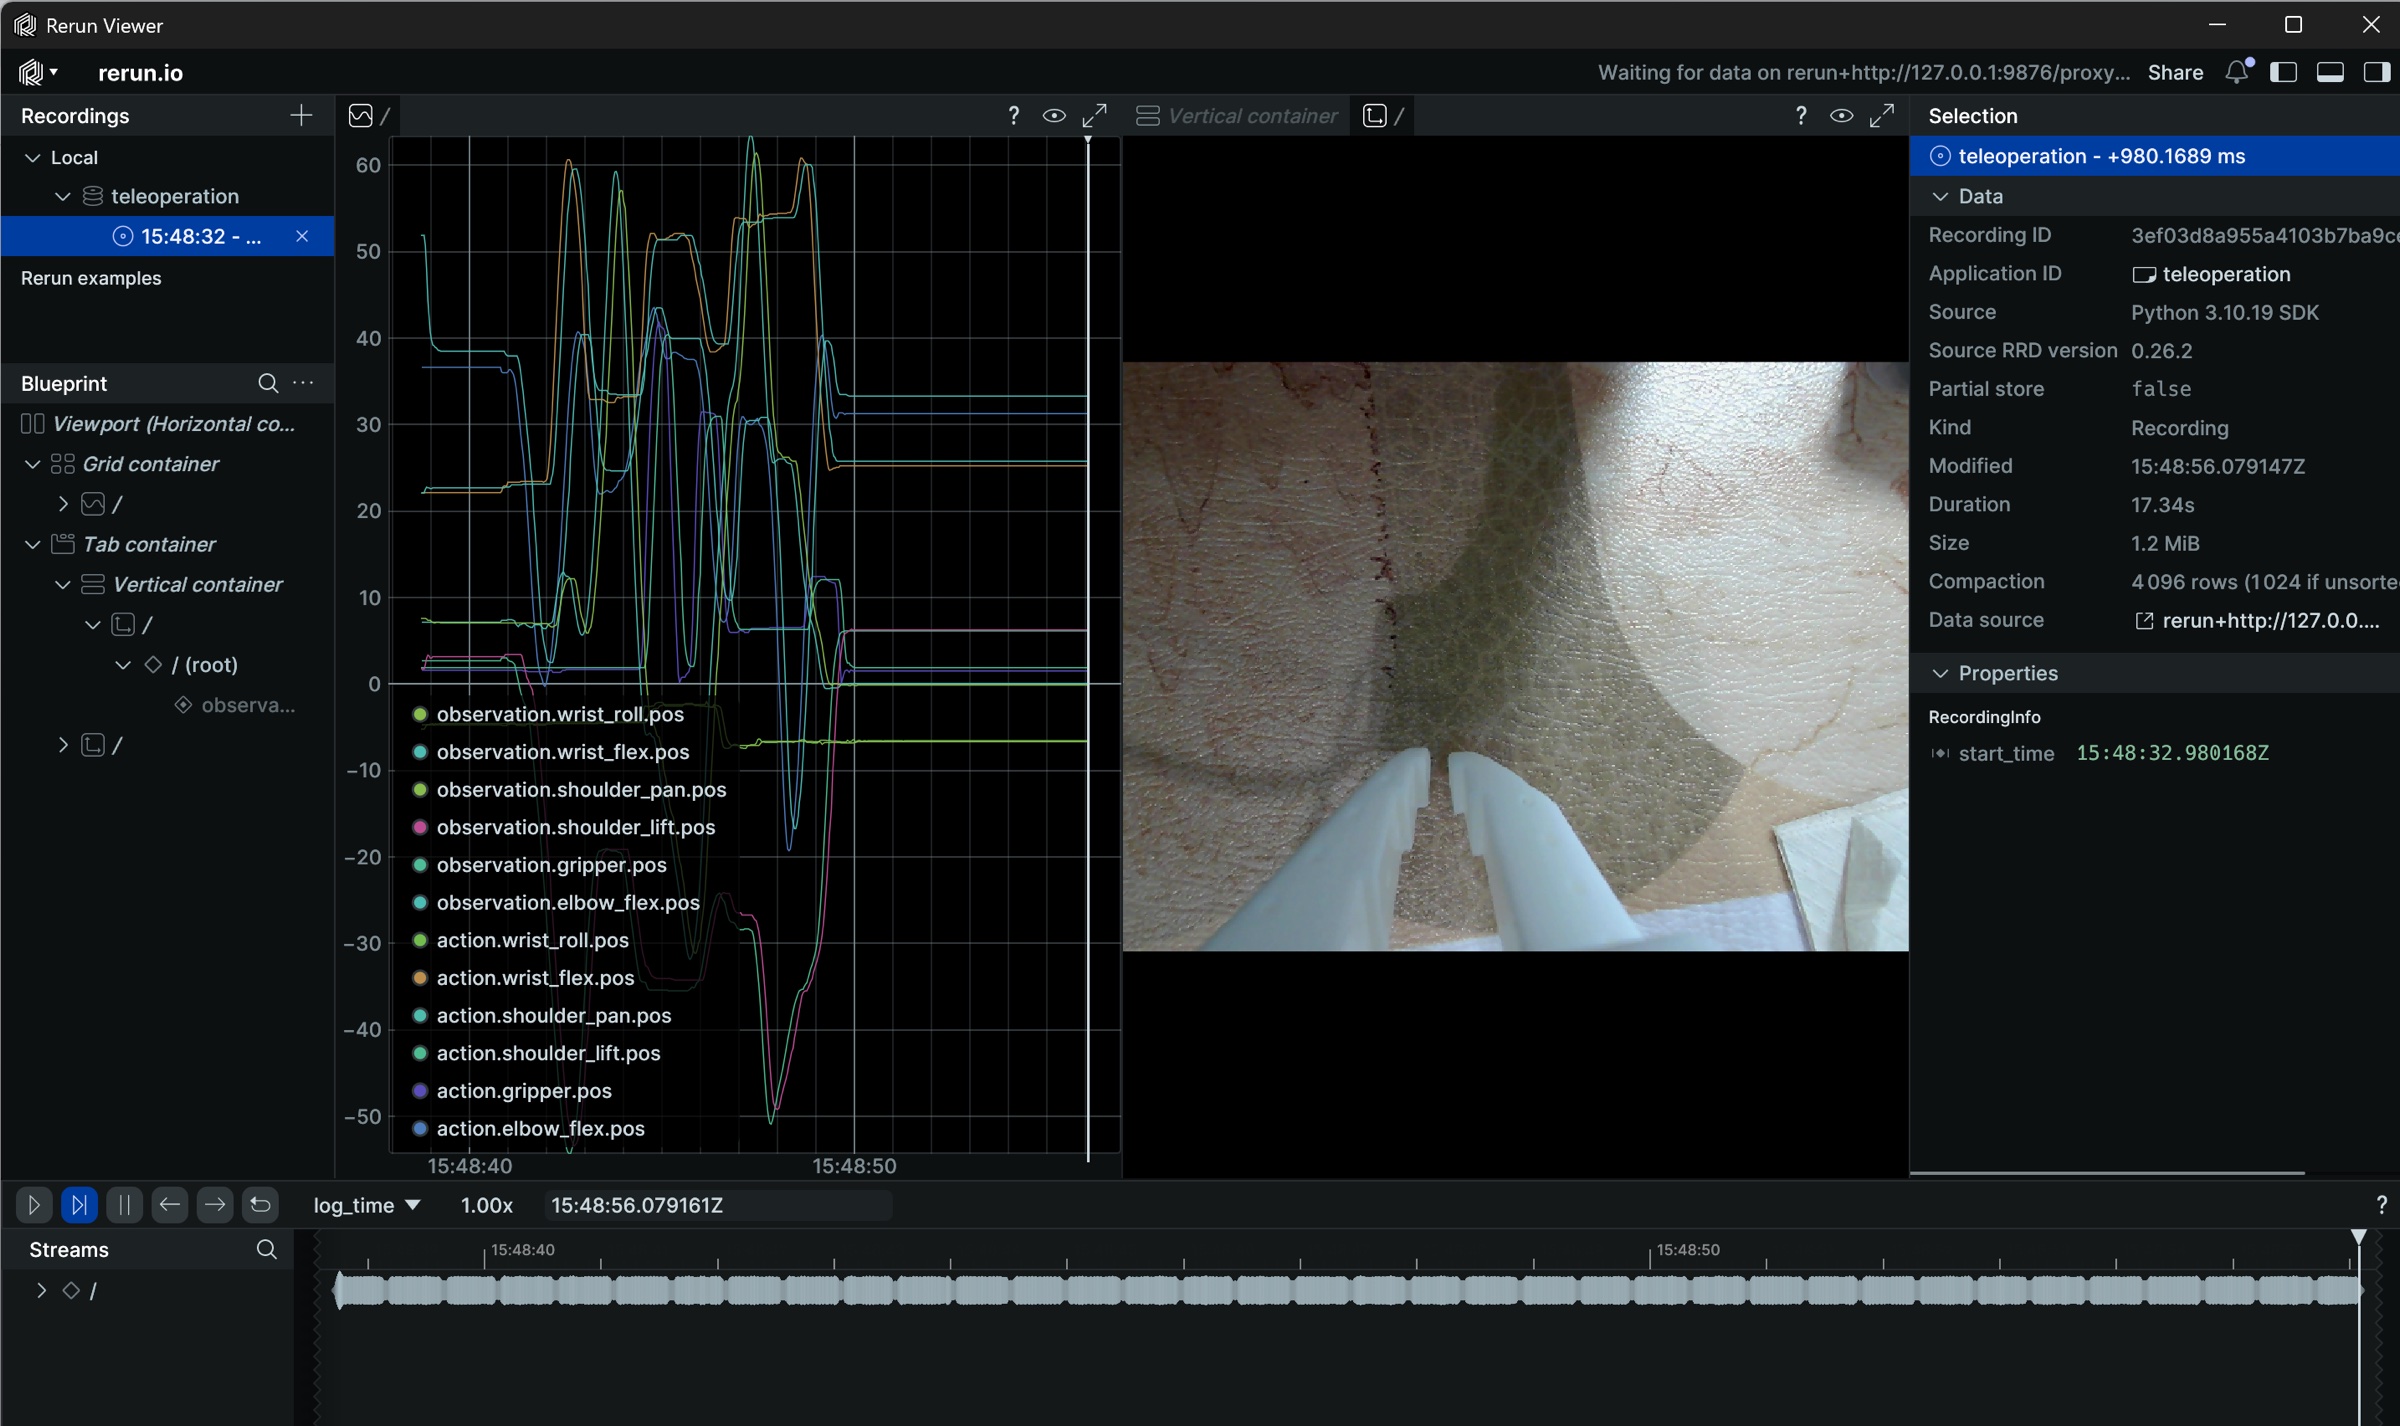
아래와 같은 오류가 발생하는 경우
카메라가 연결되지 않지만, 텐센트 미팅에서 카메라를 전환하면 정상적으로 켜집니다
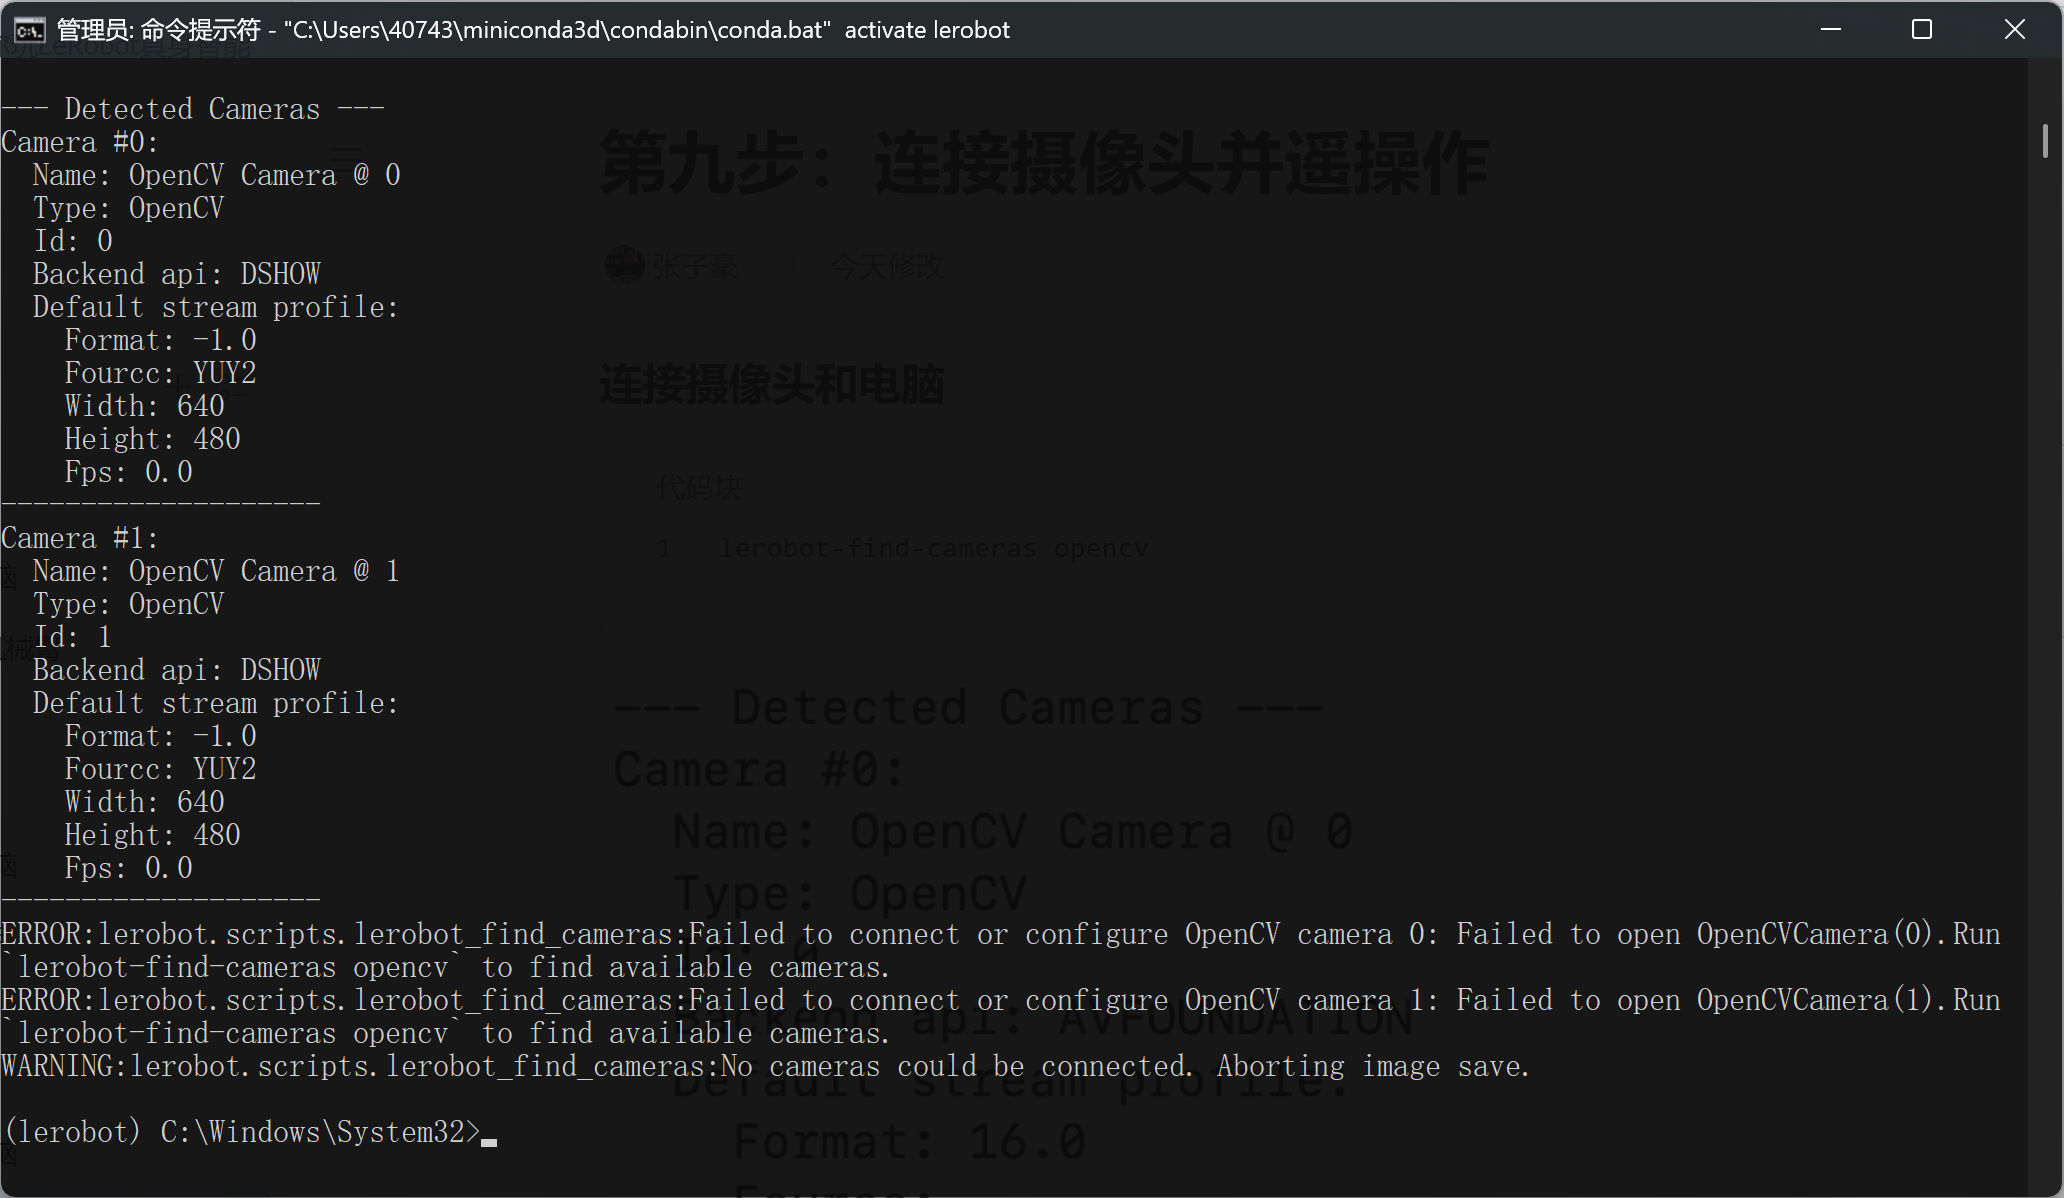
lerobot\src\lerobot\cameras\utils.py 파일을 수정하여 OpenCV 백엔드를 cv2.CAP_DSHOW로 변경합니다
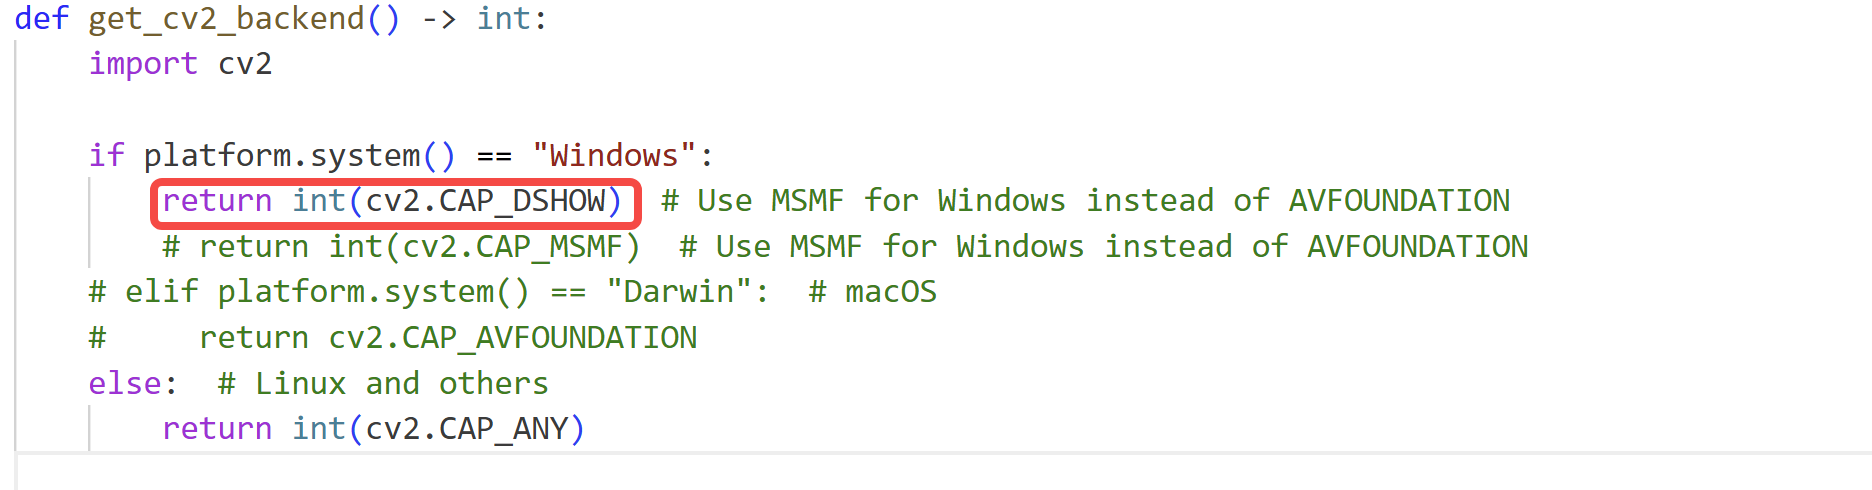
이것은 도우바오(Doubao)로도 해결할 수 없는 bug이며, 모두 lerobot 라이브러리의 캡슐화가 너무 깊은 탓이라, 초보자가 debug하기 매우 어렵습니다
카메라 여러 대 연결, 원격조작 및 카메라 화면 표시
Shell
lerobot-teleoperate --robot.type=so101_follower --robot.port=COM6 --robot.id=my_follower_arm --robot.cameras="{ front: {type: opencv, index_or_path: 0, width: 1280, height: 720, fps: 30, fourcc: "MJPG"}, side: {type: opencv, index_or_path: 1, width: 1280, height: 720, fps: 30, fourcc: "MJPG"}}" --teleop.type=so101_leader --teleop.port=COM7 --teleop.id=my_leader_arm --display_data=true