Using JetCam
JetCam Usage
JetCam Installation
JetCam Usage
2.1. CSI Camera
Main Code Explanation
Call the Camera
Get the Camera Image
2.1.1. Single Camera
2.1.2. Multiple Cameras
2.2. USB Camera
References
JetCam is an easy-to-use Python library developed by NVIDIA for the Jetson platform, used to integrate and operate USB cameras or CSI cameras
1. JetCam Installation
git clone https://github.com/NVIDIA-AI-IOT/jetcam
cd jetcam
sudo python3 setup.py install
sudo pip3 install ipywidgets
2. JetCam Usage
JetCam provides typical example programs to demonstrate to users how to use CSI and USB cameras.
The examples need to be run using Jupyter Lab. With our factory image system, you can access them directly via board IP:8888!
2.1. CSI Camera
On the Jupyter Lab web page, enter the folder where the CSI camera is located and open the corresponding folder:
/home/jetson/jetcam/notebooks/csi_camera
Note: if you are not very familiar with Jupyter Lab, you can refer to the Jupyter Lab Usage Tutorial to understand the basic operations!
Main Code Explanation
Call the Camera
width: image output width
height: image output height
from jetcam.csi_camera import CSICamera
camera = CSICamera(width=224, height=224)
Get the Camera Image
image = camera.read()
2.1.1. Single Camera
Source Code Path
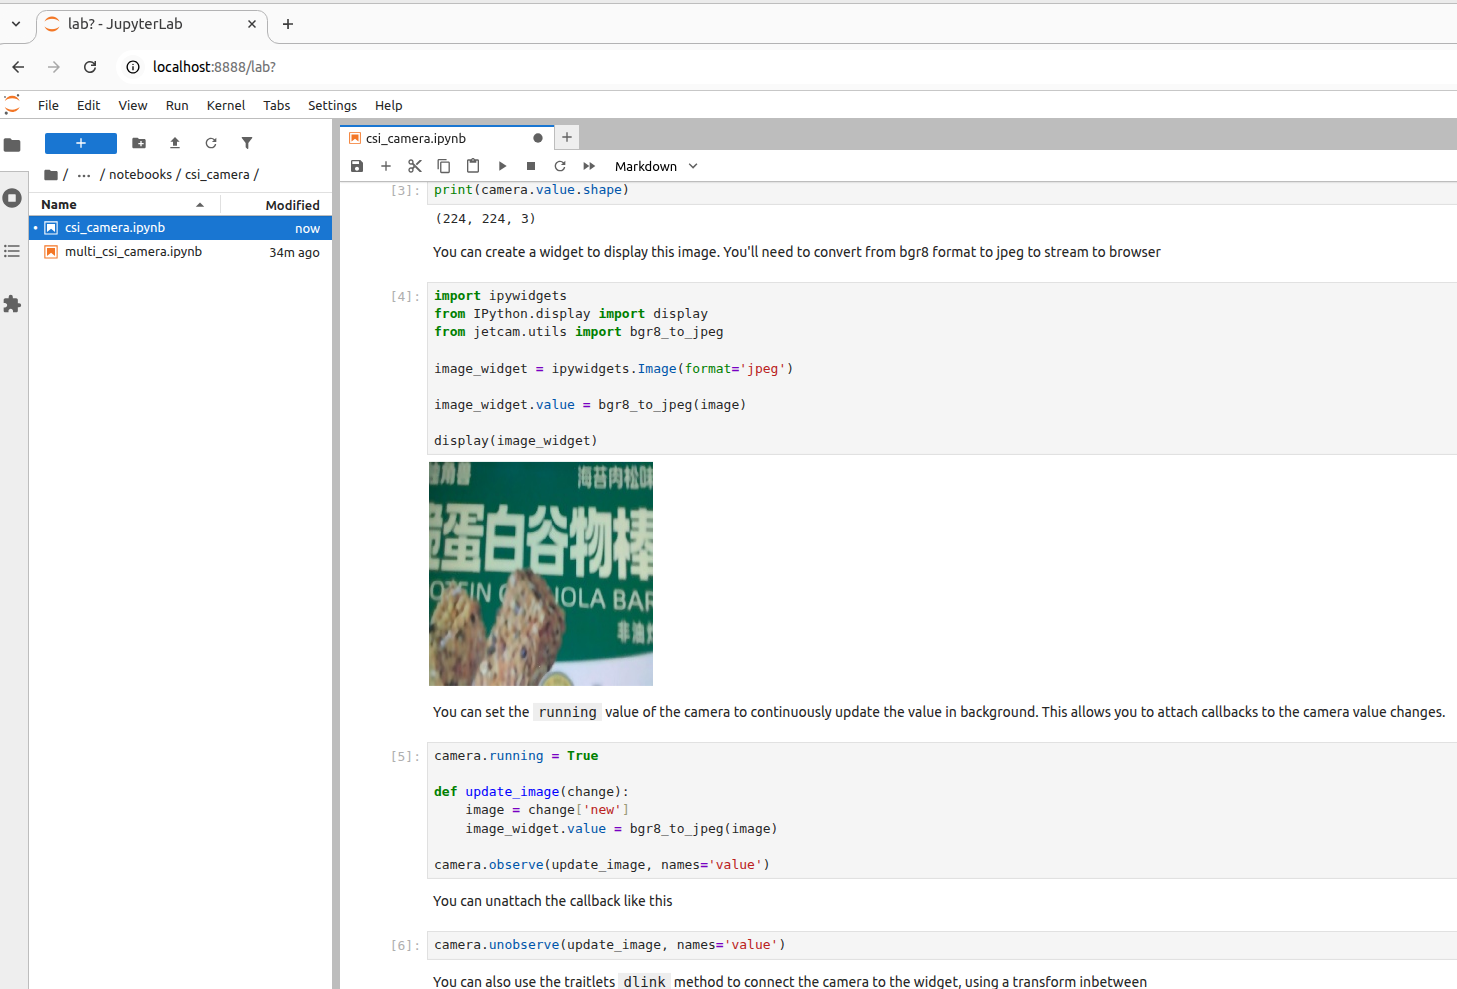
/home/jetson/jetcam/notebooks/csi_camera/csi_camera.ipynb
Running Result
After opening the program file, run the cells one by one from top to bottom:
2.1.2. Multiple Cameras
Source Code Path
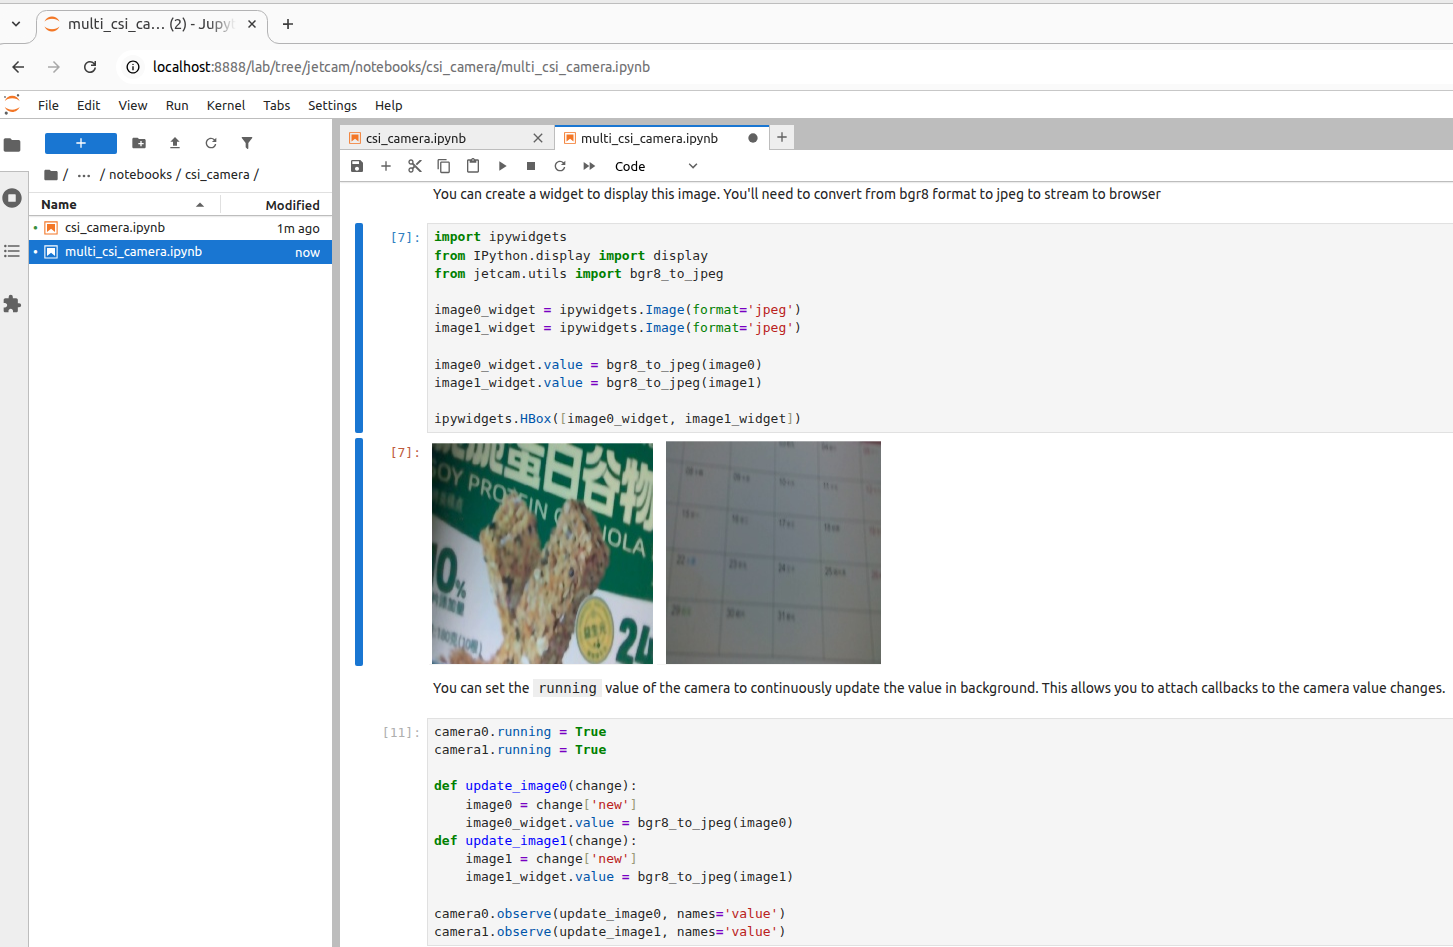
/home/jetson/jetcam/notebooks/csi_camera/multi_csi_camera.ipynb
Running Result
After opening the program file, run the cells one by one from top to bottom:
2.2. USB Camera
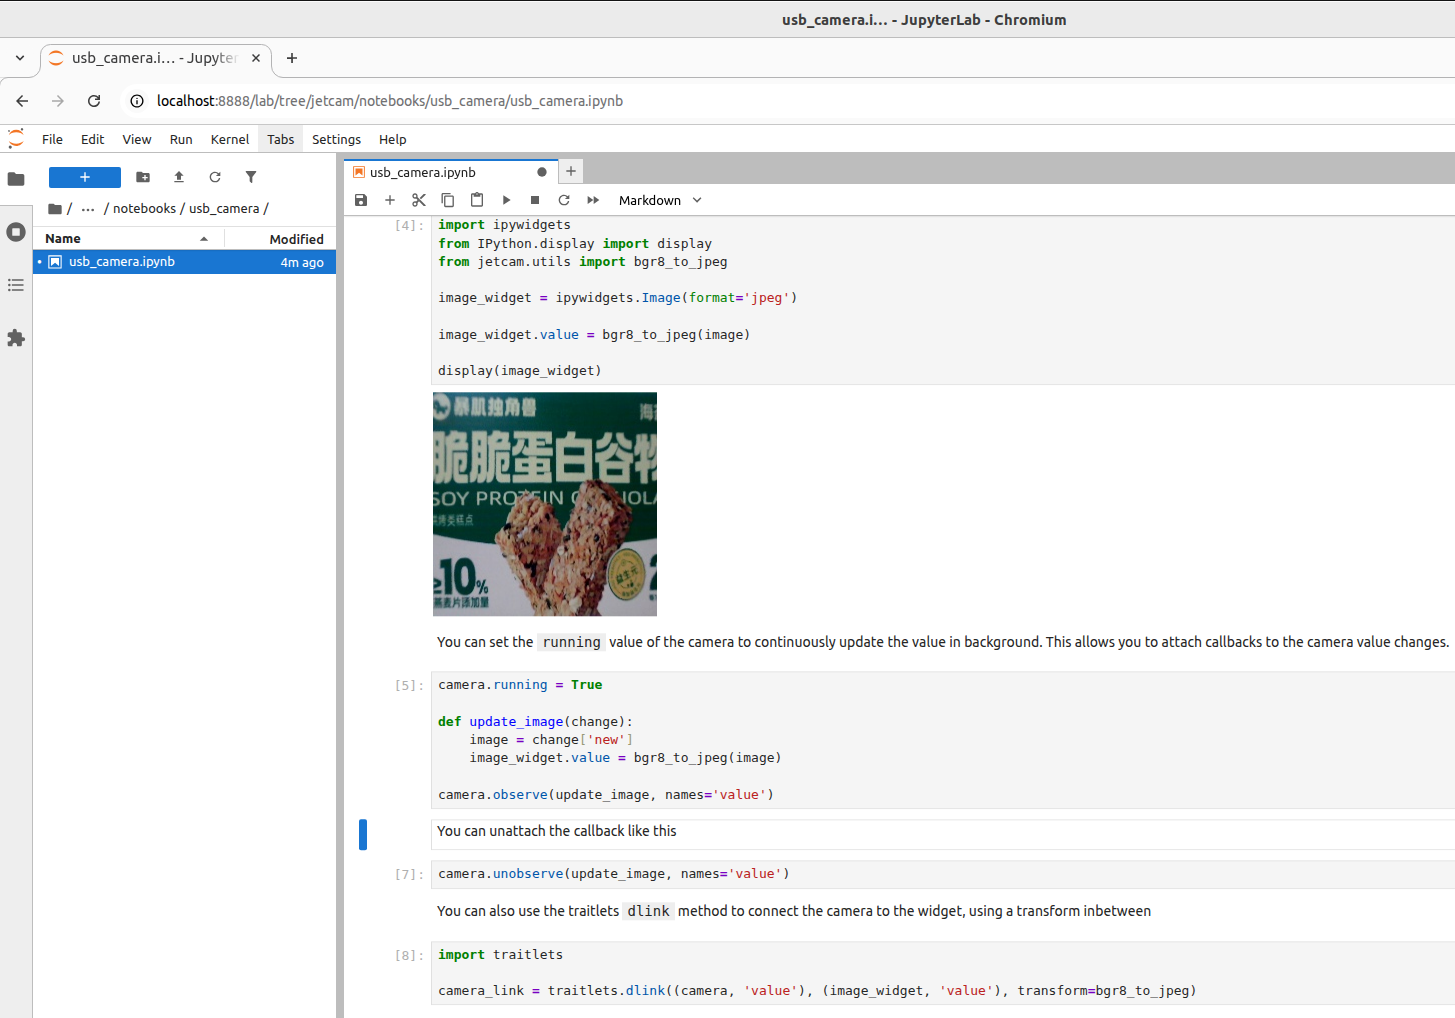
In Jupyter Lab, enter the folder where the USB camera is located and open the file; the folder path in the factory image system is:
/home/jetson/jetcam/notebooks/usb_camera