

ESP32-NanoCam Quick Start
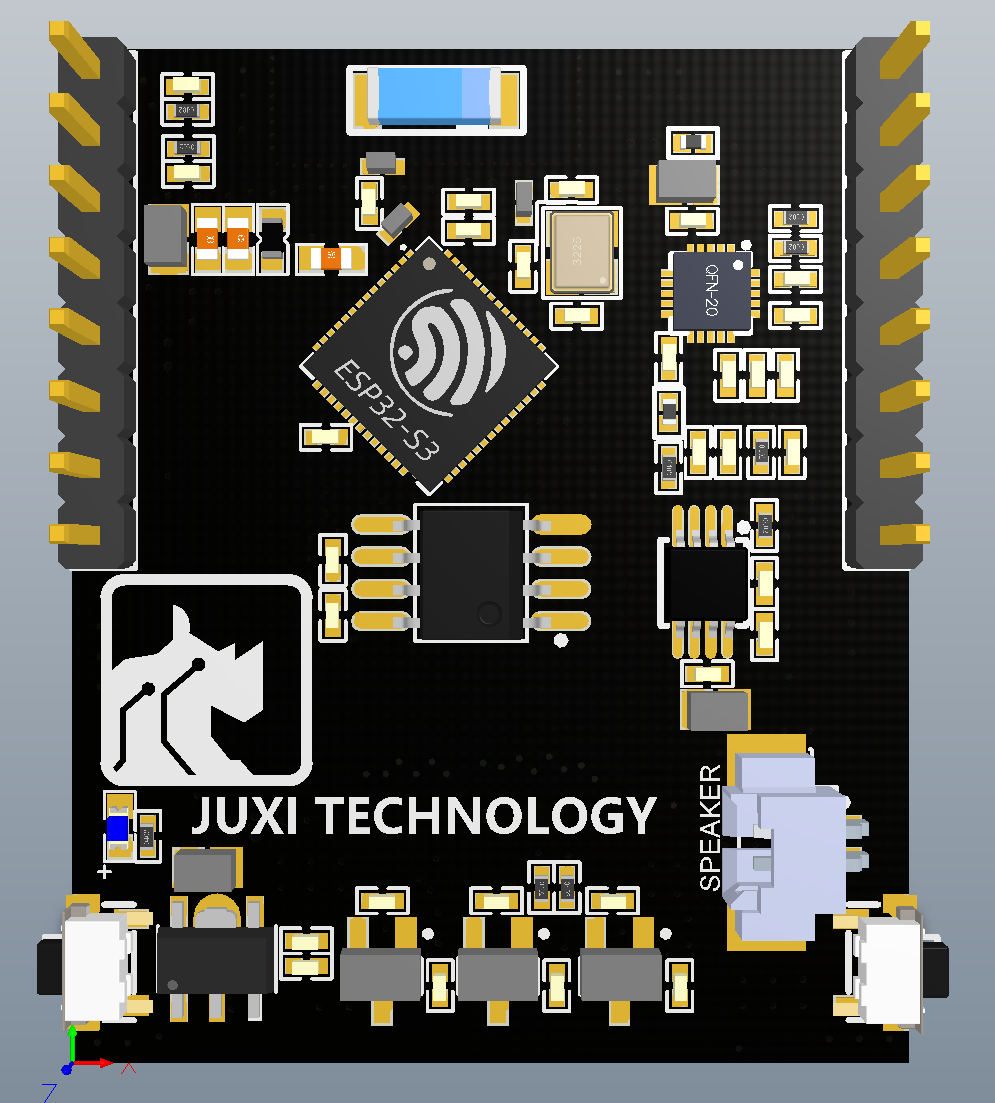
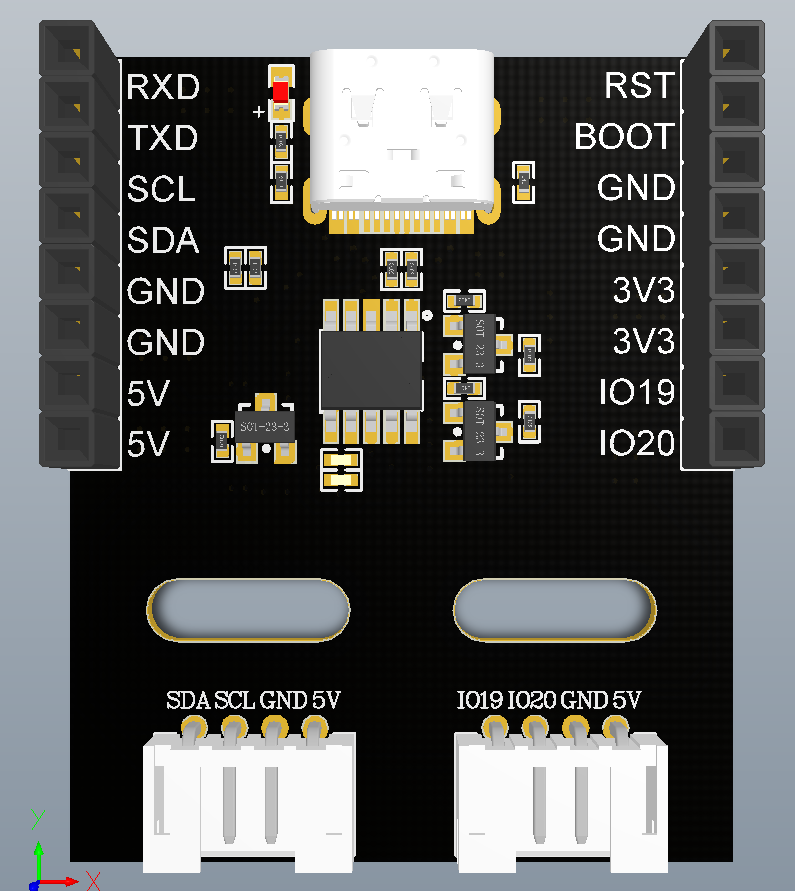
The ESP32-NanoCam is Juxi Technology's ESP32-S3 video streaming / AI vision module (product page: ESP32-S3 WiFi Video Module), with a core board + base board dual-board architecture. This guide walks you through firmware flashing, WiFi connection, video viewing and AI mode switching in five steps.
Prerequisites
- NanoCam core board + base board (ESP32-S3 N16R8 + CH340K)
- USB Type-C data cable (data transfer supported)
- Computer (Windows / Mac / Linux)
- GC2145 camera module (connected at the factory)
Step 1: Flash the Firmware (3 minutes)
Method A: No Development Environment (Recommended)
- Install the CH340K serial driver
- Open your browser and visit esptool-js
- Connect the NanoCam to your computer with a Type-C cable
- Select the serial port, baud rate 115200
- Find the firmware file
nanocam_xxx.bininside the extracted archive - Select the firmware file
nanocam_xxx.bin, address0x0 - Click "START" and wait for completion
Method B: Command Line (Advanced)
pip install esptool
esptool.py --chip esp32s3 --port COM3 write_flash 0x0 nanocam.bin
Step 2: Connect to WiFi (2 minutes)
By default the NanoCam runs AP+STA dual mode simultaneously — no switching required:
- The AP hotspot is always on: connect your phone directly to
NanoCam-AP(password12345678), then openhttp://192.168.4.1in a browser - STA to a router: configure the WiFi once
Connect to the NanoCam's Type-C port with a serial tool (baud rate 115200 8N1):
sta_ssid:你的WiFi名称
sta_pd:你的WiFi密码
Receiving
OKmeans the configuration succeeded. The device reboots automatically after the password is changed.
To switch WiFi modes (usually not necessary):
| Command | Mode | Description |
|---|---|---|
wifi_mode:0 | AP only | Disables STA, keeps only the hotspot |
wifi_mode:1 | STA only | Disables the hotspot, connects only to the router |
wifi_mode:2 | AP+STA | Default; both work simultaneously |
Step 3: View the Video (1 minute)
- Send
sta_ipover serial to get the STA IP - Enter
http://<IP address>in your browser (orhttp://192.168.4.1in AP mode) - The web page shows the live video
Step 4: Explore the AI (2 minutes)
Send the following commands over serial to switch modes:
| Command | Mode | Effect |
|---|---|---|
ai_mode:0 | Normal streaming | Real-time MJPEG video |
ai_mode:1 | Cat face detection | Cat face detection boxes appear on screen |
ai_mode:2 | Face detection | Face detection boxes appear on screen |
ai_mode:3 | Color recognition | Select a color → real-time tracking |
ai_mode:4 | Face recognition | Enroll → identify → delete |
ai_mode:5 | QR code scanning | Aim at a QR code → content output to serial |
ai_mode:6 | LLM agent | Voice wake-up "你好小智" (XiaoZhi AI) |
ai_mode:7 | ESP-Claw | ESP-Claw AI Agent (official Espressif framework) |
Each mode switch requires a manual reboot — press the module's RST button to reboot; the new mode takes effect after the restart.
Step 5: Integrate Into Your Project
Arduino Control
Serial.begin(115200);
Serial.print("ai_mode:2");  // 切换到人脸检测
Python Control
import serial
ser = serial.Serial("COM3", 115200)
ser.write(b"ai_mode:1\r\n")  # 切换到猫脸检测
View the Complete Command List
Full command reference: Serial Protocol Manual.
FAQ
| Problem | Solution |
|---|---|
| Flashing fails | Check that the Type-C cable supports data; hold S2(BOOT) on the base board while powering on |
| No video | Send sta_ip over serial to confirm the IP; check that both devices are on the same subnet |
| Camera stays dark | Check that the FPC cable is fully seated with the metal contacts facing down; check PWDN(IO12)/RESET(IO14) |
| Cannot connect to WiFi | Send wifi_reset to restore factory settings, then configure again |
Next Steps
- 📖 Serial Protocol Manual — complete AT command reference
- 🎓 Tutorial Outline — progressive tutorial (11 chapters covered in this wiki)
- 🔧 Hardware Spec — complete GPIO pin mapping
- 🤖 ROS2 Integration Guide — micro-ROS wireless teleoperation tutorial