Ubuntu電腦
黑色主動臂使用 5V6A 電源適配器
白色從動臂使用 12V5A 電源適配器
安裝Miniconda
https://www.anaconda.com/download
pip換源
Shell
pip config set global.index-url https://mirrors.aliyun.com/pypi/simpleconda換源
Shell
# 清空原有 .condarc 配置(可選,避免衝突)
echo "" > ~/.condarc

# 寫入清華源配置
cat << EOF > ~/.condarc
channels:
  - defaults
show_channel_urls: true
default_channels:
  - https://mirrors.tuna.tsinghua.edu.cn/anaconda/pkgs/main
  - https://mirrors.tuna.tsinghua.edu.cn/anaconda/pkgs/r
  - https://mirrors.tuna.tsinghua.edu.cn/anaconda/pkgs/msys2
custom_channels:
  conda-forge: https://mirrors.tuna.tsinghua.edu.cn/anaconda/cloud
  msys2: https://mirrors.tuna.tsinghua.edu.cn/anaconda/cloud
  bioconda: https://mirrors.tuna.tsinghua.edu.cn/anaconda/cloud
  menpo: https://mirrors.tuna.tsinghua.edu.cn/anaconda/cloud
  pytorch: https://mirrors.tuna.tsinghua.edu.cn/anaconda/cloud
  pytorch-lts: https://mirrors.tuna.tsinghua.edu.cn/anaconda/cloud
  simpleitk: https://mirrors.tuna.tsinghua.edu.cn/anaconda/cloud
EOF

# 清除緩存使配置生效
conda clean -i
創建虛擬環境
Shell
conda create -y -n lerobot python=3.12 -y進入虛擬環境
Shell
conda activate lerobot安裝ffmpeg
Shell
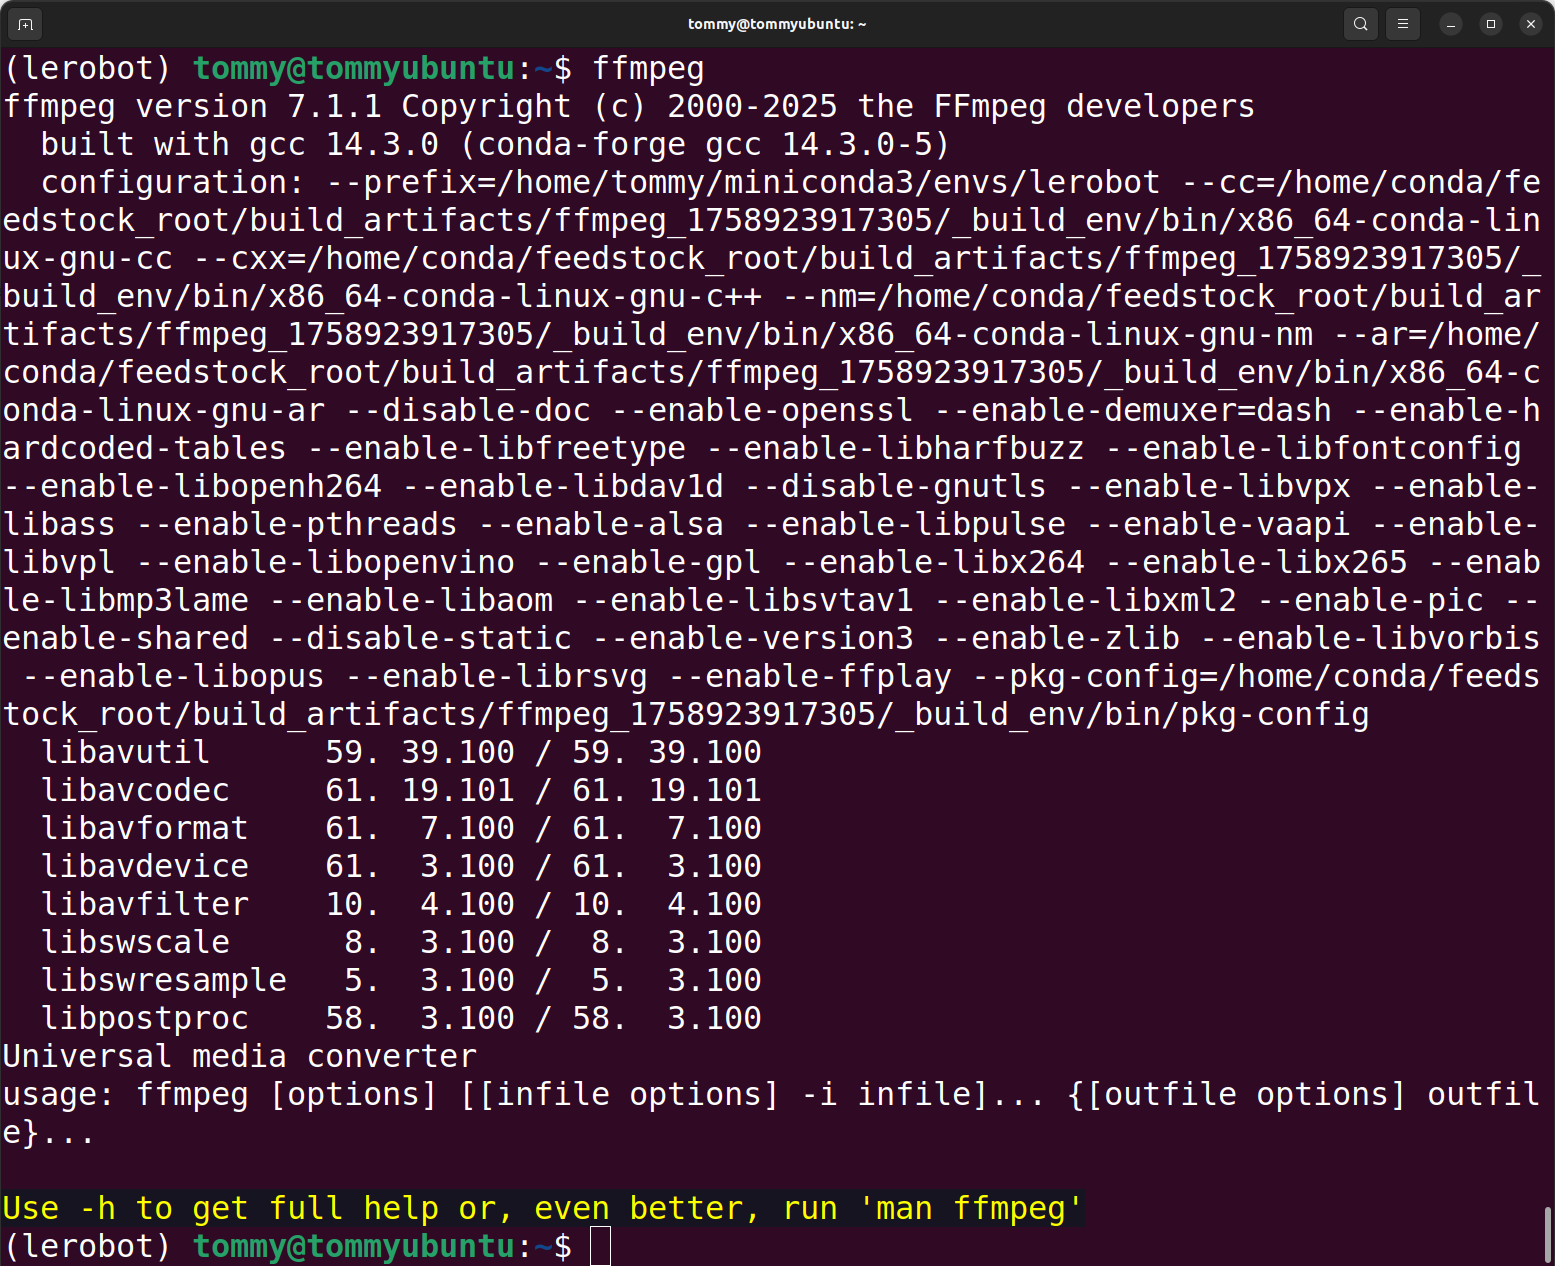
conda install *ffmpeg*=7.1.1 *-c* conda-forge -y驗證安裝成功
Shell
ffmpeg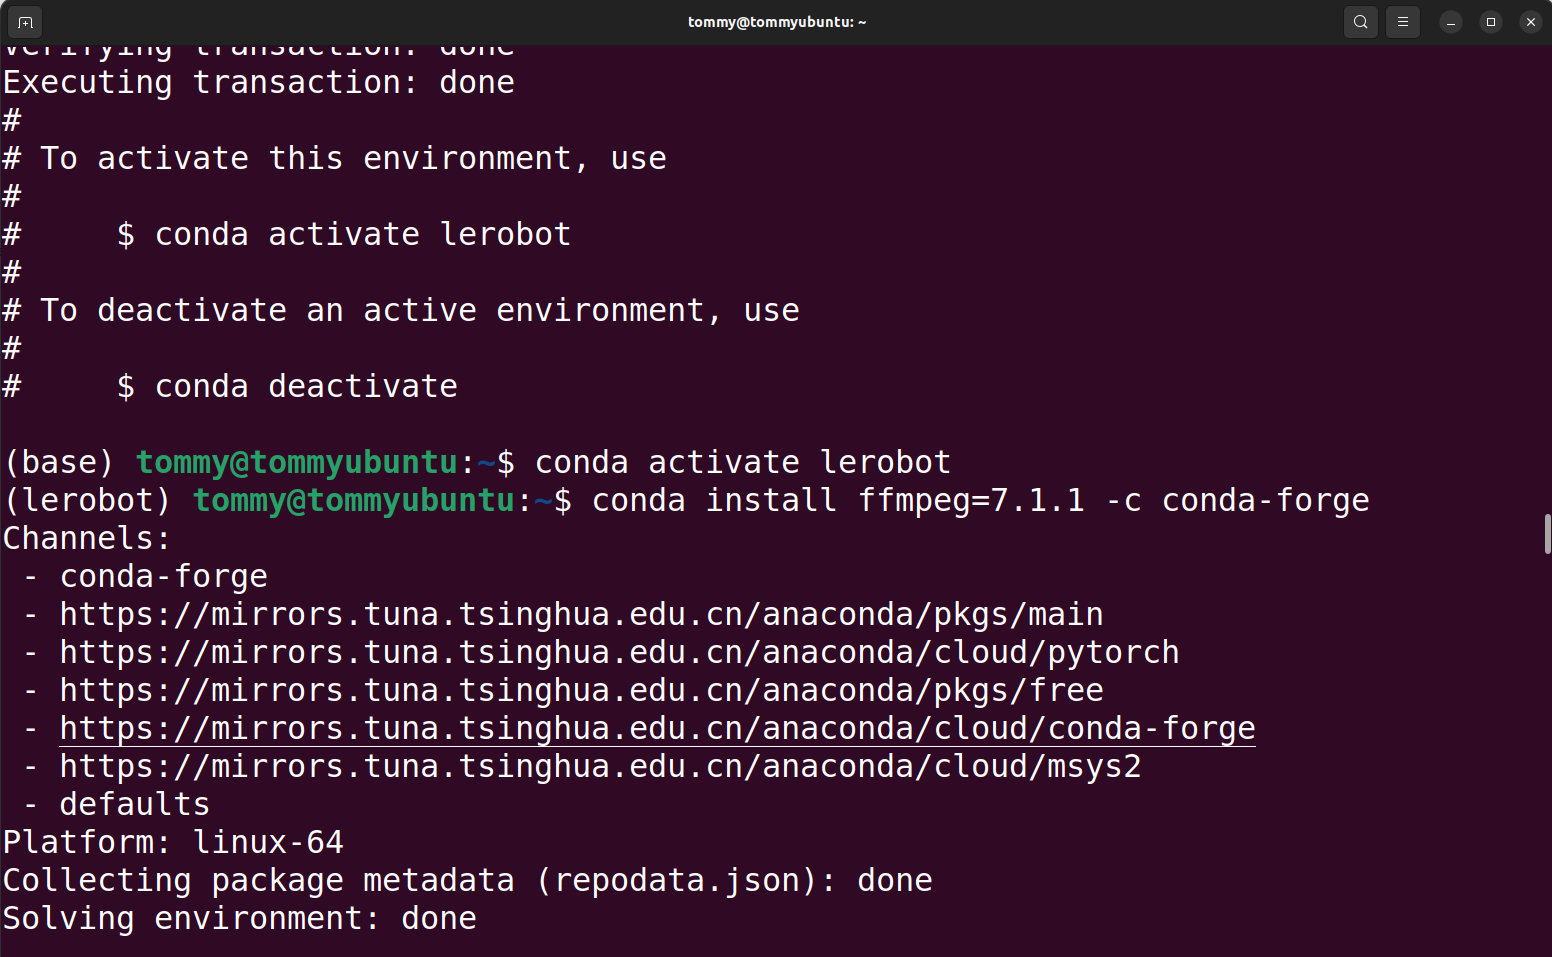
下載LeRobot代碼
方案 A:直接用本倉庫代碼(推薦)
方案 B:下載官方代碼倉庫,並手動替換對應文件
Shell
git clone https://github.com/huggingface/lerobot.git安裝代碼
Shell
#cd lerobot-main
cd lerobot

pip install -e ".[feetech]"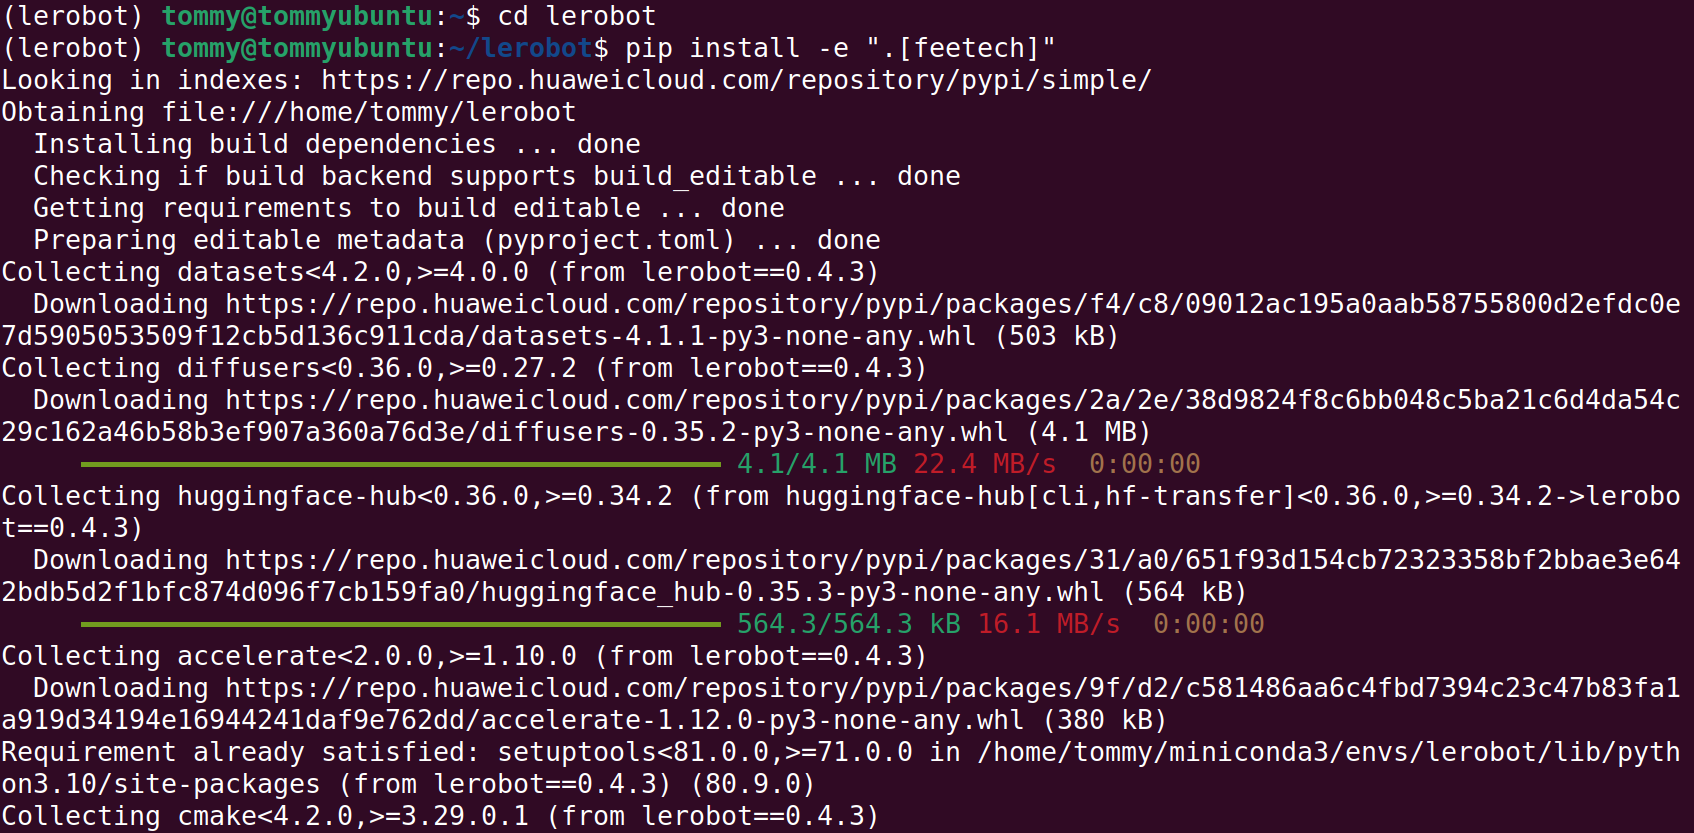
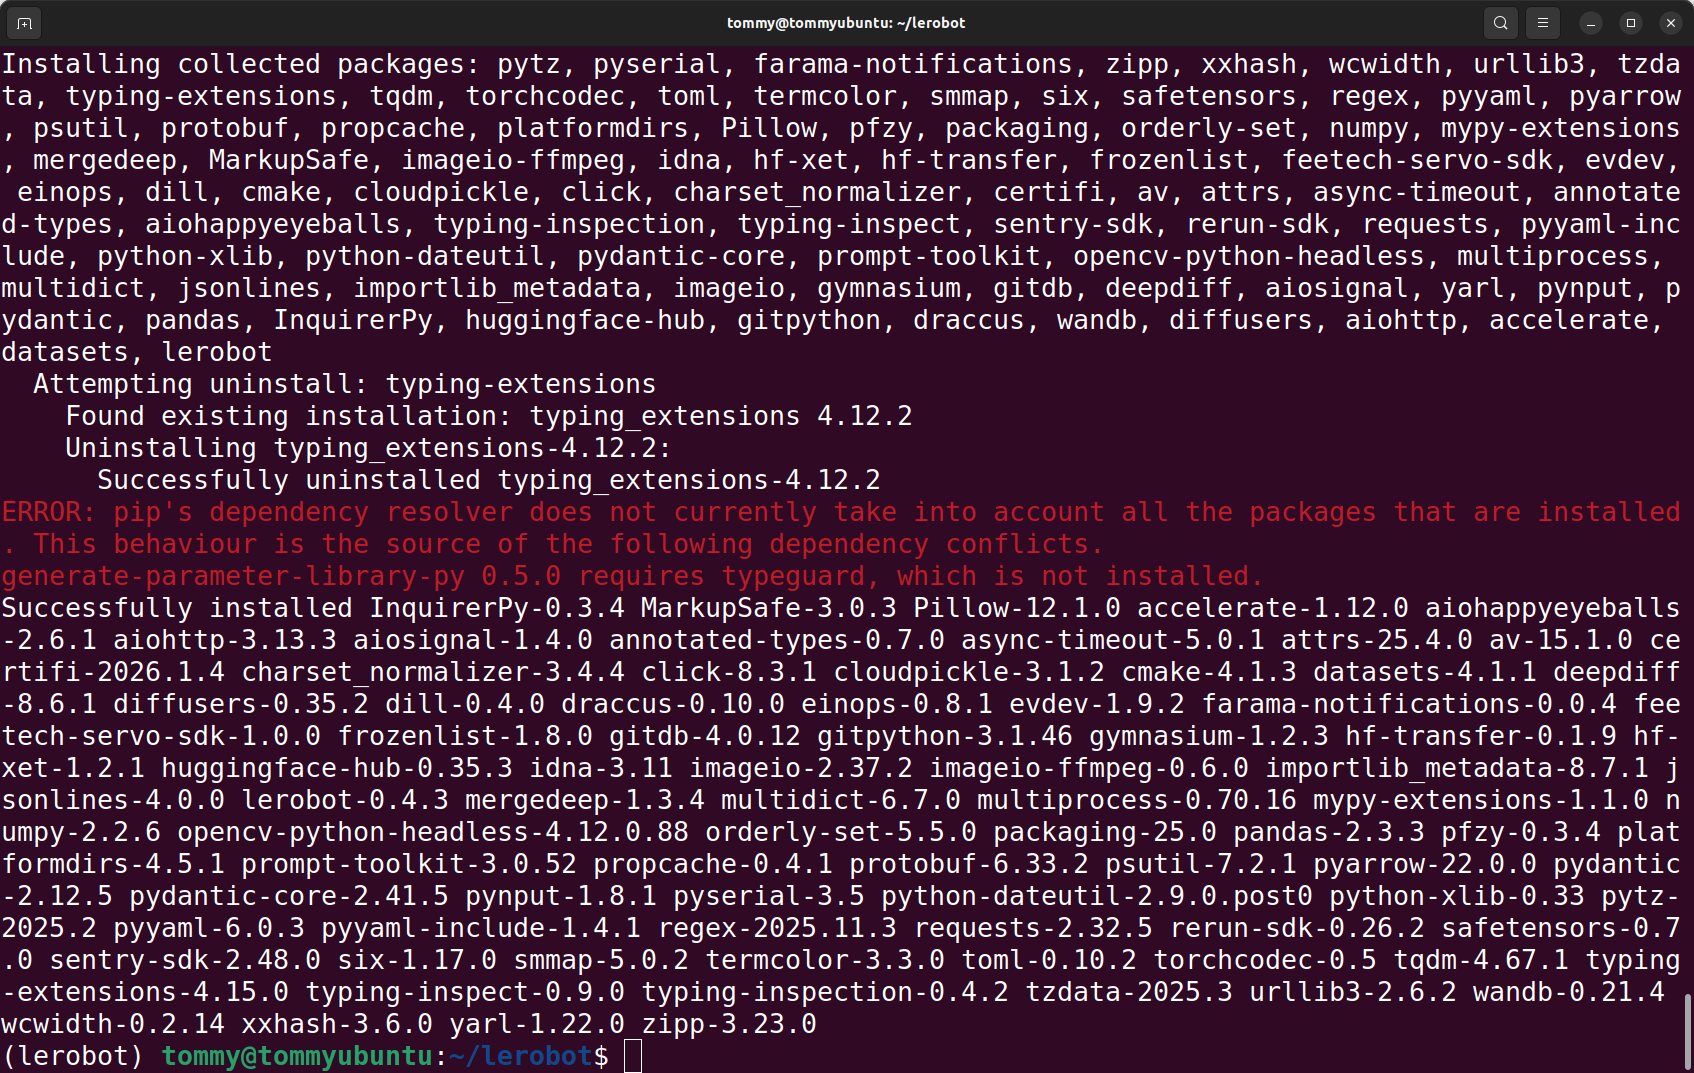
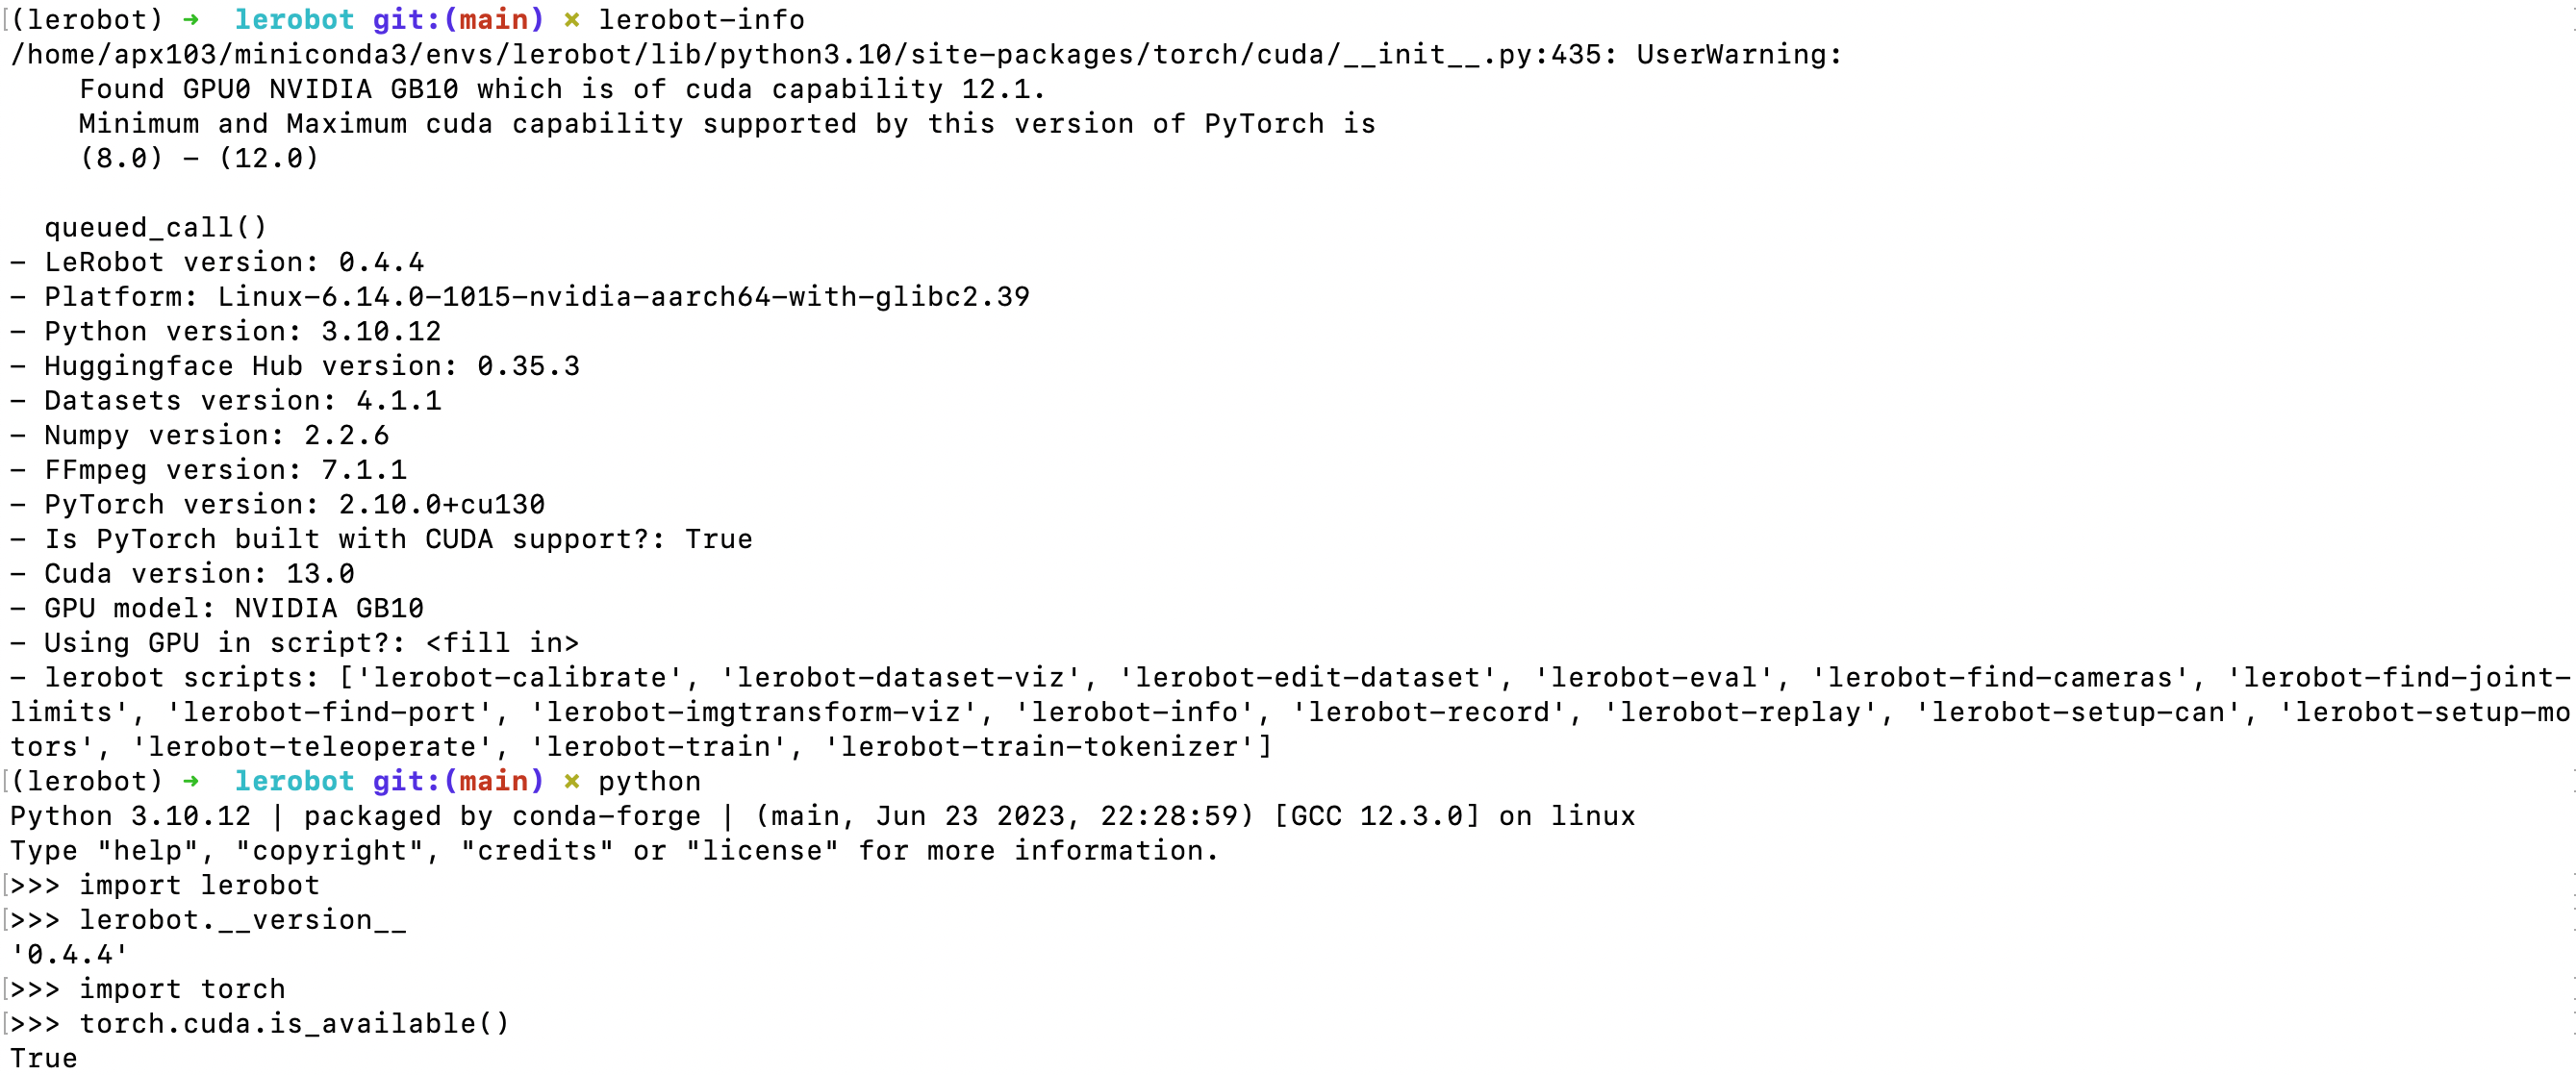
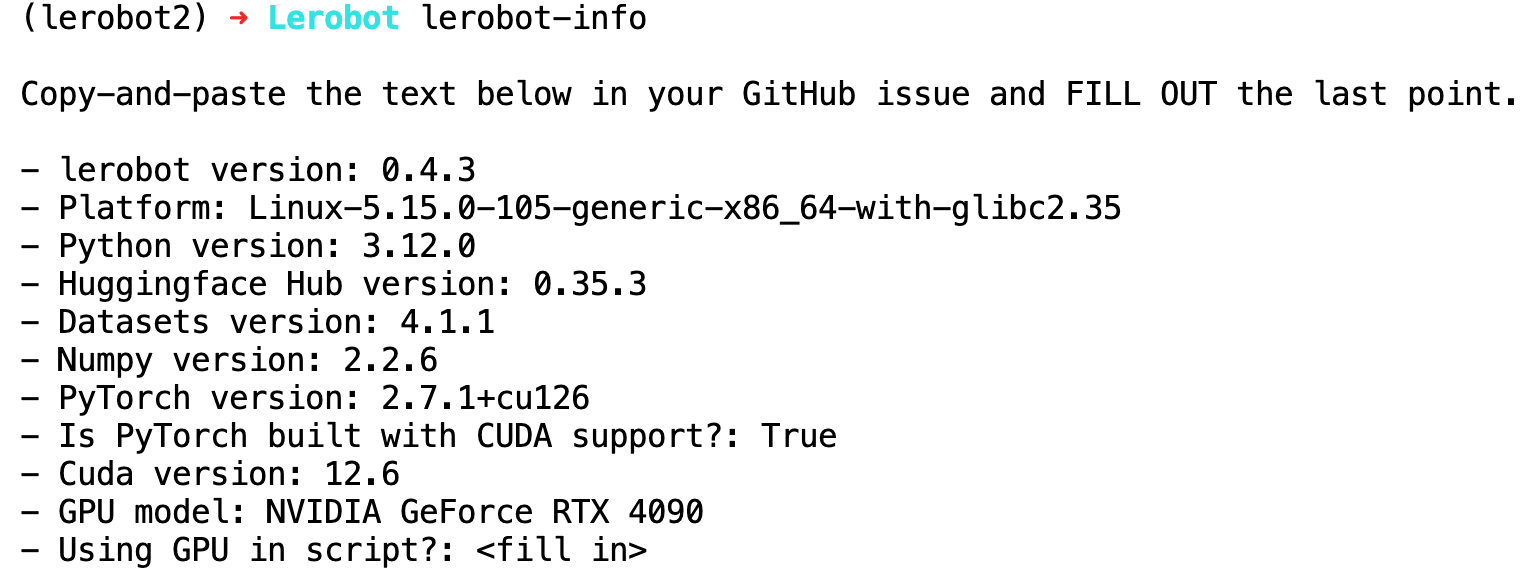
驗證安裝成功
Shell
lerobot-info

python

import lerobot
lerobot.__version__

import torch
torch.cuda.is_available()
import scservo_sdk
在4090主機上運行的結果
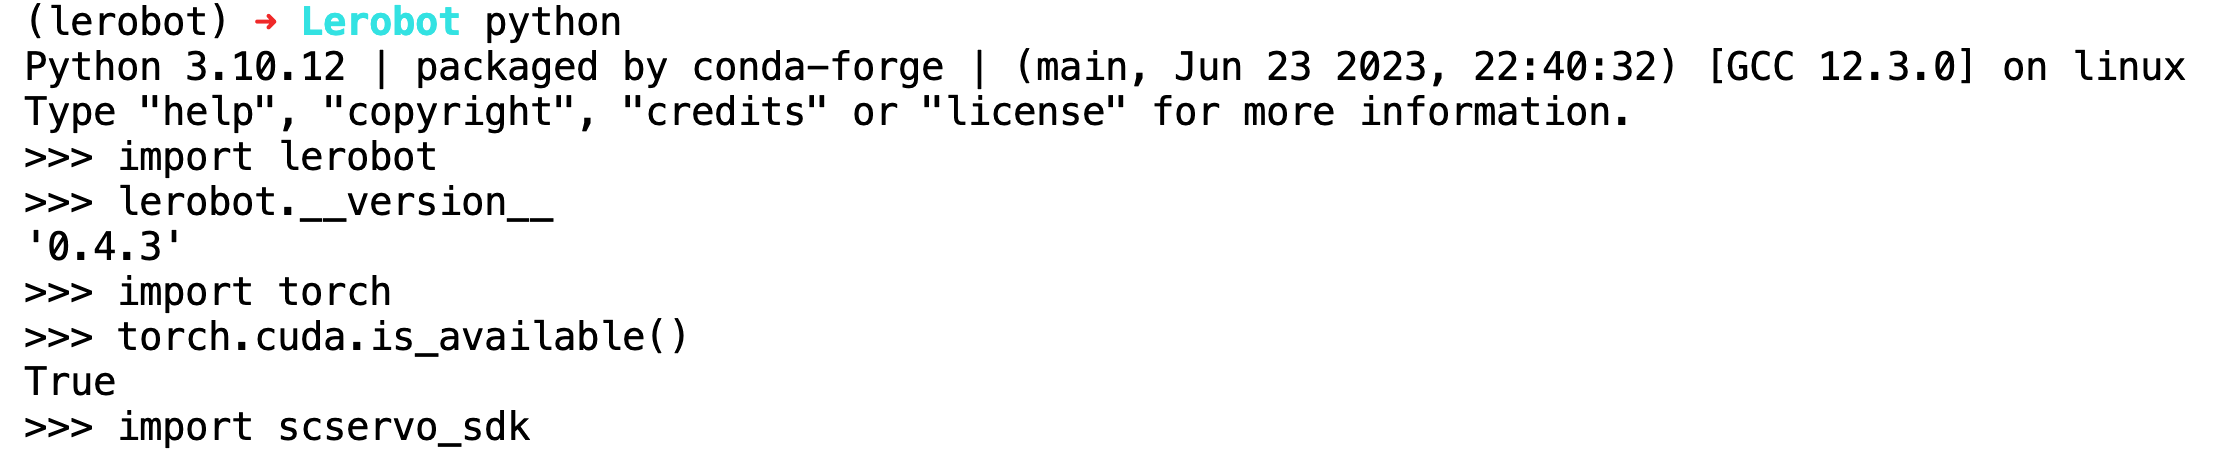
在英偉達DGX Spark上運行的結果