

第七步:pi0fast 訓練命令列
執行之前
- 環境:先按雲GPU訓練環境配置開通實例、把數據集傳上去,再回到本篇執行"安裝環境"和"命令列"兩節
- 數據集:下面的訓練命令沒有寫
--dataset.root,它會從 HuggingFace Hub 上拉取數據集,所以需要數據集已經上傳到 Hub;如果數據集只在本地,請參考本篇末尾"之前的內容"那一段,補上--dataset.root=~/lerobot_my_dataset_shake_hands - 輸出目錄:
--output_dir如果已經存在,先用上面那條sudo rm -rf刪掉,或者換個新名字 - 訓練中隨時可以在 wandb 上看曲線,見 wandb查看實時訓練曲線
參考文檔
https://huggingface.co/docs/lerobot/pi0fast
Issue
https://github.com/huggingface/lerobot/pull/2203
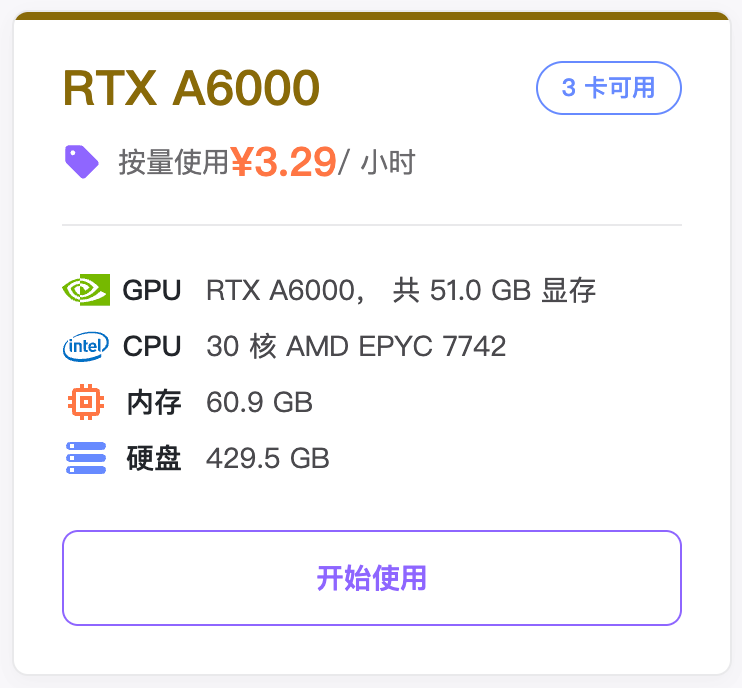
推薦雲GPU實例
安裝環境
Shell
cd lerobot
pip install -e ".[pi0]"
pip install "lerobot[pi]@git+https://github.com/huggingface/lerobot.git"
命令行
- 刪除之前訓練中斷的output下的檔案
Shell
sudo rm -rf output_lerobot_train/shake/pi0_fast_A- 訓練
Shell
lerobot-train \
    --dataset.repo_id=<你的使用者名稱>/lerobot_my_dataset_shake_hands \
    --dataset.revision=v0.1.0 \
    --policy.type=pi0_fast \
    --output_dir=output_lerobot_train/shake/pi0_fast_A \
    --job_name=shake_pi0_fast_A \
    --policy.pretrained_path=lerobot/pi0_fast_base \
    --policy.dtype=bfloat16 \
    --policy.gradient_checkpointing=true \
    --policy.chunk_size=10 \
    --policy.n_action_steps=10 \
    --policy.max_action_tokens=256 \
    --steps=50000 \
    --batch_size=8 \
    --policy.device=cuda \
    --policy.push_to_hub=false \
    --wandb.enable=true \
    --wandb.project=Lerobot_my_Project
之前的內容
Shell
lerobot-train \
  --dataset.repo_id=<你的使用者名稱>/lerobot_my_dataset_shake_hands \
  --dataset.root=~/lerobot_my_dataset_shake_hands \
  --dataset.revision=v0.1.0 \
  --dataset.streaming=false \
  --policy.type=pi0_fast \
  --output_dir=output_lerobot_train/shake/pi0_fast_A \
  --job_name=shake_pi0_fast_A \
  --policy.pretrained_path=lerobot/pi0_fast_base \
  --policy.compile_model=true \
  --policy.gradient_checkpointing=true \
  --policy.dtype=bfloat16 \
  --policy.freeze_vision_encoder=false \
  --policy.train_expert_only=false \
  --steps=50000 \
  --policy.device=cuda \
  --policy.push_to_hub=false \
  --wandb.enable=true \
  --wandb.project=Lerobot_my_Project \
  --batch_size=8
執行後10分鐘左右,訓練才會正式開始
模型壓縮包5個G左右,解壓後7個G