Umgebung einrichten (Windows)
Der schwarze Leader-Arm verwendet ein 5V6A-Netzteil
Der weiße Follower-Arm verwendet ein 12V5A-Netzteil
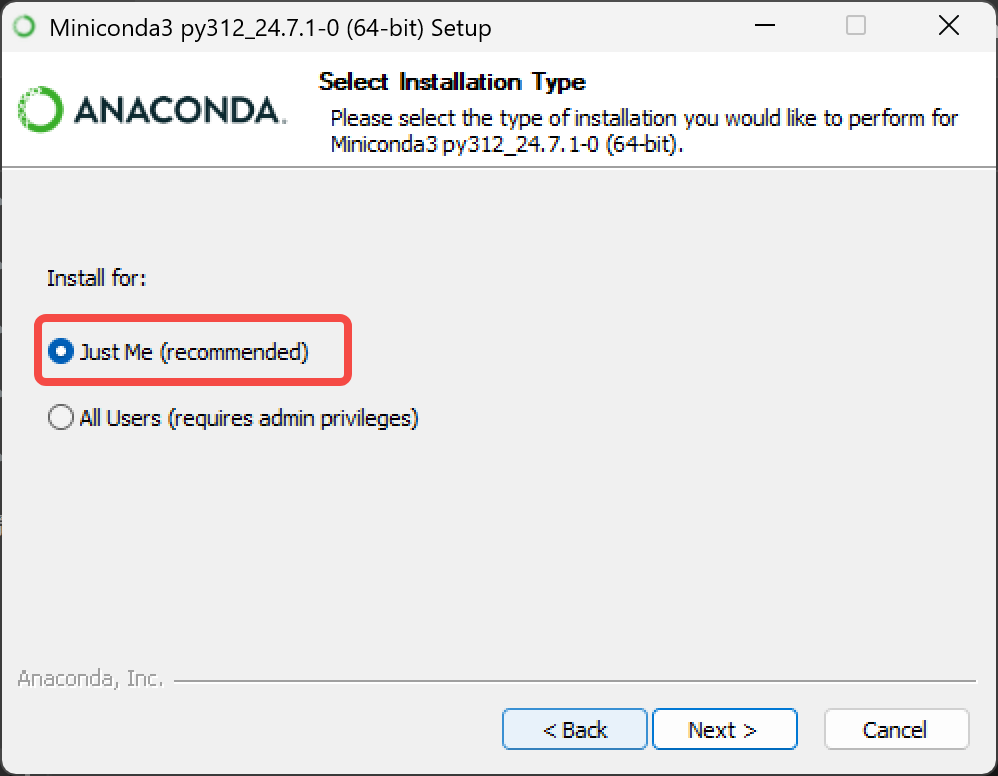
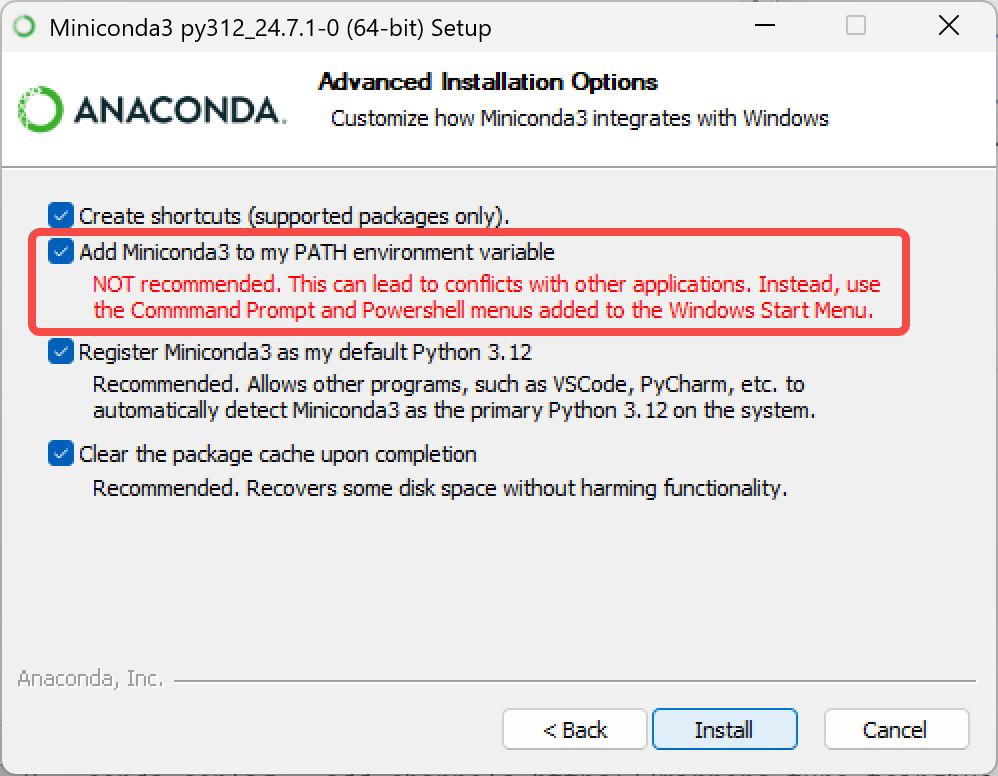
Miniconda installieren
anaconda.com/download/success
Oder klicken Sie direkt auf diesen Link, um das Installationspaket herunterzuladen
https://repo.anaconda.com/miniconda/Miniconda3-latest-Windows-x86_64.exe
conda-Quelle ändern
Shell
# Zuerst die vorhandene Quellenkonfiguration leeren (um Konflikte zu vermeiden)
conda config --remove-key channels

# Die Standardquellen und gängigen Drittanbieter-Quellen von conda durch Tsinghua-Mirrors ersetzen
# Standard-Paketquellen hinzufügen (main/r/msys2)
conda config --add channels https://mirrors.tuna.tsinghua.edu.cn/anaconda/pkgs/main/
conda config --add channels https://mirrors.tuna.tsinghua.edu.cn/anaconda/pkgs/r/
conda config --add channels https://mirrors.tuna.tsinghua.edu.cn/anaconda/pkgs/msys2/

# Gängige Drittanbieter-Quellen hinzufügen
conda config --add channels https://mirrors.tuna.tsinghua.edu.cn/anaconda/cloud/conda-forge/
conda config --add channels https://mirrors.tuna.tsinghua.edu.cn/anaconda/cloud/msys2/
conda config --add channels https://mirrors.tuna.tsinghua.edu.cn/anaconda/cloud/bioconda/
conda config --add channels https://mirrors.tuna.tsinghua.edu.cn/anaconda/cloud/menpo/
conda config --add channels https://mirrors.tuna.tsinghua.edu.cn/anaconda/cloud/pytorch/

# Anzeige der Download-Quelle aktivieren, beim Installieren von Paketen wird die konkrete Download-Adresse angezeigt
conda config --set show_channel_urls yes

# Index-Cache leeren, damit die neue Quelle wirksam wird
conda clean -i

# Aktuelle Konfiguration anzeigen (um zu prüfen, ob die Quellen erfolgreich hinzugefügt wurden)
conda config --show-sources
Virtuelle Umgebung erstellen
Shell
conda create -y -n lerobot python=3.12Virtuelle Umgebung aktivieren
Shell
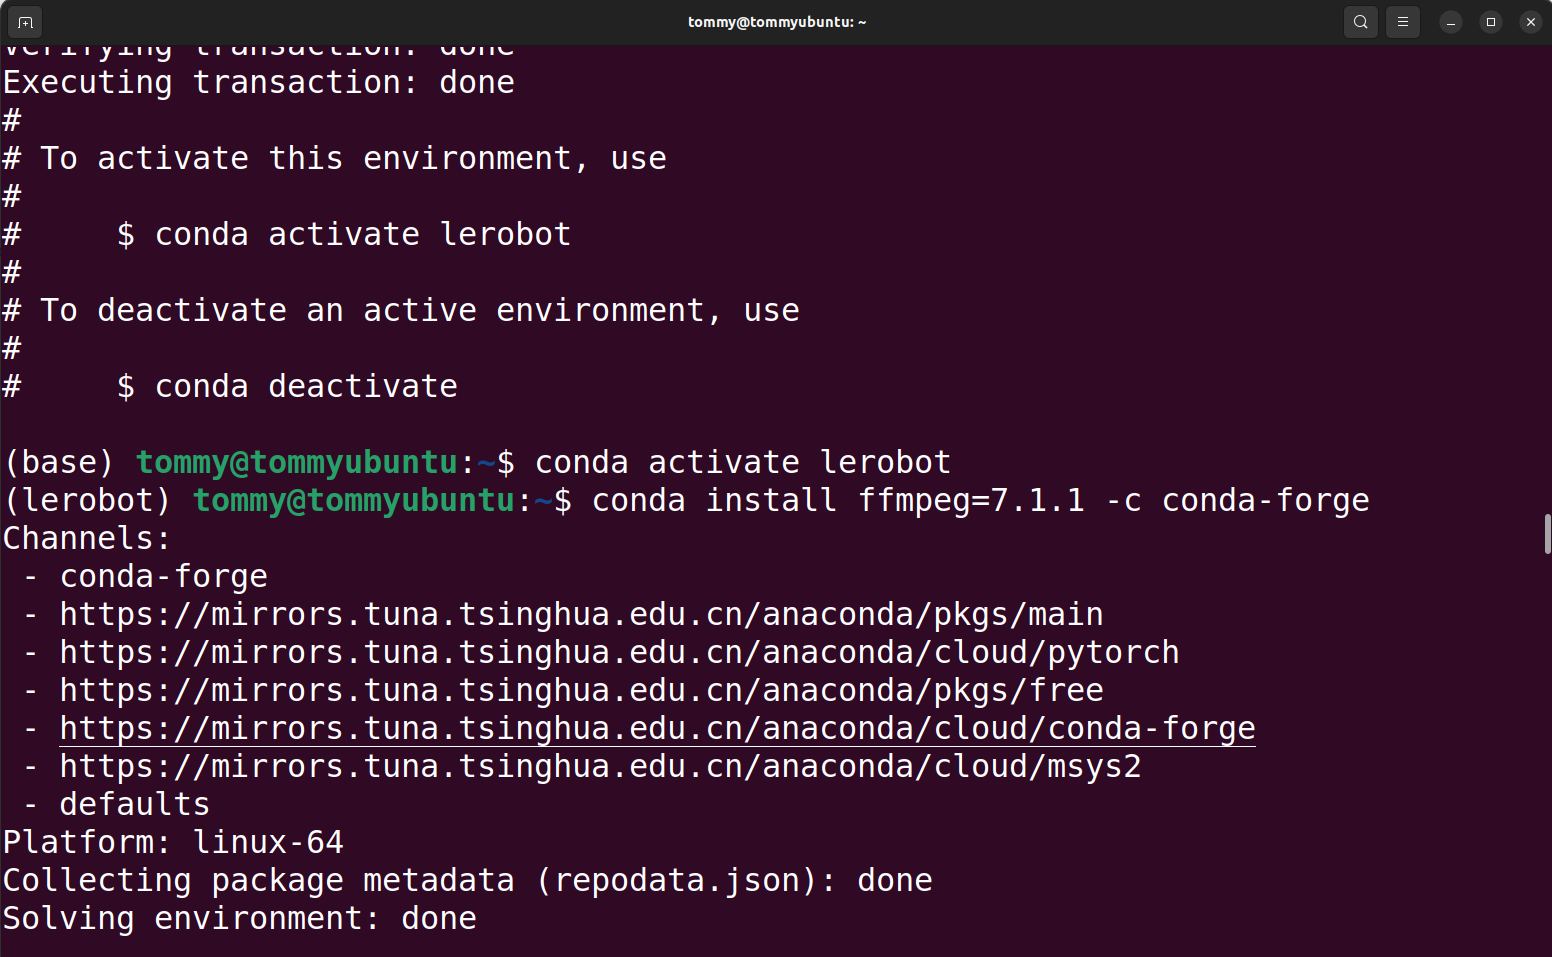
conda activate lerobotffmpeg installieren
Shell
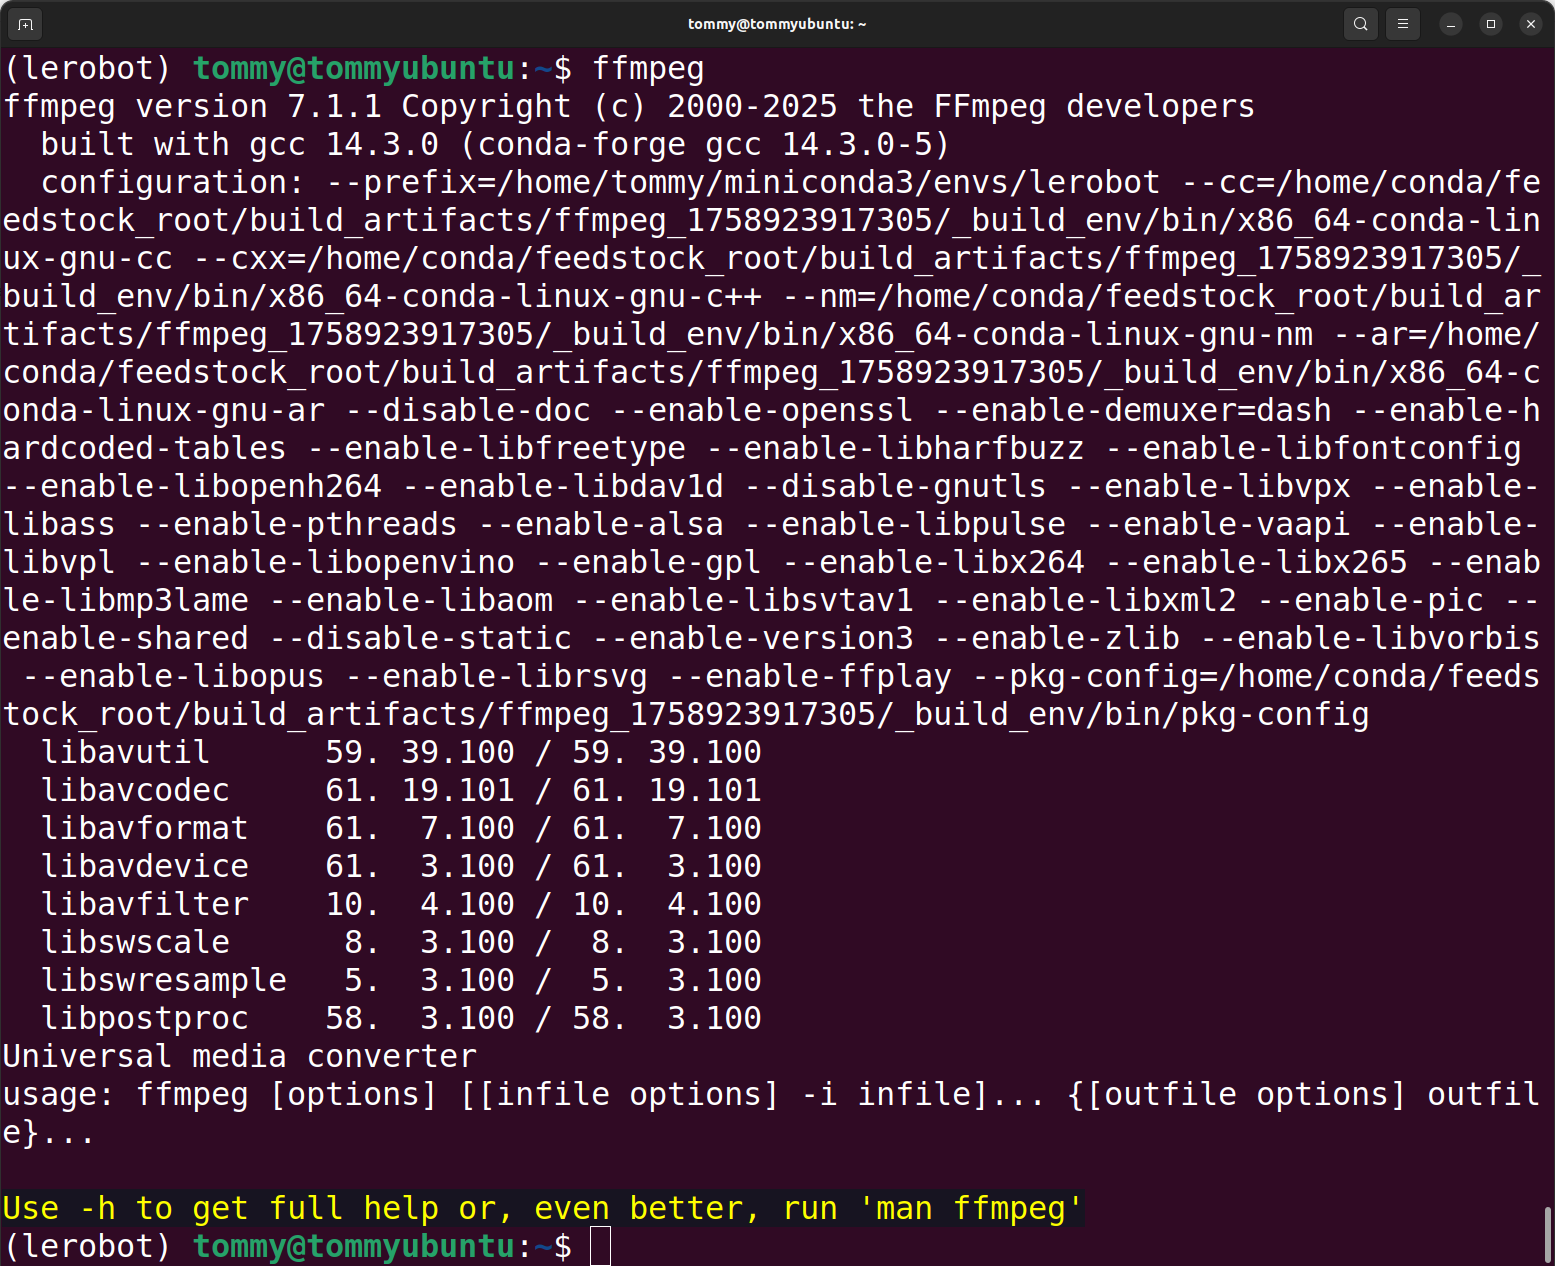
conda install *ffmpeg*=7.1.1 *-c* conda-forge -yÜberprüfen Sie, ob die Installation erfolgreich war
Shell
ffmpeg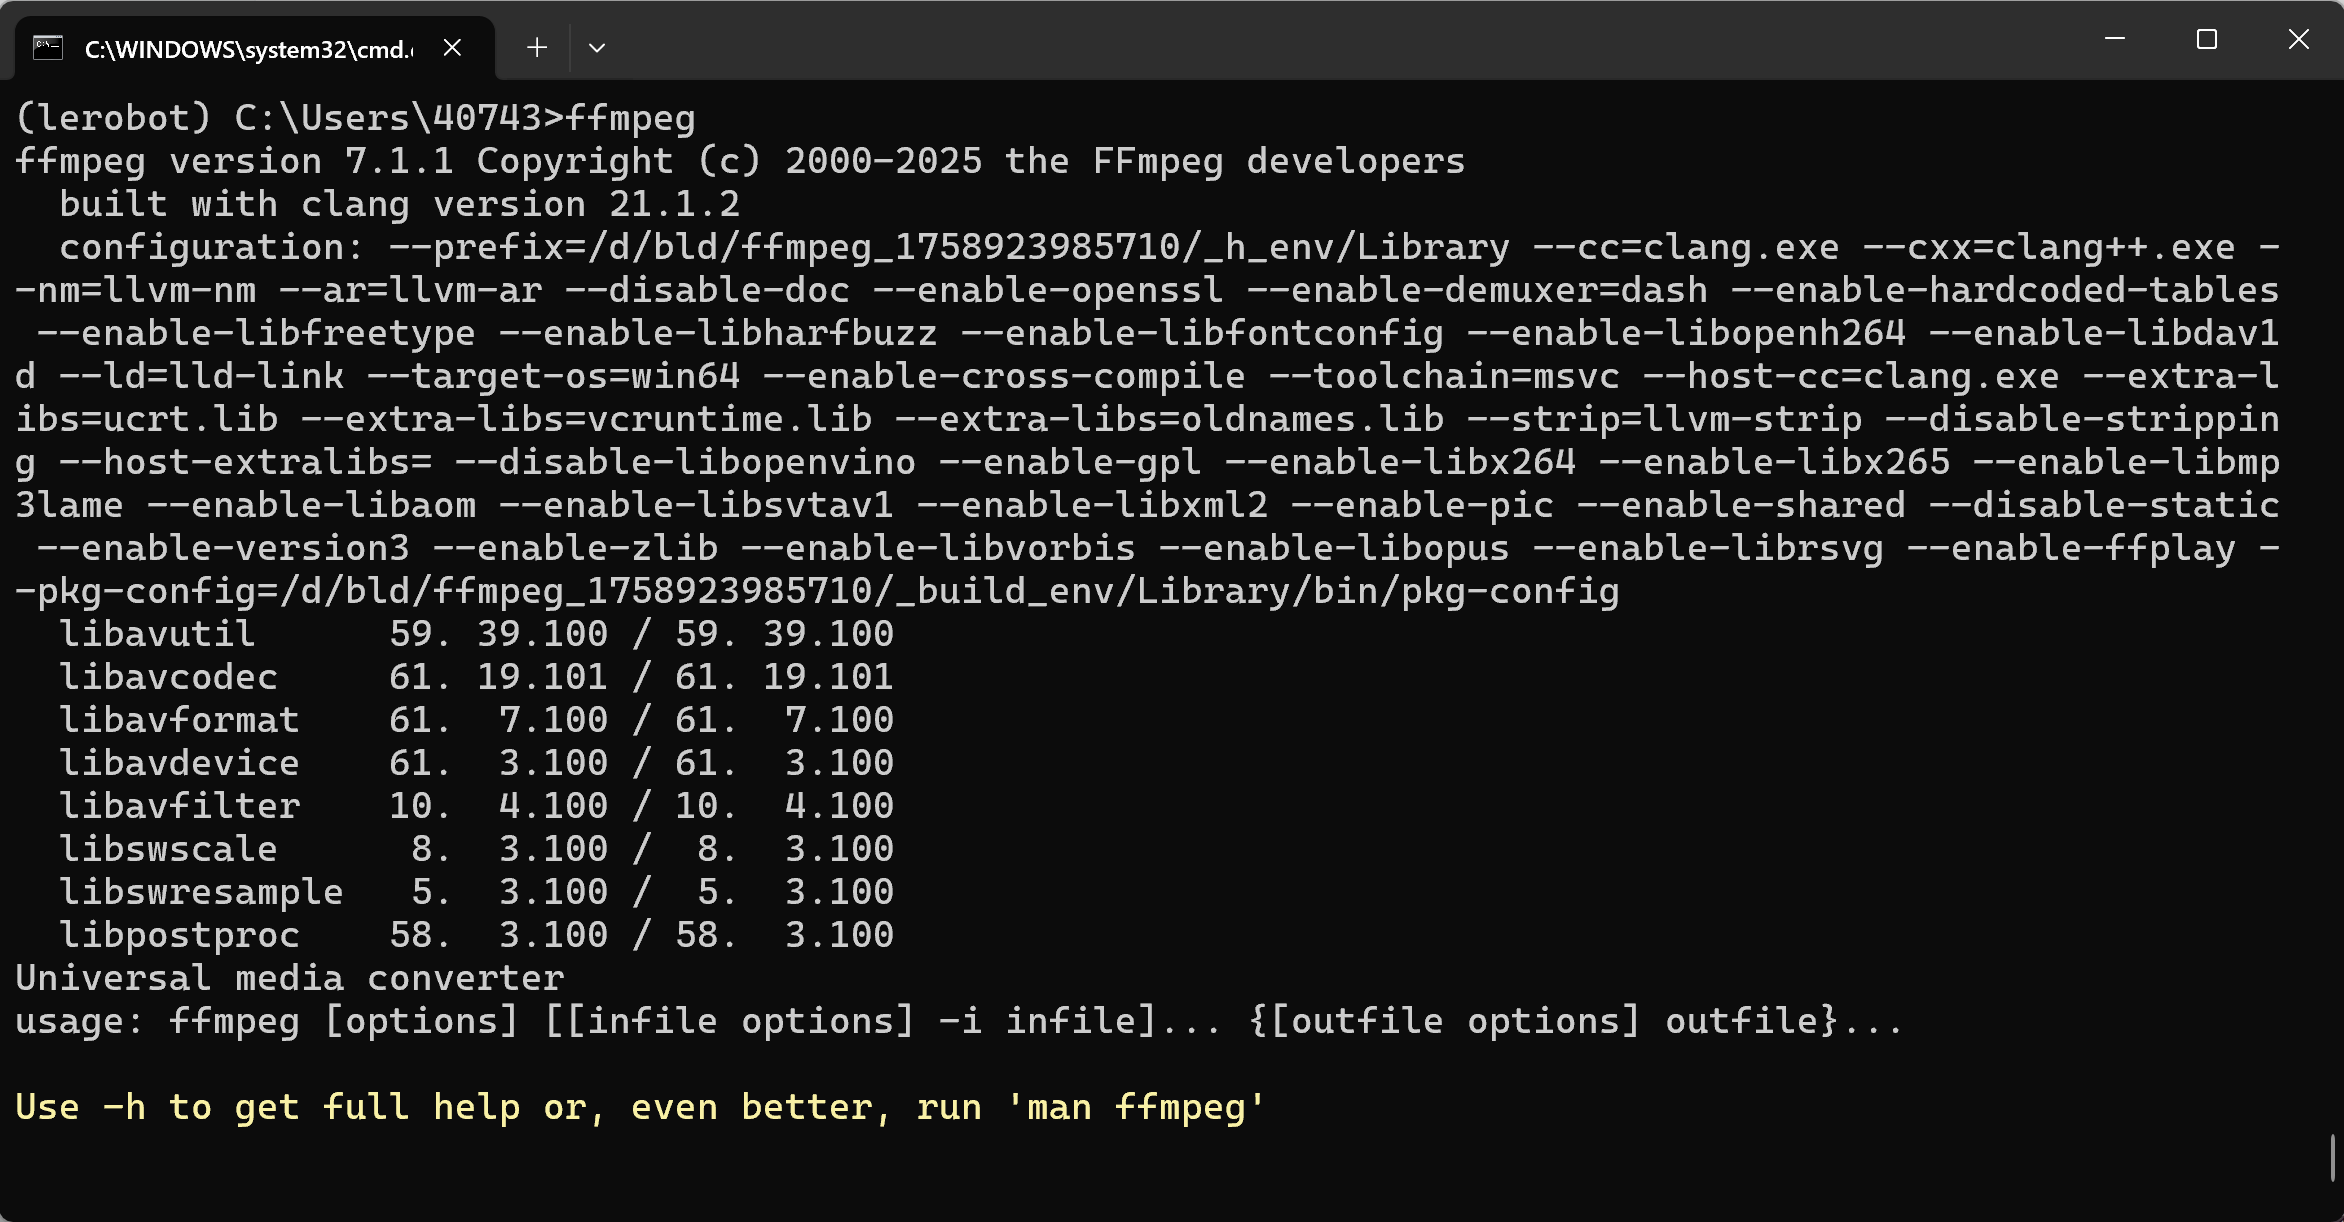
LeRobot herunterladen
- Laden Sie das offizielle LeRobot-Code-Repository herunter
Shell
git clone https://github.com/huggingface/lerobot.gitCode-Repository installieren
Shell
cd lerobotPlain
pip install -e ".[feetech]"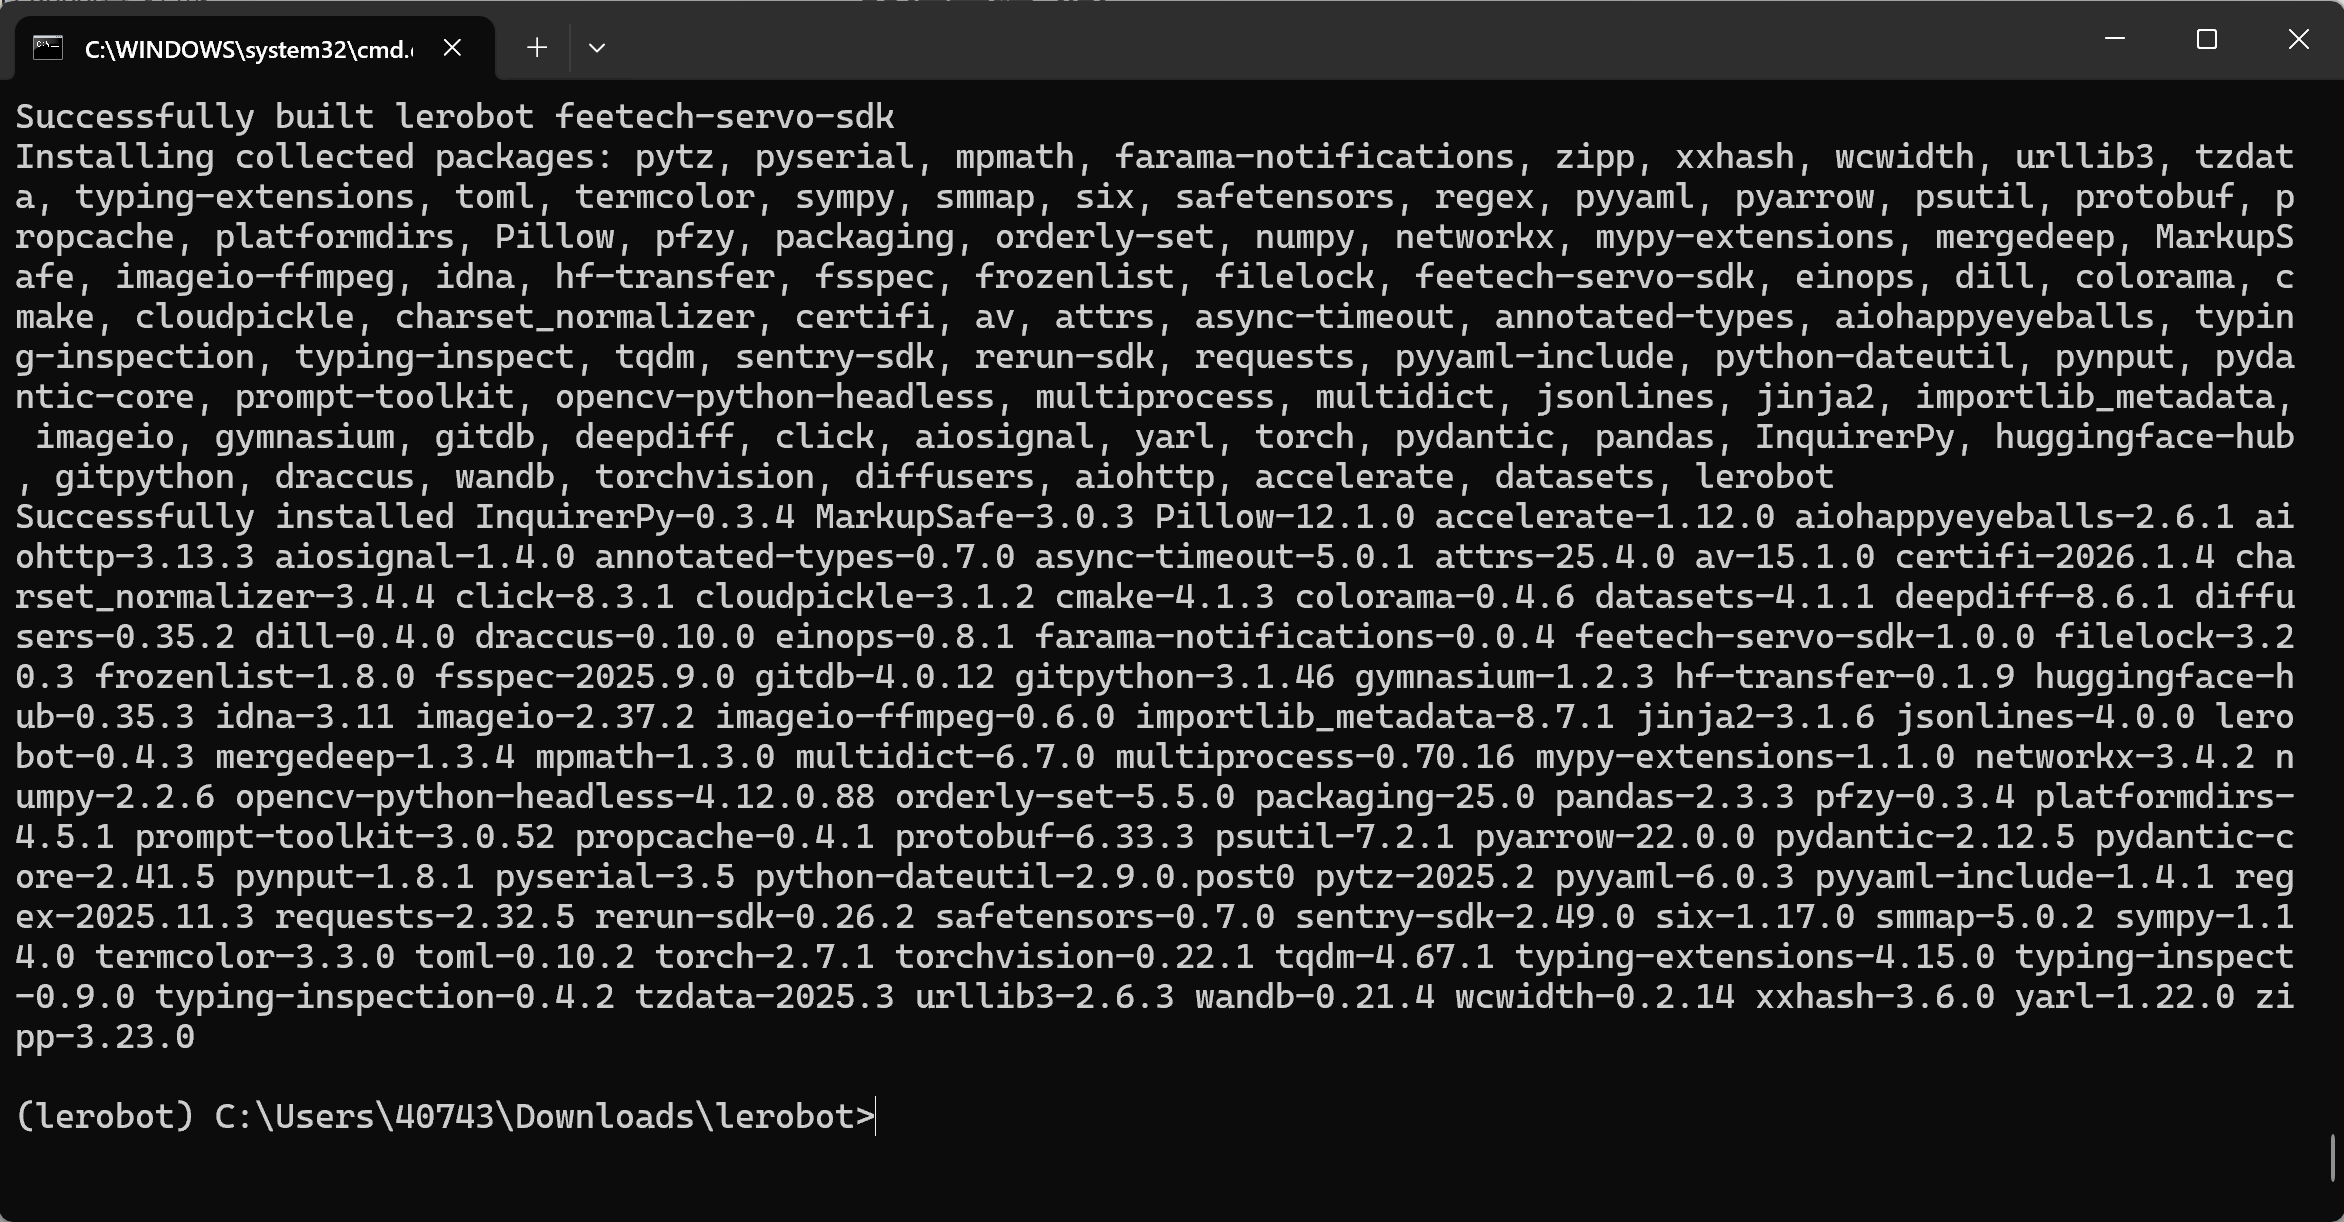
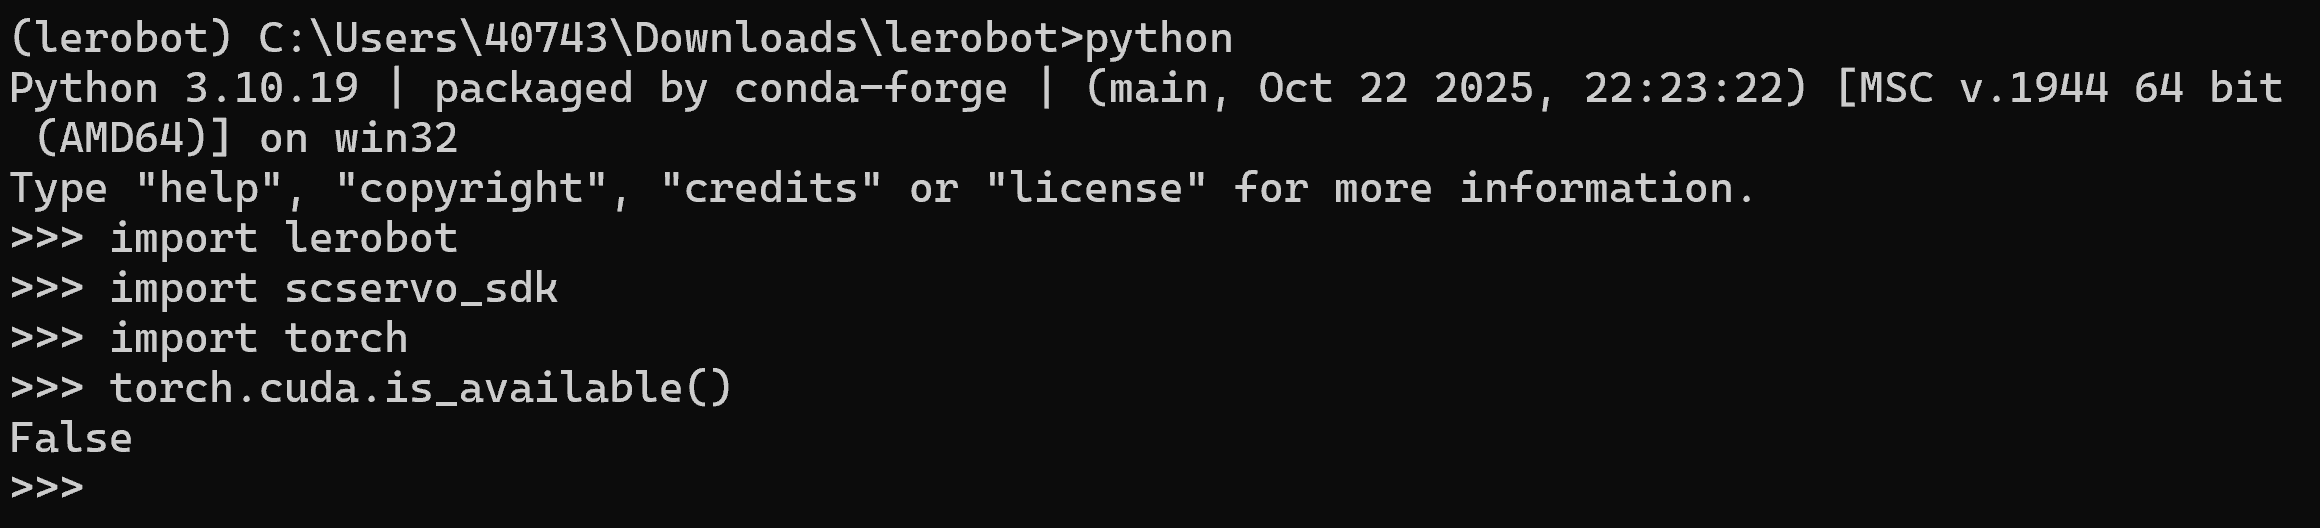
Erfolgreiche Installation überprüfen
Shell
python

import lerobot
import scservo_sdk
import torch
torch.cuda.is_available()