

Inferenz mit dem NVIDIA DGX Spark
Für das Deployment wird einheitlich
lerobot-rolloutverwendet; Verwendung und Parameter siehe Erläuterung der Befehle.
Umgebung installieren
- Pytorch
pytorch separat von der offiziellen Website in der cuda13.0-Version installieren
Shell
pip3 install torch torchvision --index-url https://download.pytorch.org/whl/cu130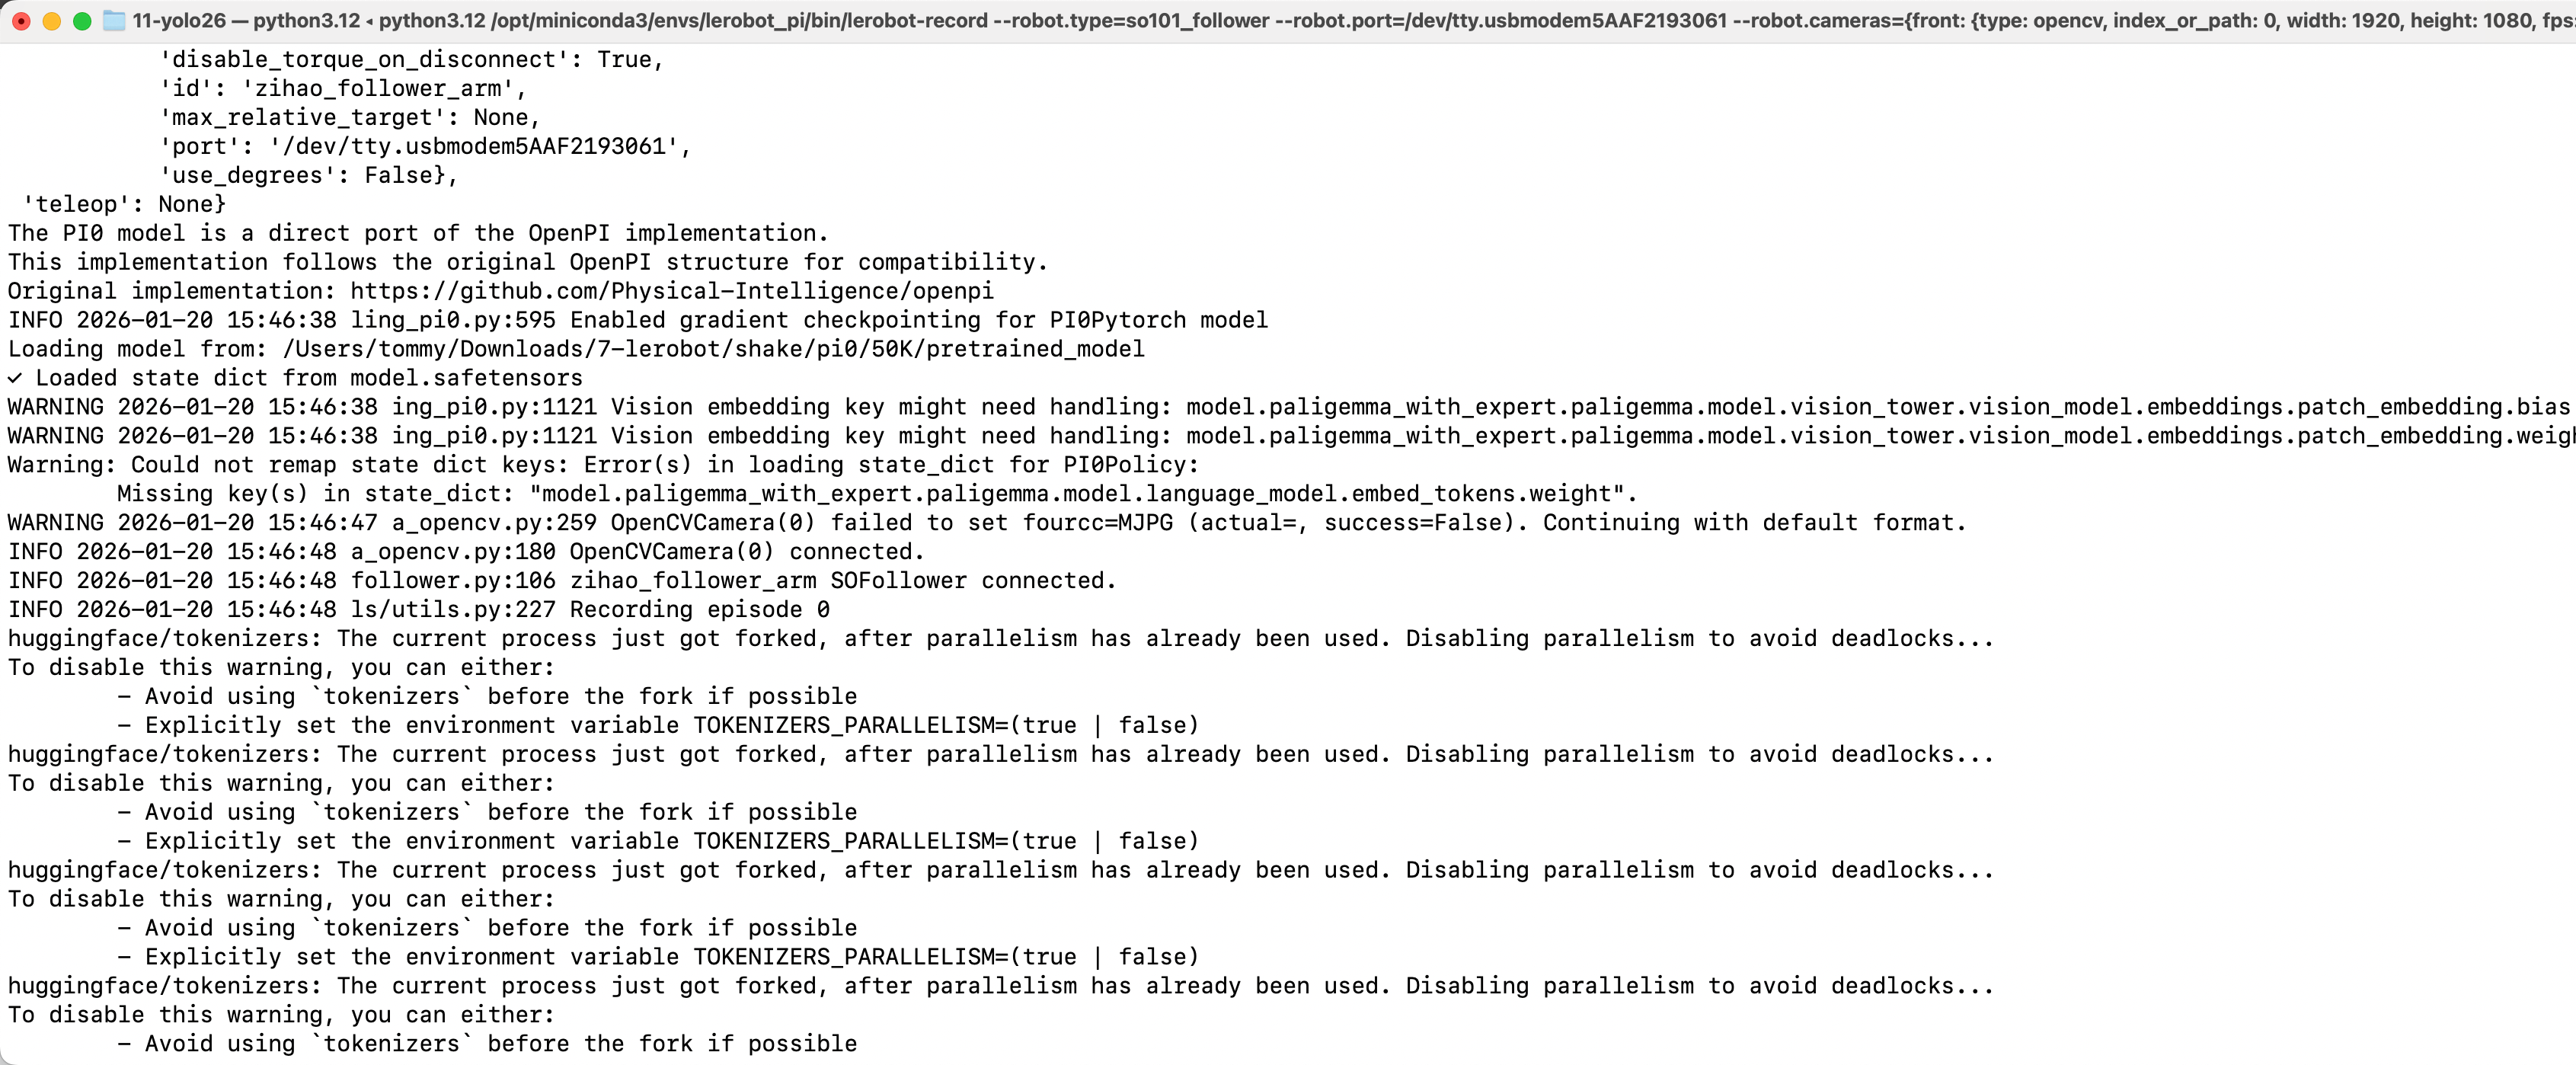
- Dann in der Datei pyproject.toml torch separat auskommentieren
Danach pip install -e .
- Achten Sie auf den Pfad von policy.path im Inferenzbefehl und ersetzen Sie ihn durch den tatsächlichen Modellpfad im Spark
Vorhandenen Datensatz, dessen Name mit rollout beginnt, löschen (falls vorhanden)
Shell
sudo chmod 666 /dev/ttyACM*Shell
sudo rm -rf /home/apx103/.cache/huggingface/lerobot/Tommymy/rollout_lerobot_my_dataset_shake_handsACT
Shell
lerobot-rollout  \
  --strategy.type=episodic \
  --robot.type=so101_follower \
  --robot.port=/dev/ttyACM0 \
  --robot.cameras="{ front: {type: opencv, index_or_path: 0, width: 640, height: 480, fps: 60, fourcc: "MJPG"}}" \
  --robot.id=my_follower_arm \
  --display_data=false \
  --dataset.repo_id=Tommymy/rollout_lerobot_my_dataset_shake_hands \
  --dataset.single_task="Shake Hands" \
  --dataset.episode_time_s=1000 \
  --policy.path=/home/apx103/Downloads/lerobot_output/shake/ACT/5K/pretrained_model
SmolVLA
- Umgebung installieren
Shell
conda activate base
conda create -y -n lerobot-smolvla python=3.10 -y
conda activate lerobot-smolvla
conda install ffmpeg=7.1.1 -c conda-forge -y

pip3 install torch torchvision --index-url https://download.pytorch.org/whl/cu130

cd lerobot
pip install -e ".[feetech,smolvla]"- Inferenz
Shell
lerobot-rollout  \
  --strategy.type=episodic \
  --robot.type=so101_follower \
  --robot.port=/dev/ttyACM0 \
  --robot.cameras="{ front: {type: opencv, index_or_path: 0, width: 640, height: 480, fps: 60, fourcc: "MJPG"}}" \
  --robot.id=my_follower_arm \
  --display_data=false \
  --dataset.repo_id=Tommymy/rollout_lerobot_my_dataset_shake_hands \
  --dataset.single_task="Shake Hands" \
  --dataset.episode_time_s=1000 \
  --policy.path=/home/apx103/Downloads/lerobot_output/shake/smolvla/40K/pretrained_model
WALL-OSS
- Umgebung installieren
Shell
cd lerobot
pip install -e ".[feetech,wallx]"- Code hinzufügen
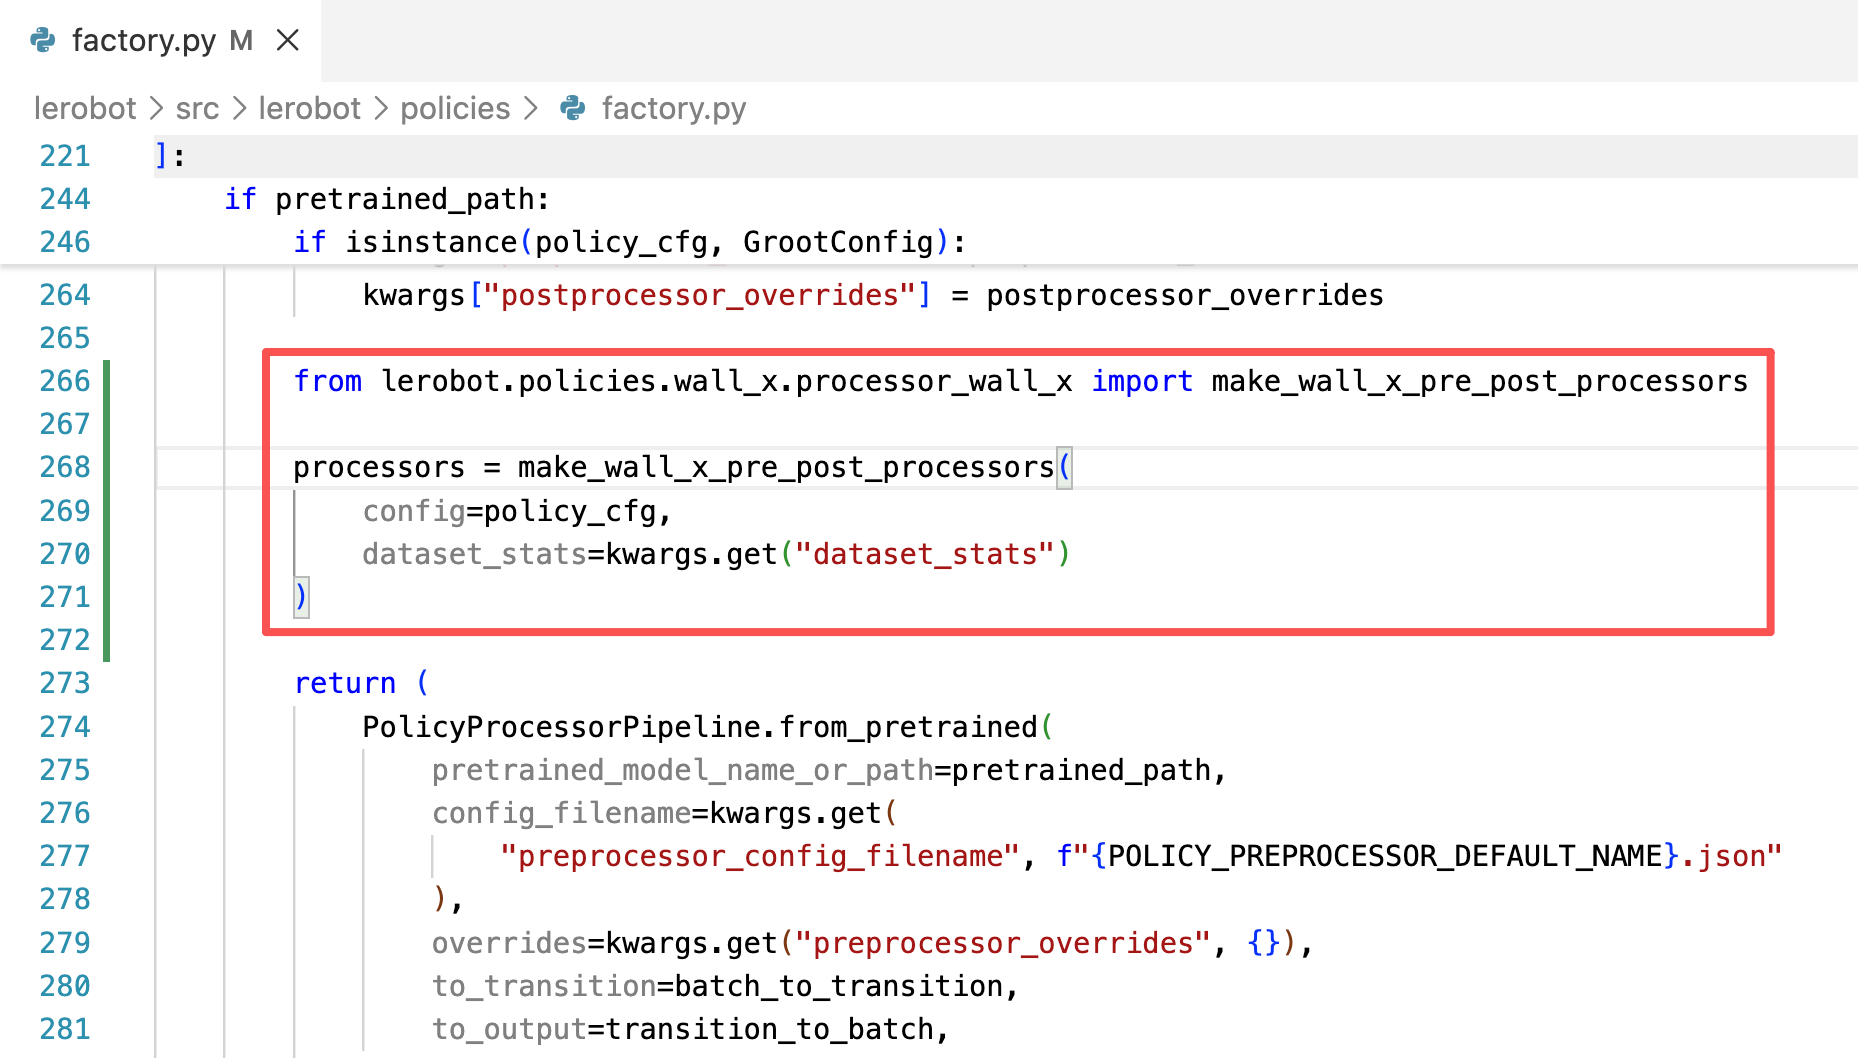
Shell
lerobot-rollout  \
  --strategy.type=episodic \
  --dataset.repo_id=Tommymy/rollout_lerobot_my_dataset_shake_hands \
  --dataset.single_task="Shake Hands" \
  --policy.path=/home/apx103/Downloads/lerobot_output/shake/wallx/30K/pretrained_model \
  --dataset.push_to_hub=false \
  --robot.type=so101_follower \
  --robot.id=my_follower_arm \
  --robot.port=/dev/ttyACM0 \
  --robot.cameras="{front: {type: opencv, index_or_path: 0, width: 640, height: 480, fps: 60, fourcc: "MJPG"}}" \
  --display_data=false \
  --dataset.episode_time_s=1000
pi0
- Umgebung installieren
Shell
conda create -y -n lerobot-pi python=3.10 -y
conda activate lerobot-pi
conda install *ffmpeg*=7.1.1 *-c* conda-forge -y

cd lerobot
pip3 install torch torchvision --index-url https://download.pytorch.org/whl/cu130
pip install -e ".[feetech,pi]"- Inferenz
Shell
lerobot-rollout  \
  --strategy.type=episodic \
  --robot.type=so101_follower \
  --robot.port=/dev/ttyACM0 \
  --robot.cameras="{ front: {type: opencv, index_or_path: 0, width: 640, height: 480, fps: 60, fourcc: "MJPG"}}" \
  --robot.id=my_follower_arm \
  --display_data=false \
  --dataset.repo_id=Tommymy/rollout_lerobot_my_dataset_shake_hands \
  --dataset.single_task="Shake Hands" \
  --dataset.episode_time_s=1000 \
  --dataset.push_to_hub=false \
  --policy.path=/home/apx103/Downloads/lerobot_output/shake/pi0/50K/pretrained_model