Umgebung einrichten (Ubuntu)
Der schwarze Leader-Arm verwendet ein 5V6A-Netzteil
Der weiße Follower-Arm verwendet ein 12V5A-Netzteil
Miniconda installieren
https://www.anaconda.com/download
pip-Quelle ändern
Shell
pip config set global.index-url https://mirrors.aliyun.com/pypi/simpleconda-Quelle ändern
Shell
# Vorhandene .condarc-Konfiguration leeren (optional, um Konflikte zu vermeiden)
echo "" > ~/.condarc

# Tsinghua-Quellenkonfiguration schreiben
cat << EOF > ~/.condarc
channels:
  - defaults
show_channel_urls: true
default_channels:
  - https://mirrors.tuna.tsinghua.edu.cn/anaconda/pkgs/main
  - https://mirrors.tuna.tsinghua.edu.cn/anaconda/pkgs/r
  - https://mirrors.tuna.tsinghua.edu.cn/anaconda/pkgs/msys2
custom_channels:
  conda-forge: https://mirrors.tuna.tsinghua.edu.cn/anaconda/cloud
  msys2: https://mirrors.tuna.tsinghua.edu.cn/anaconda/cloud
  bioconda: https://mirrors.tuna.tsinghua.edu.cn/anaconda/cloud
  menpo: https://mirrors.tuna.tsinghua.edu.cn/anaconda/cloud
  pytorch: https://mirrors.tuna.tsinghua.edu.cn/anaconda/cloud
  pytorch-lts: https://mirrors.tuna.tsinghua.edu.cn/anaconda/cloud
  simpleitk: https://mirrors.tuna.tsinghua.edu.cn/anaconda/cloud
EOF

# Cache leeren, damit die Konfiguration wirksam wird
conda clean -i
Virtuelle Umgebung erstellen
Shell
conda create -y -n lerobot python=3.12 -yVirtuelle Umgebung aktivieren
Shell
conda activate lerobotffmpeg installieren
Shell
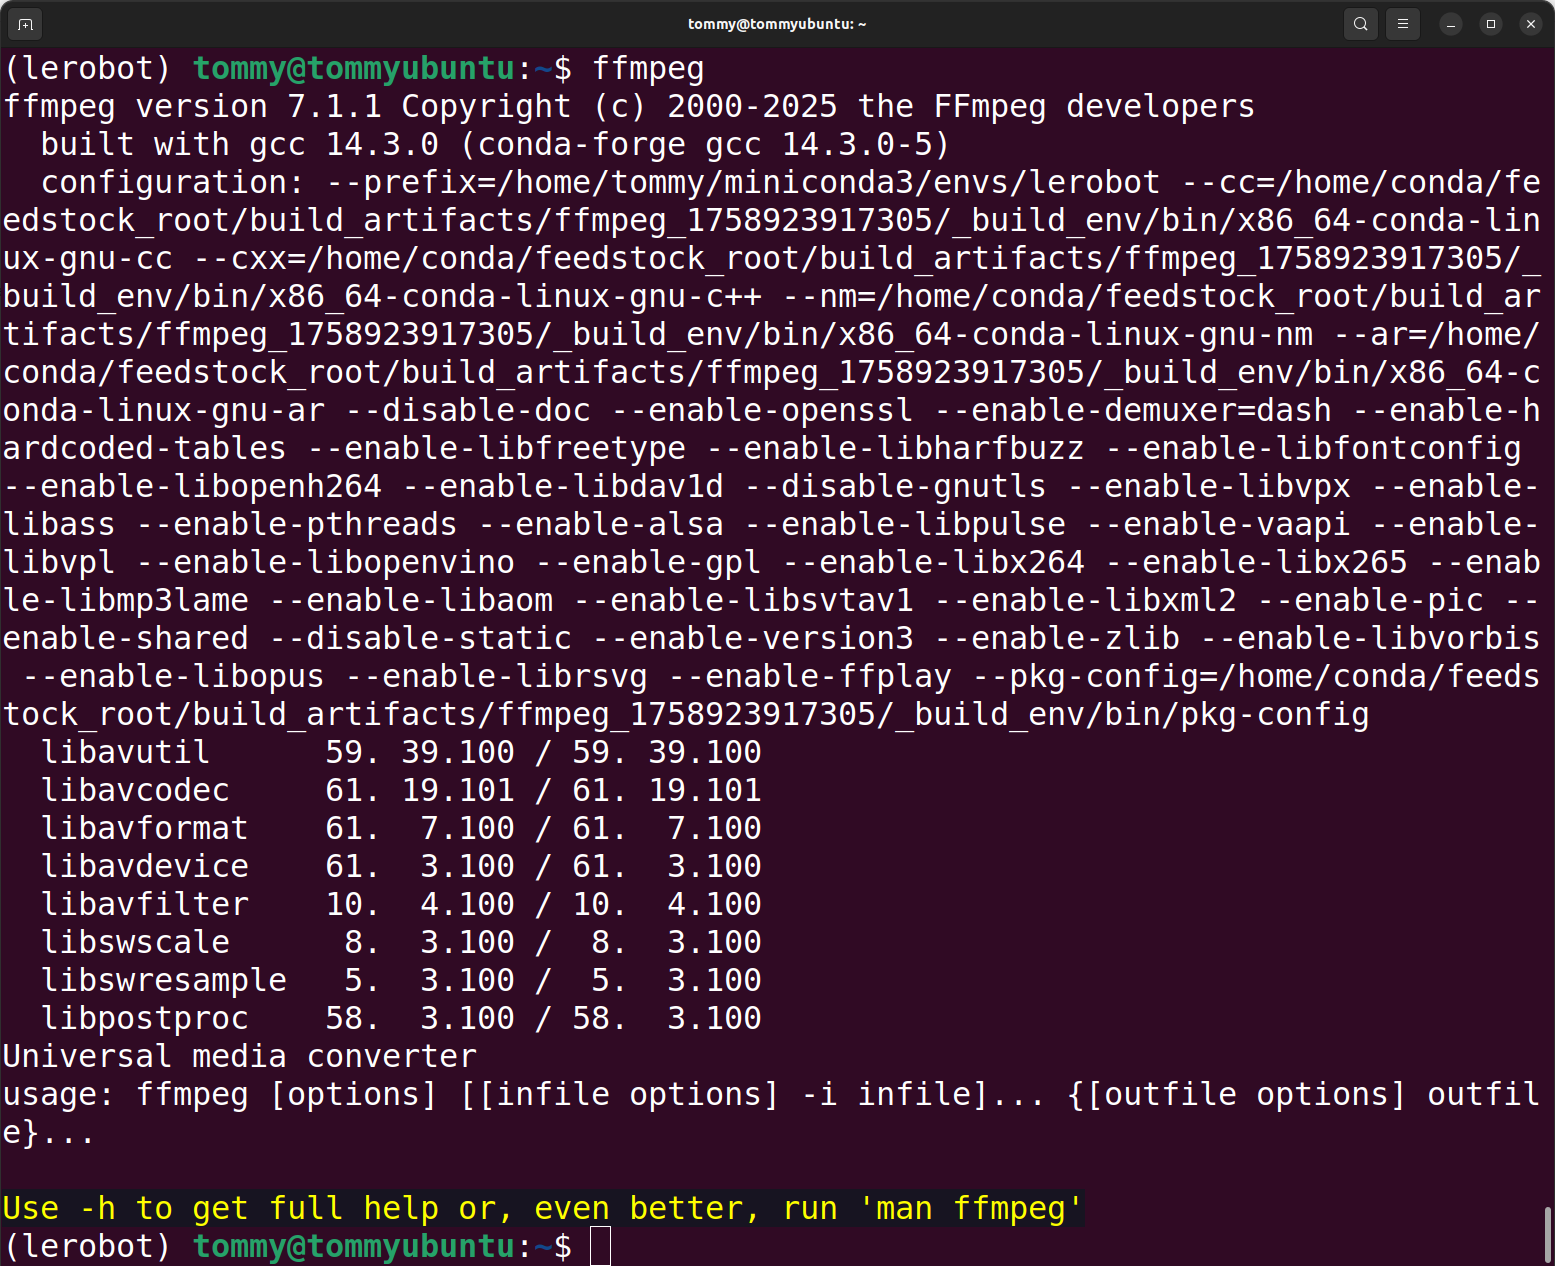
conda install *ffmpeg*=7.1.1 *-c* conda-forge -yÜberprüfen Sie, ob die Installation erfolgreich war
Shell
ffmpeg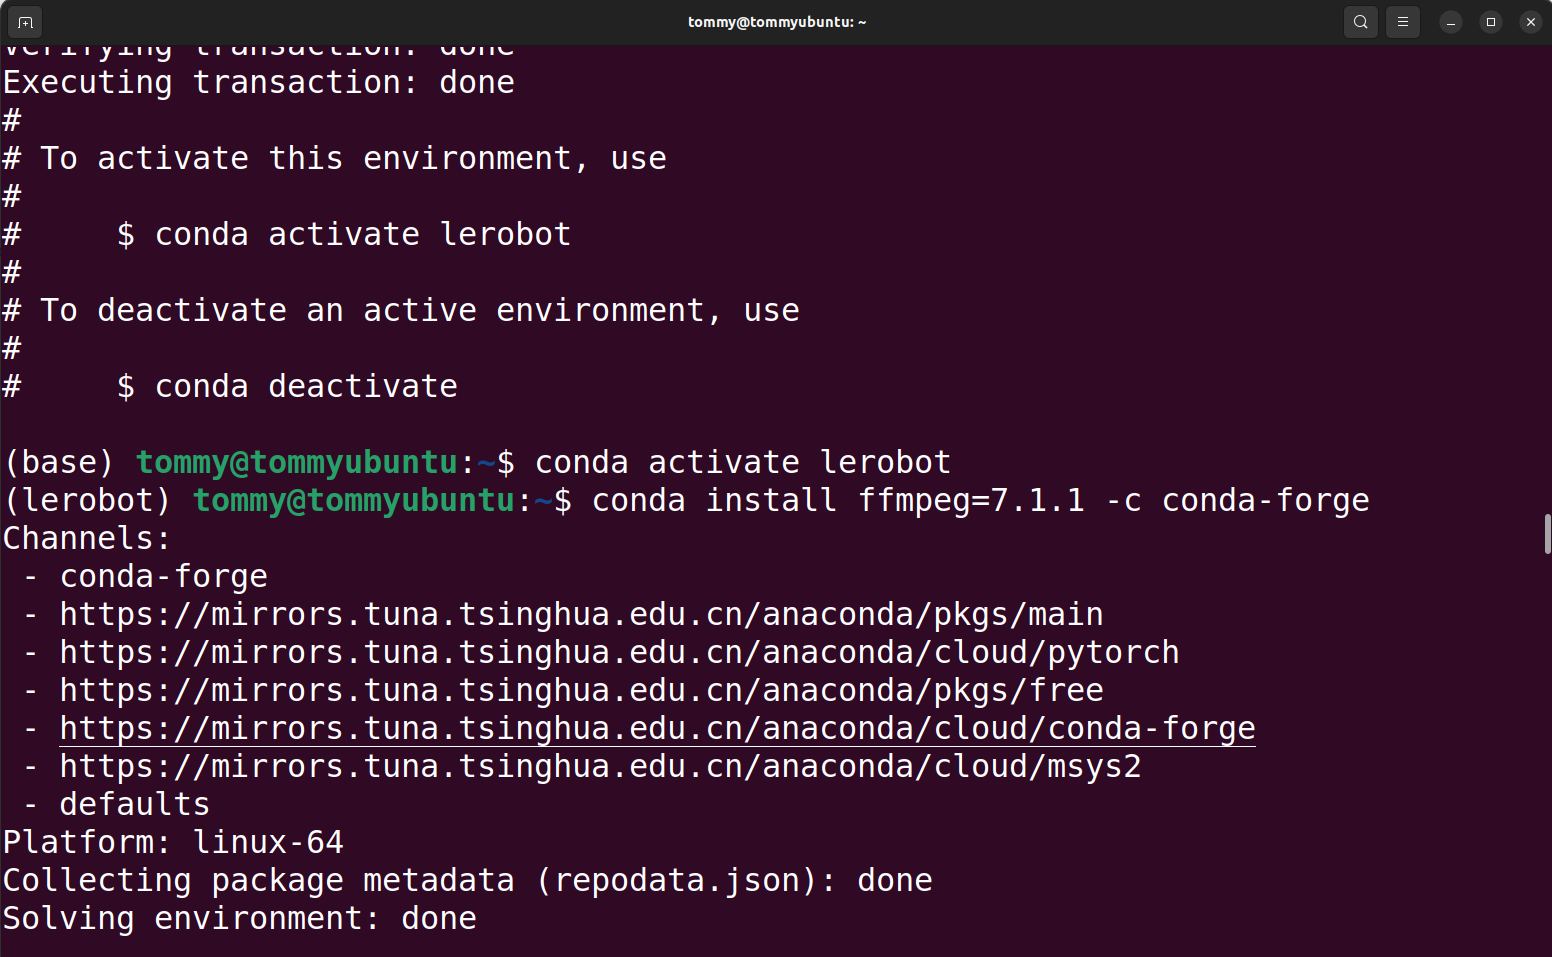
Offizielles LeRobot-Code-Repository herunterladen
Shell
git clone https://github.com/huggingface/lerobot.gitCode-Repository installieren
Shell
#cd lerobot-main
cd lerobot

pip install -e ".[feetech]"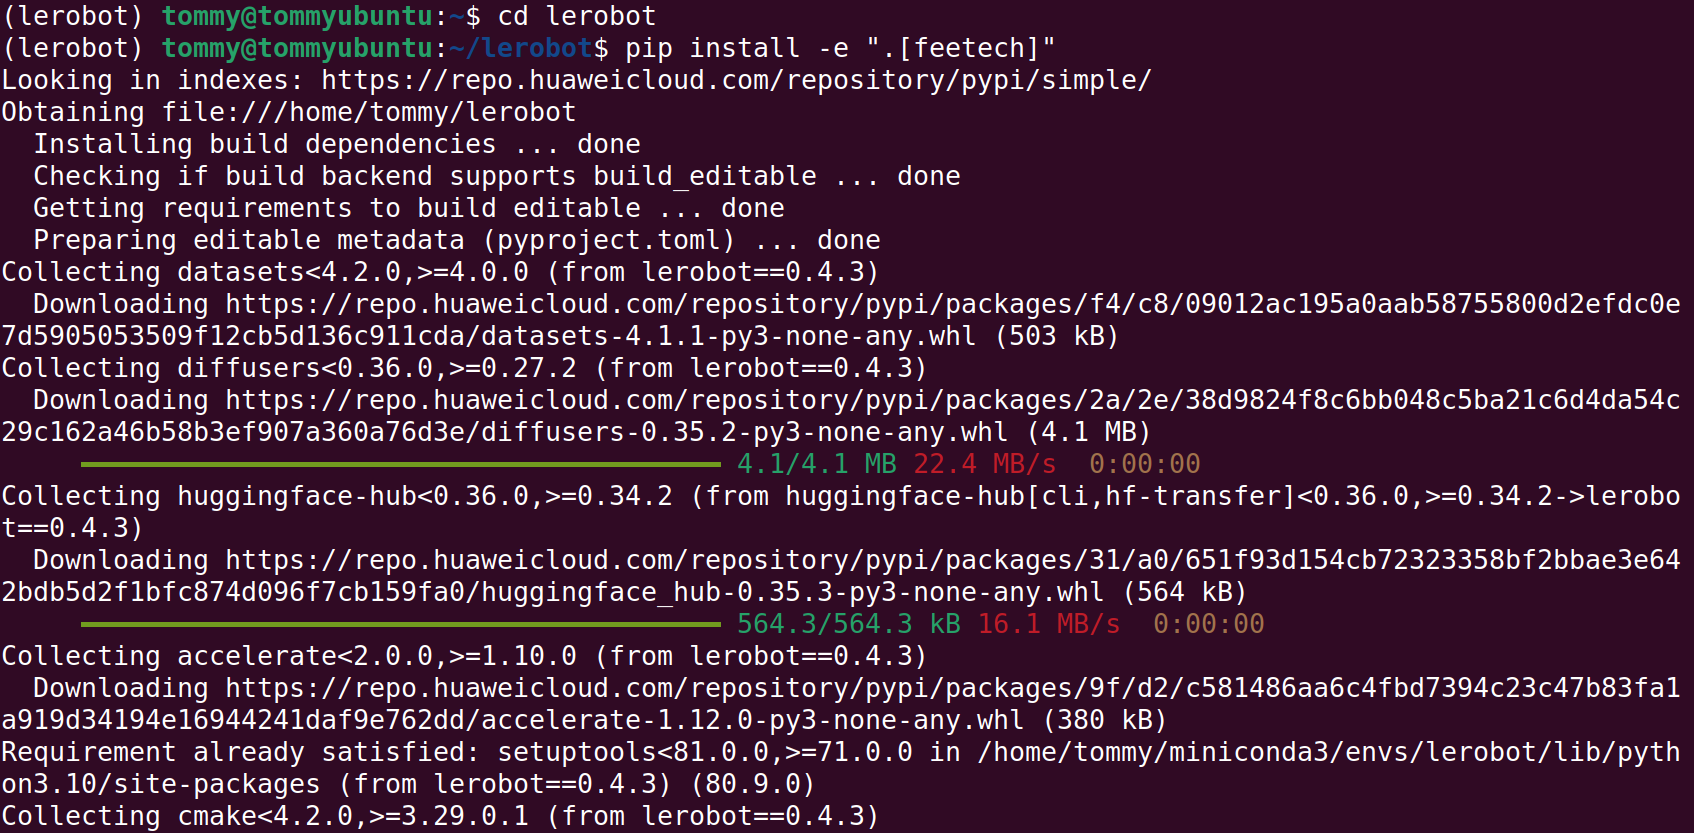
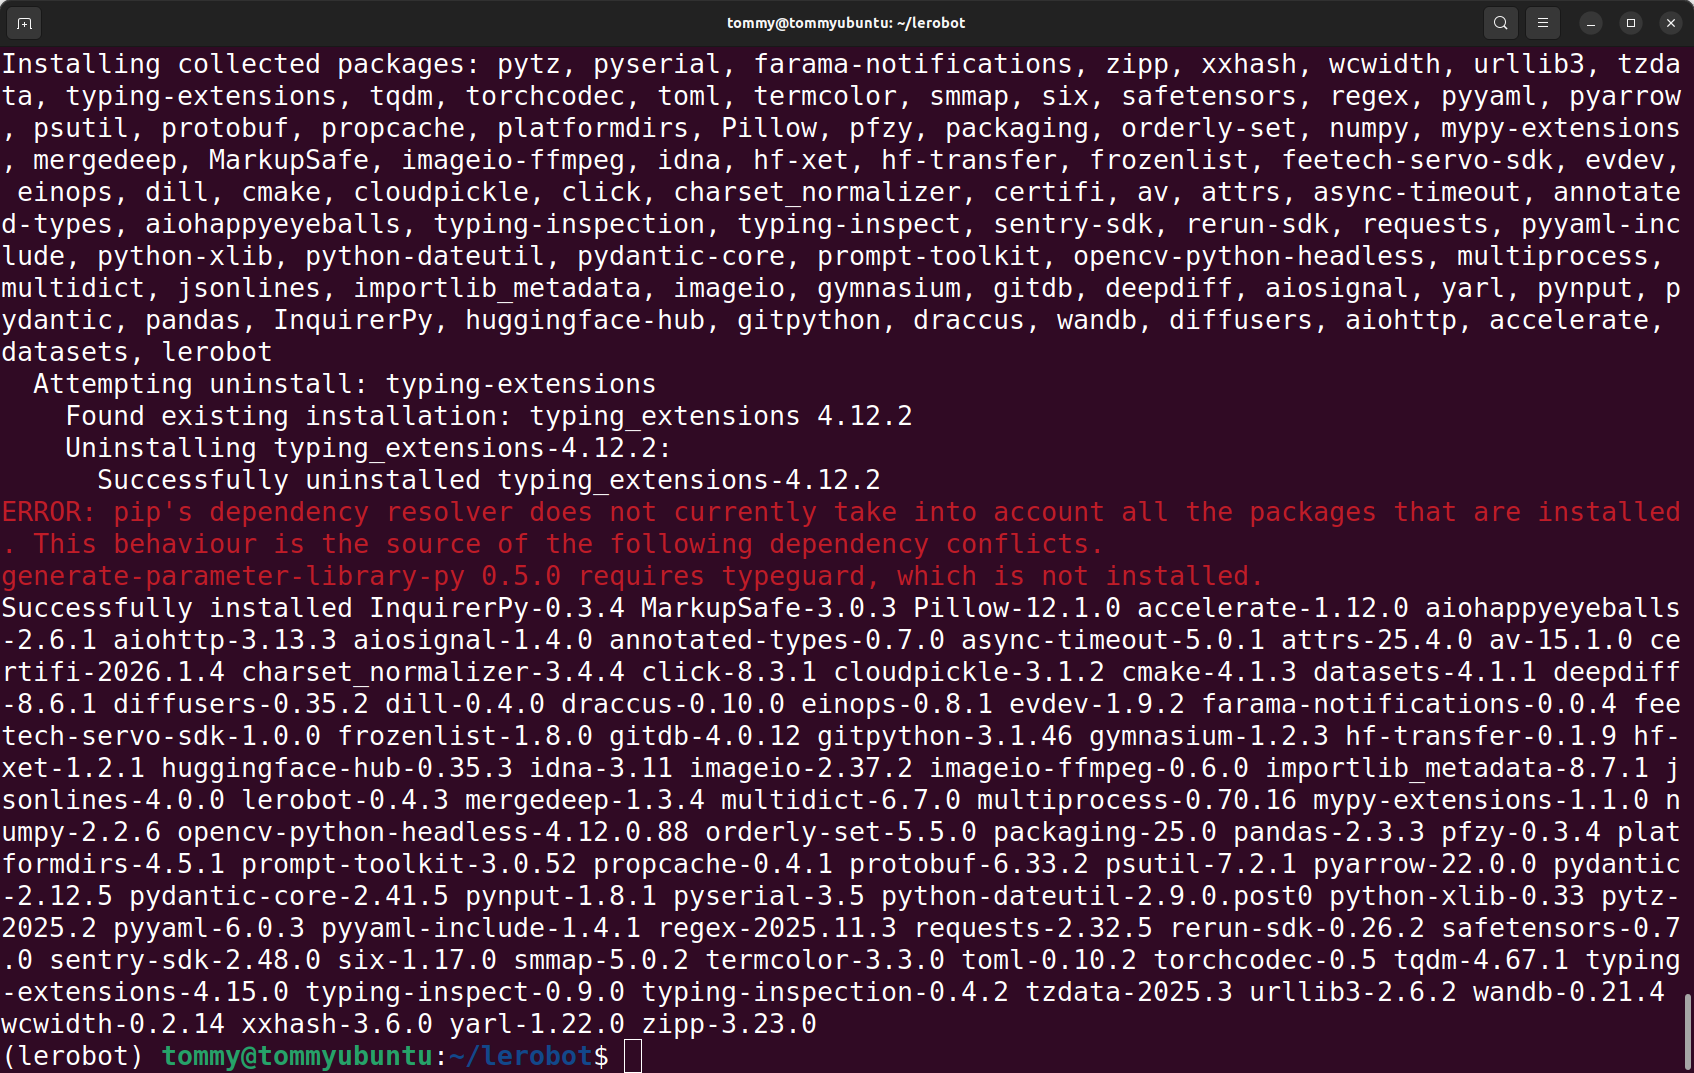
Erfolgreiche Installation überprüfen
Shell
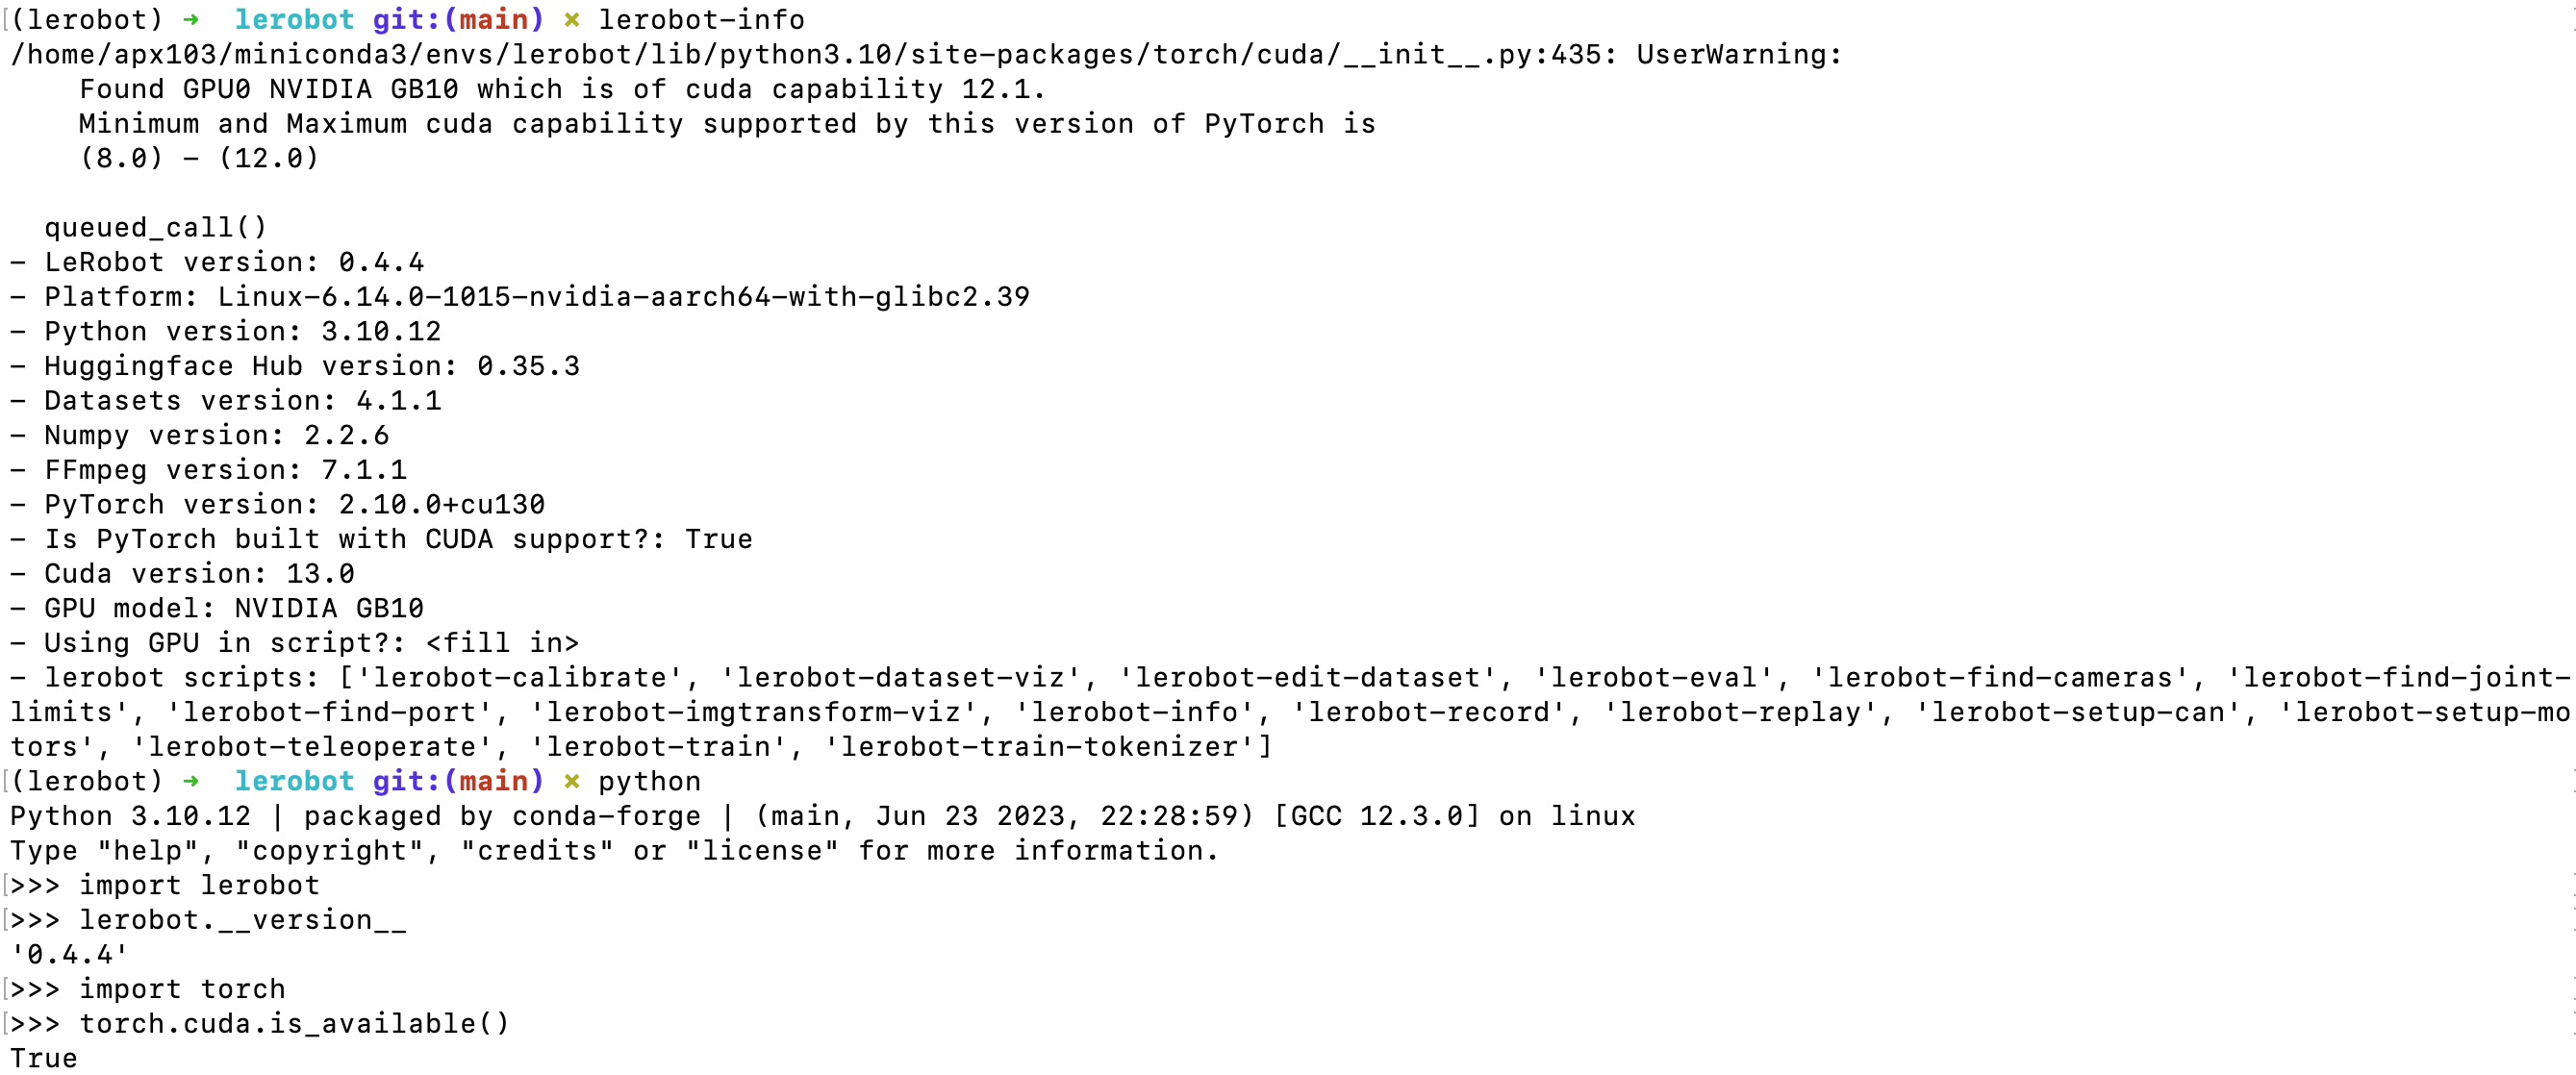
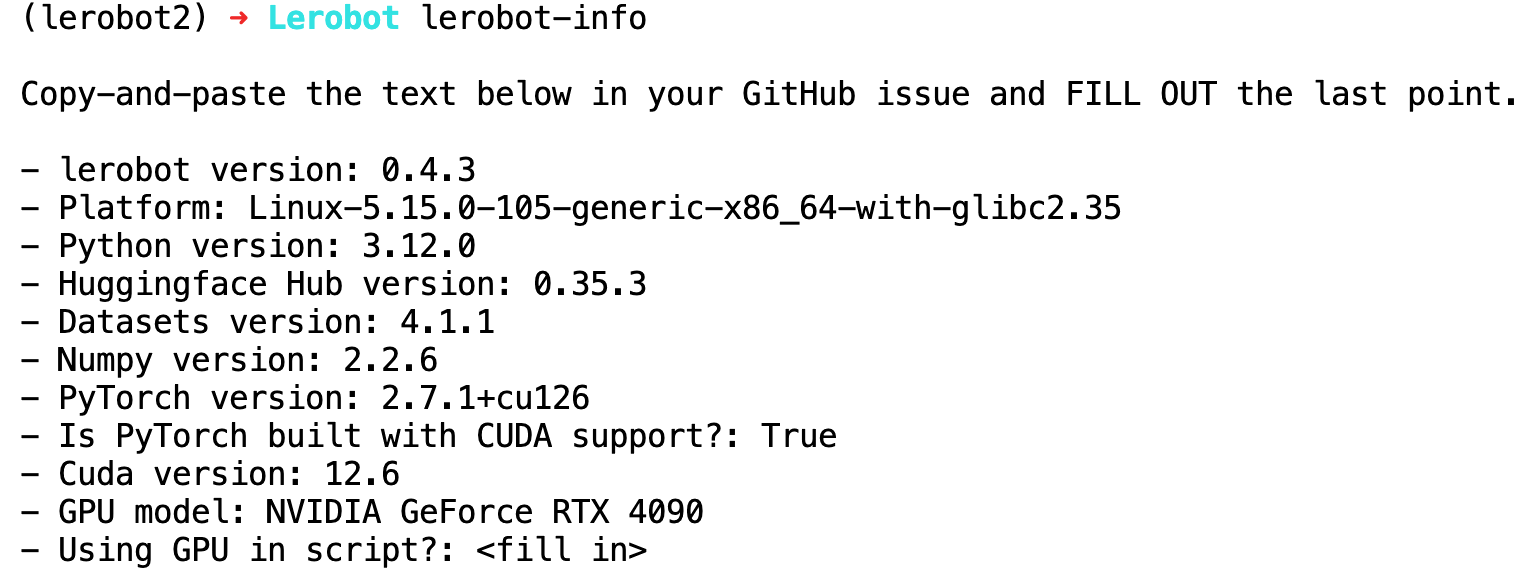
lerobot-info

python

import lerobot
lerobot.__version__

import torch
torch.cuda.is_available()
import scservo_sdk
Ergebnisse der Ausführung auf dem 4090-Host
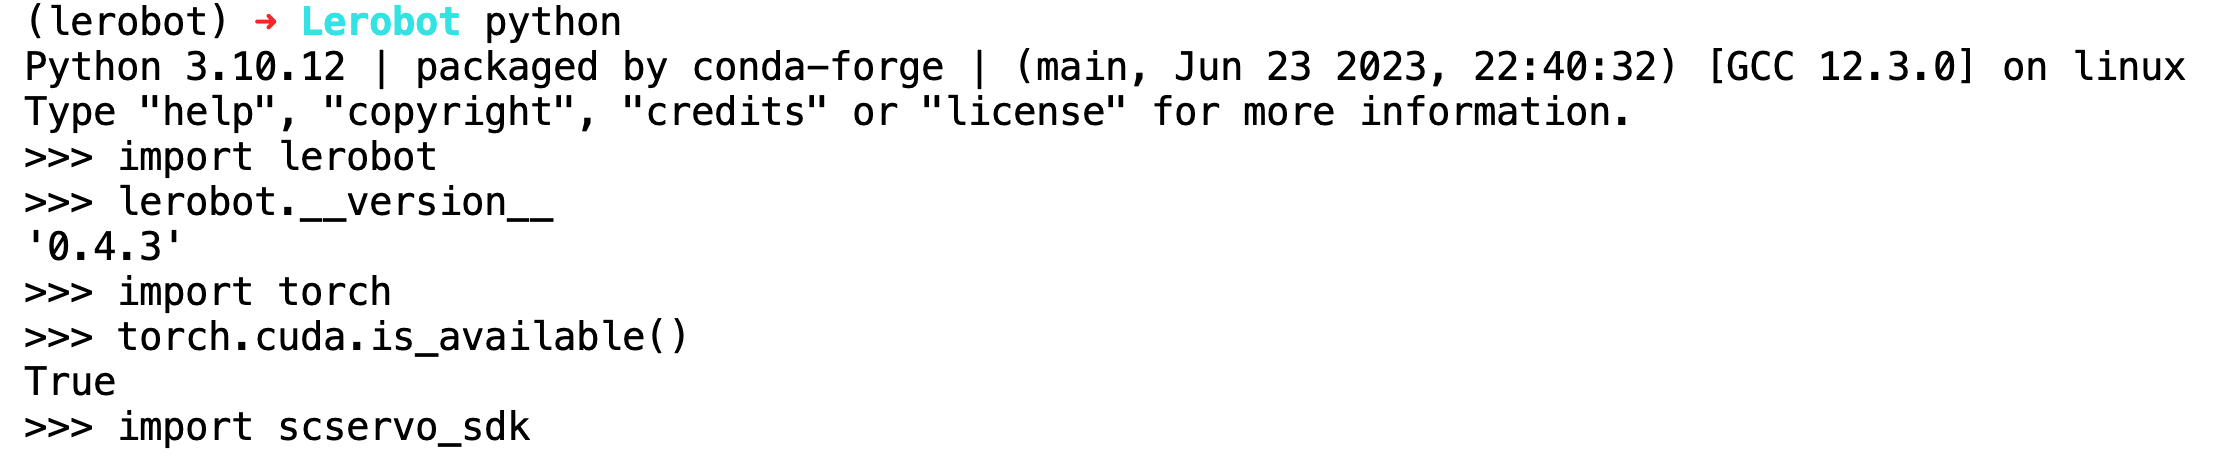
Ergebnisse der Ausführung auf einem NVIDIA DGX Spark