

Paso 8: Inferencia en NVIDIA DGX Spark
Instala el entorno
- PyTorch
Instala PyTorch aparte desde el sitio oficial, usando la versión CUDA 13.0
Shell
pip3 install torch torchvision --index-url https://download.pytorch.org/whl/cu130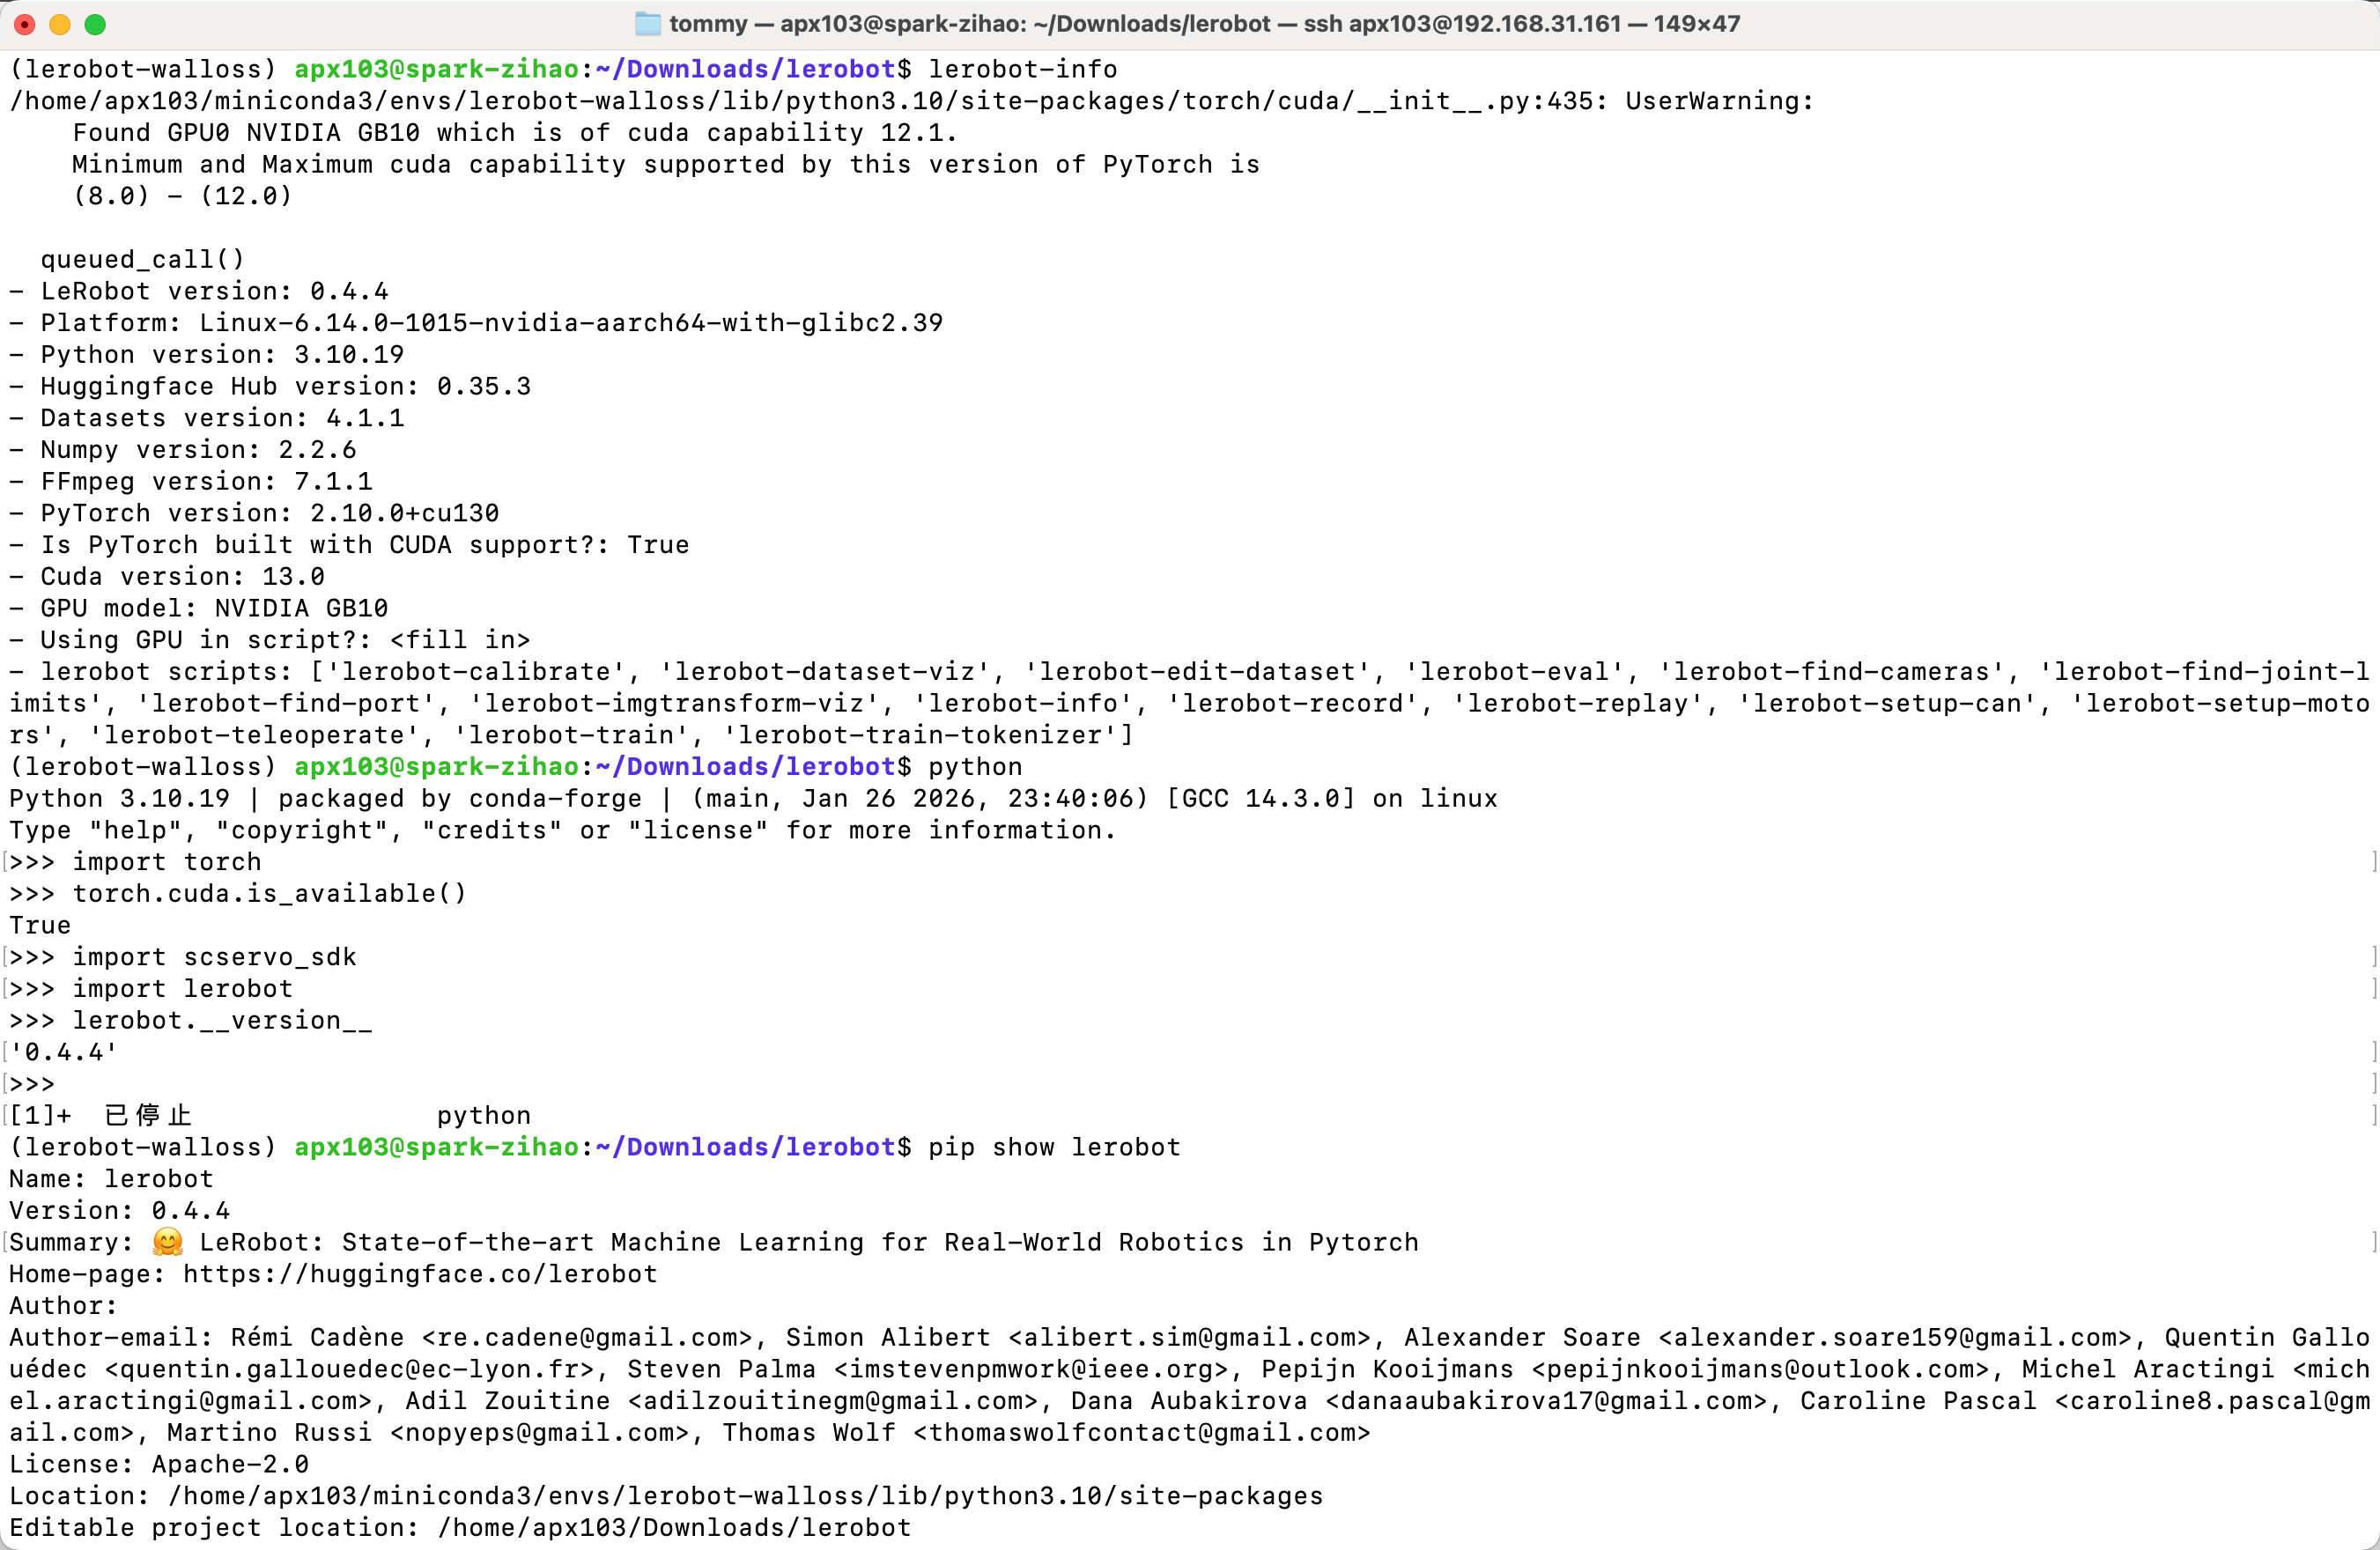
- Luego comenta torch por su cuenta en el archivo pyproject.toml
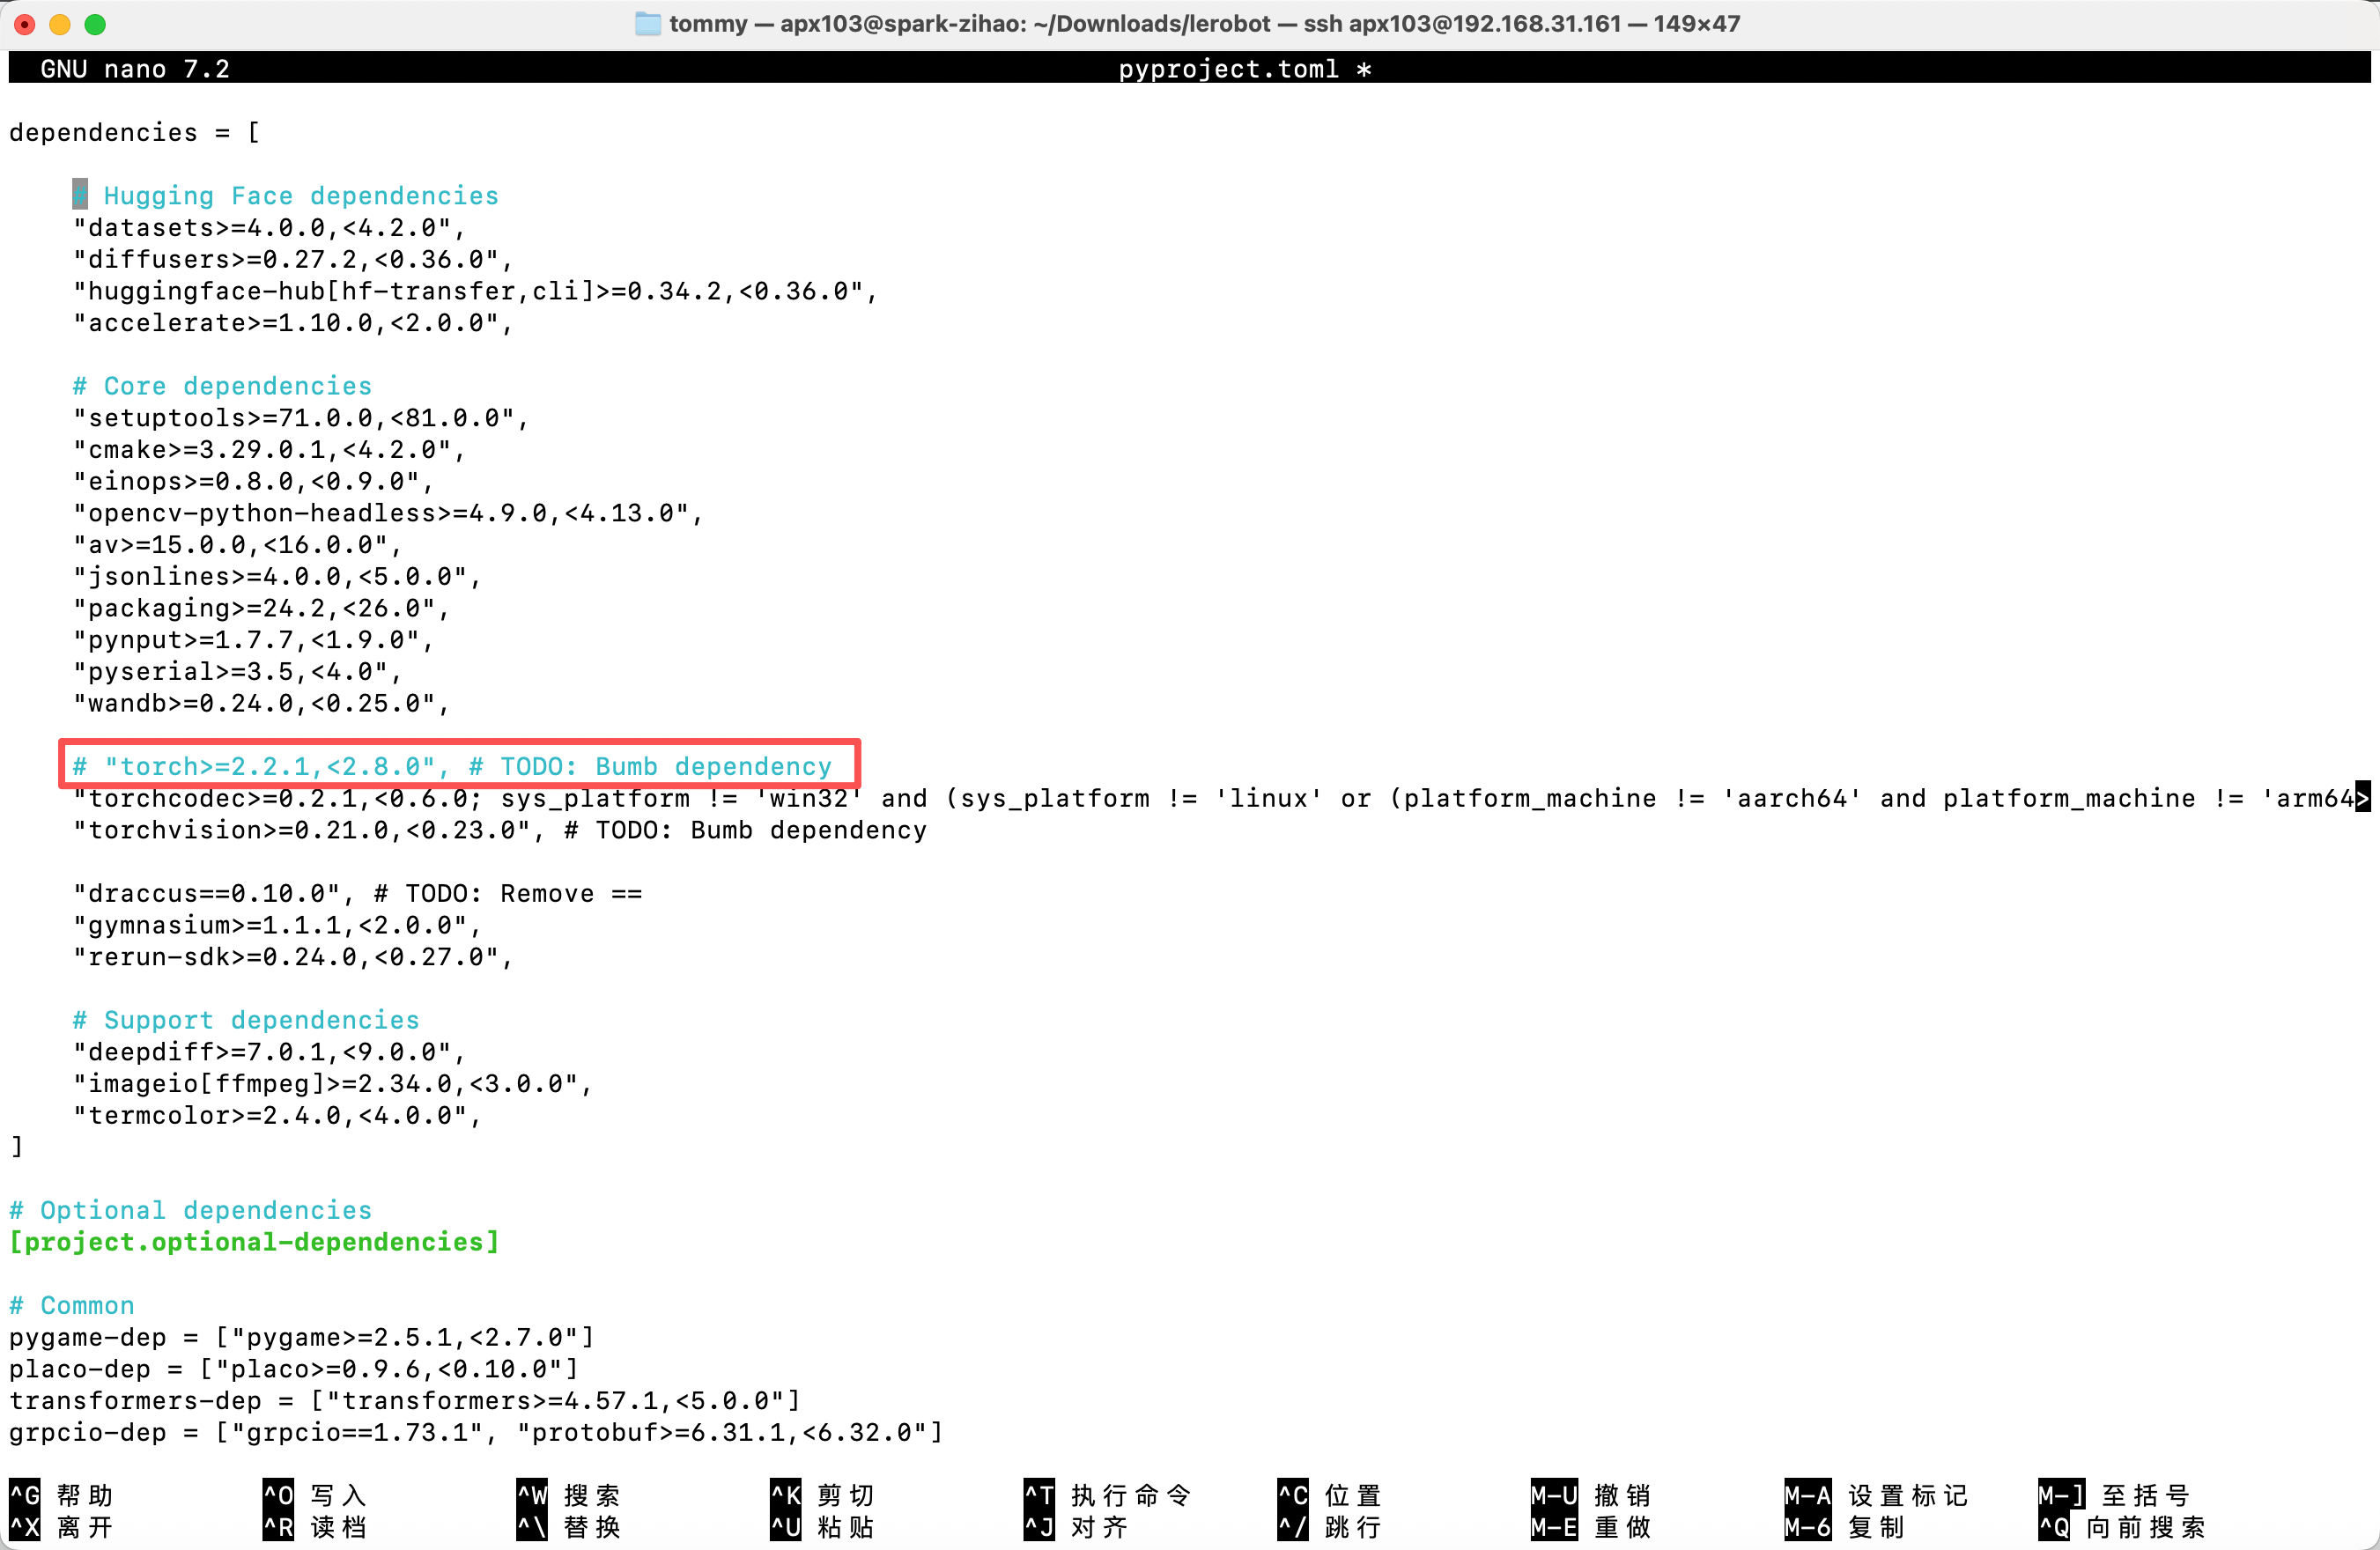
Luego ejecuta pip install -e .
- Nota: en la línea de comandos de inferencia, cambia la ruta policy.path a la ruta real del modelo dentro del Spark
Elimina el conjunto de datos existente con prefijo eval (si lo hay)
Shell
sudo chmod 666 /dev/ttyACM*Shell
sudo rm -rf /home/apx103/.cache/huggingface/lerobot/Tommymy/eval_lerobot_my_dataset_shake_handsACT
Shell
lerobot-record  \
  --robot.type=so101_follower \
  --robot.port=/dev/ttyACM0 \
  --robot.cameras="{ front: {type: opencv, index_or_path: 0, width: 640, height: 480, fps: 60, fourcc: "MJPG"}}" \
  --robot.id=my_follower_arm \
  --display_data=false \
  --dataset.repo_id=Tommymy/eval_lerobot_my_dataset_shake_hands \
  --dataset.single_task="Shake Hands" \
  --dataset.episode_time_s=1000 \
  --policy.path=/home/apx103/Downloads/lerobot_output/shake/ACT/5K/pretrained_model
SmolVLA
- Instala el entorno
Shell
conda activate base
conda create -y -n lerobot-smolvla python=3.10 -y
conda activate lerobot-smolvla
conda install ffmpeg=7.1.1 -c conda-forge -y

pip3 install torch torchvision --index-url https://download.pytorch.org/whl/cu130

cd lerobot
pip install -e ".[feetech,smolvla]"- Inferencia
Shell
lerobot-record  \
  --robot.type=so101_follower \
  --robot.port=/dev/ttyACM0 \
  --robot.cameras="{ front: {type: opencv, index_or_path: 0, width: 640, height: 480, fps: 60, fourcc: "MJPG"}}" \
  --robot.id=my_follower_arm \
  --display_data=false \
  --dataset.repo_id=Tommymy/eval_lerobot_my_dataset_shake_hands \
  --dataset.single_task="Shake Hands" \
  --dataset.episode_time_s=1000 \
  --policy.path=/home/apx103/Downloads/lerobot_output/shake/smolvla/40K/pretrained_model
WALL-OSS
- Instala el entorno
Shell
cd lerobot
pip install -e ".[feetech,wallx]"- Añade el código
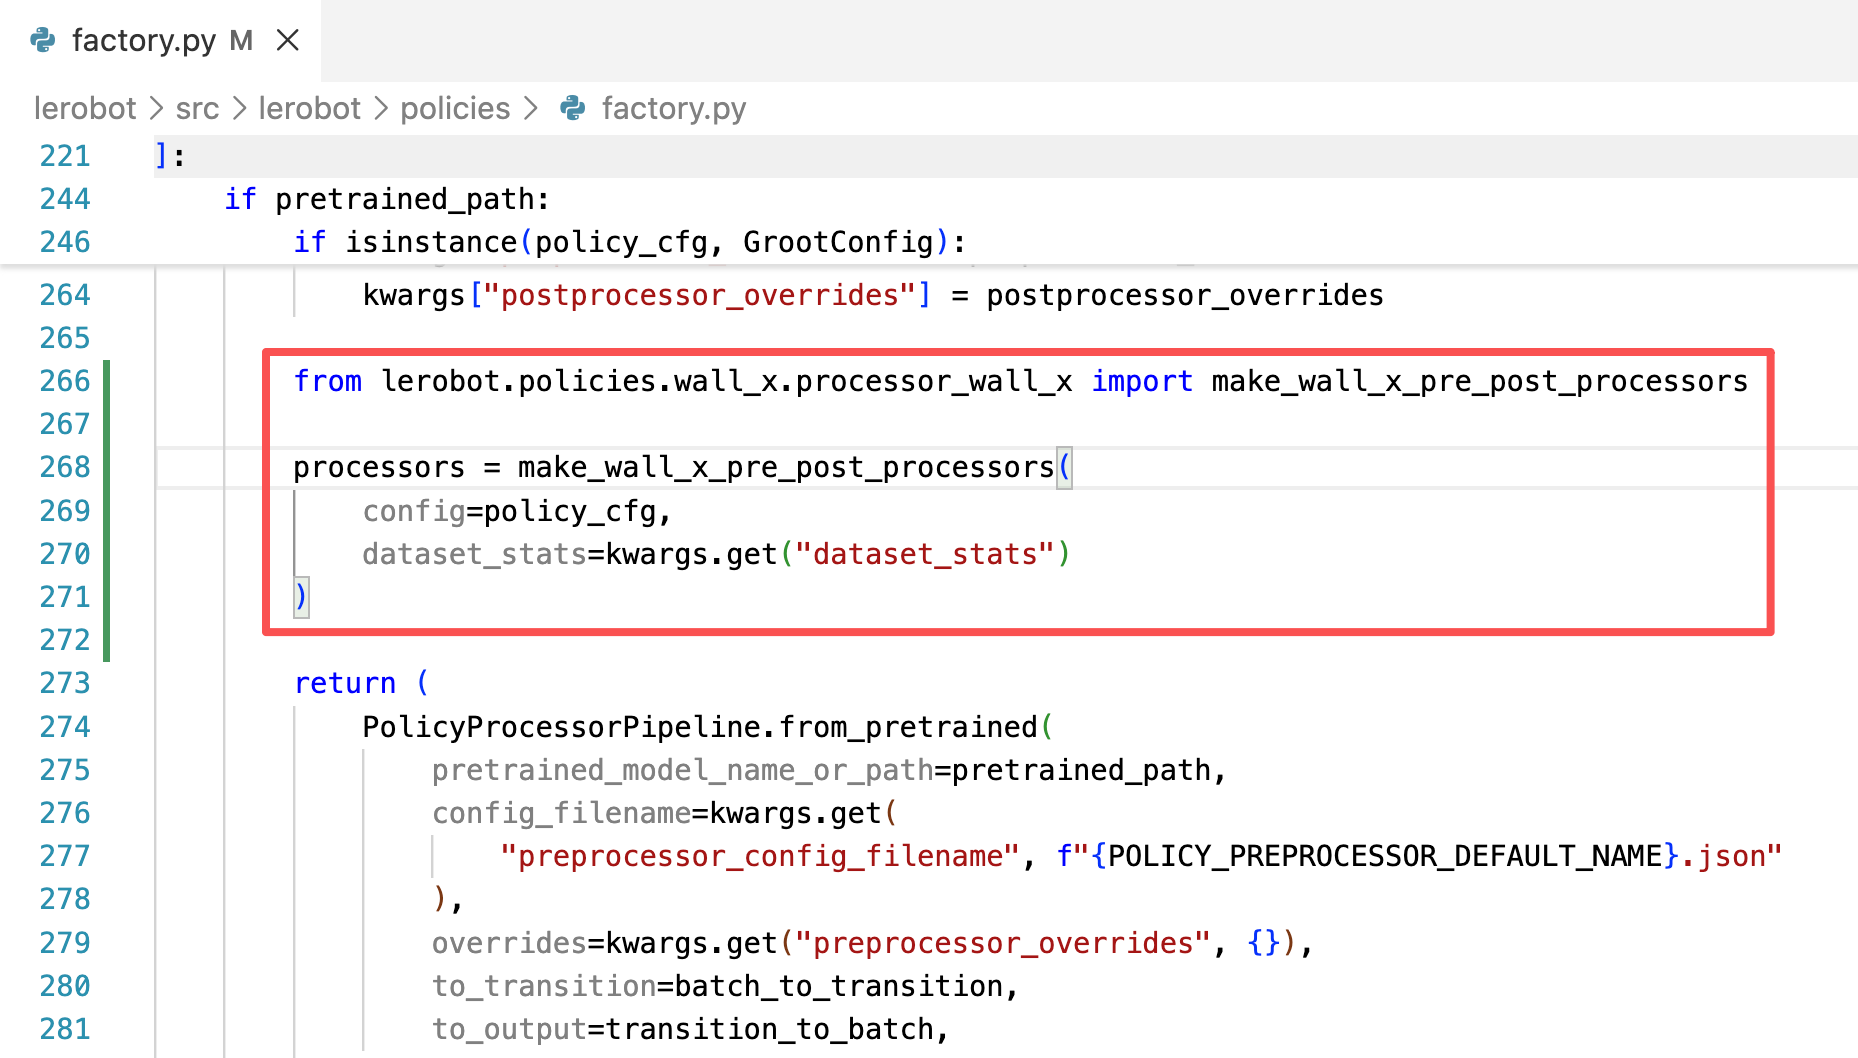
Shell
lerobot-record  \
  --dataset.repo_id=Tommymy/eval_lerobot_my_dataset_shake_hands \
  --dataset.single_task="Shake Hands" \
  --policy.path=/home/apx103/Downloads/lerobot_output/shake/wallx/30K/pretrained_model \
  --dataset.push_to_hub=false \
  --robot.type=so101_follower \
  --robot.id=my_follower_arm \
  --robot.port=/dev/ttyACM0 \
  --robot.cameras="{front: {type: opencv, index_or_path: 0, width: 640, height: 480, fps: 60, fourcc: "MJPG"}}" \
  --display_data=false \
  --dataset.episode_time_s=1000
pi0
- Instala el entorno
Shell
conda create -y -n lerobot-pi python=3.10 -y
conda activate lerobot-pi
conda install ffmpeg=7.1.1 -c conda-forge -y

cd lerobot
pip3 install torch torchvision --index-url https://download.pytorch.org/whl/cu130
pip install -e ".[feetech,pi]"- Inferencia
Shell
lerobot-record  \
  --robot.type=so101_follower \
  --robot.port=/dev/ttyACM0 \
  --robot.cameras="{ front: {type: opencv, index_or_path: 0, width: 640, height: 480, fps: 60, fourcc: "MJPG"}}" \
  --robot.id=my_follower_arm \
  --display_data=false \
  --dataset.repo_id=Tommymy/eval_lerobot_my_dataset_shake_hands \
  --dataset.single_task="Shake Hands" \
  --dataset.episode_time_s=1000 \
  --dataset.push_to_hub=false \
  --policy.path=/home/apx103/Downloads/lerobot_output/shake/pi0/50K/pretrained_model